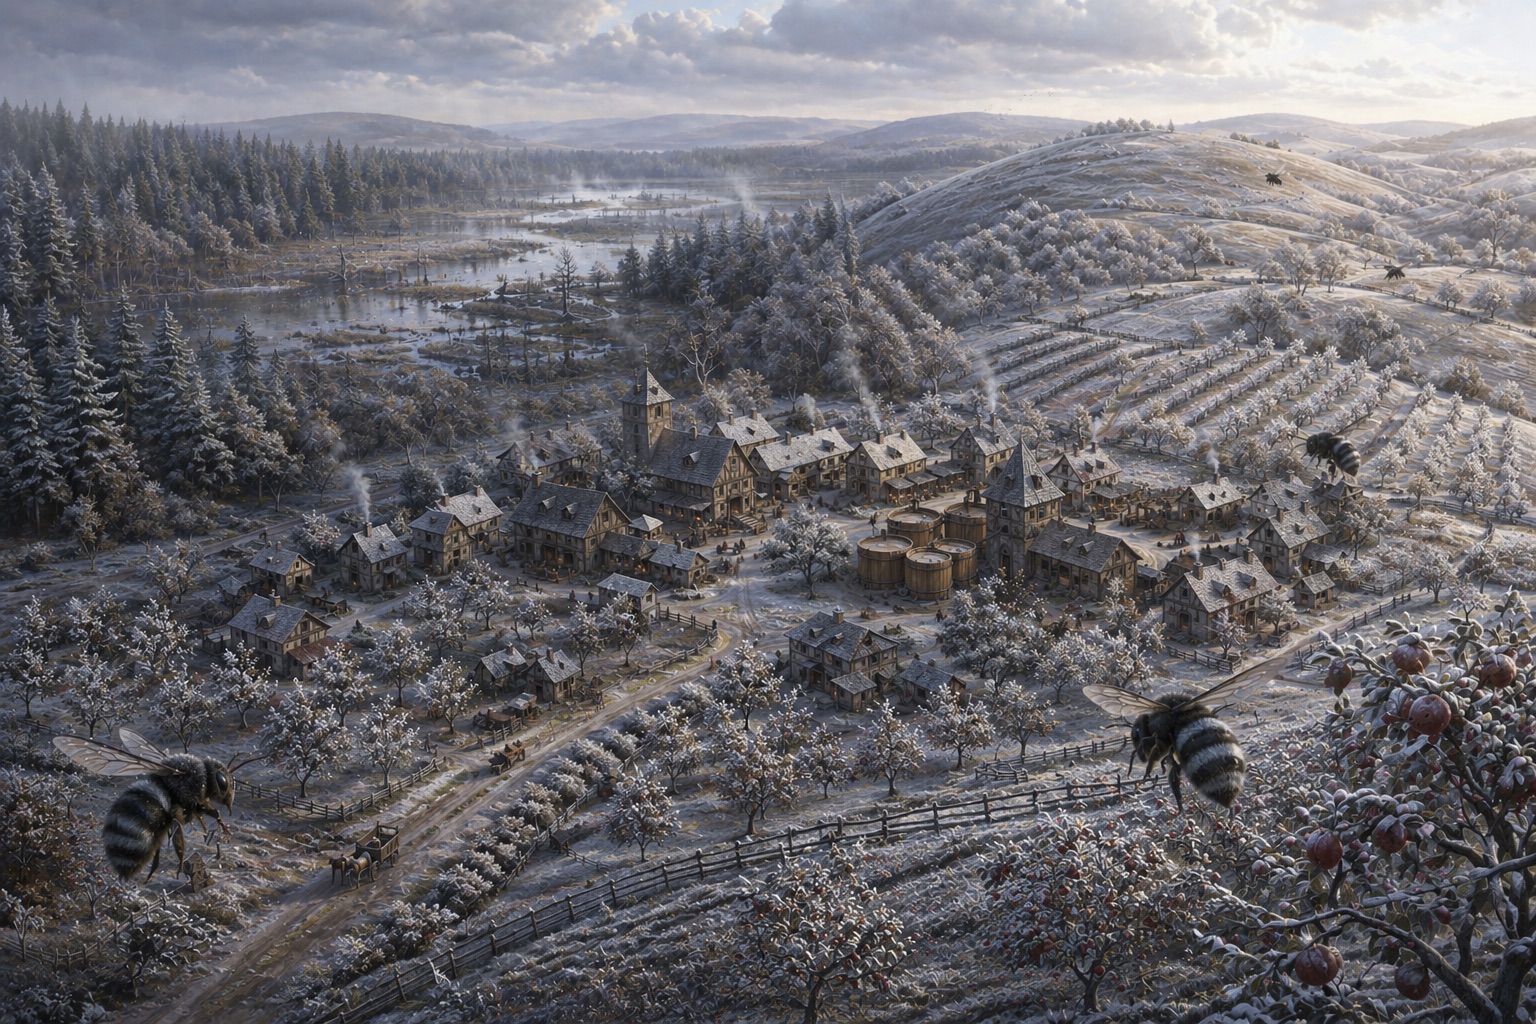
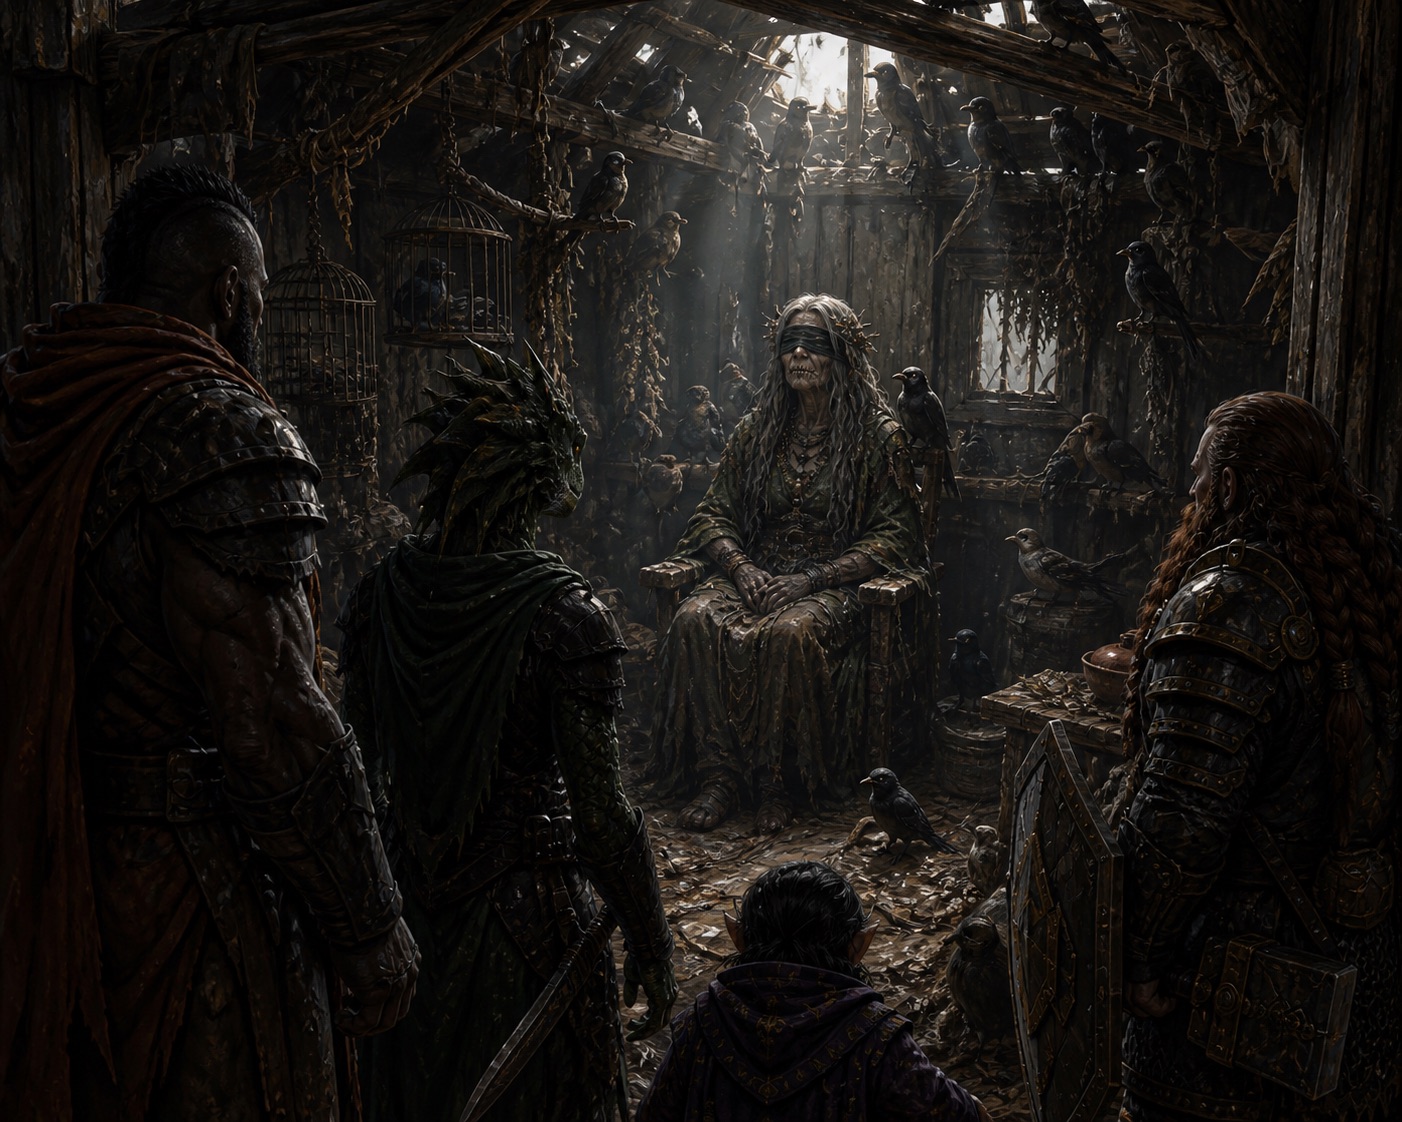
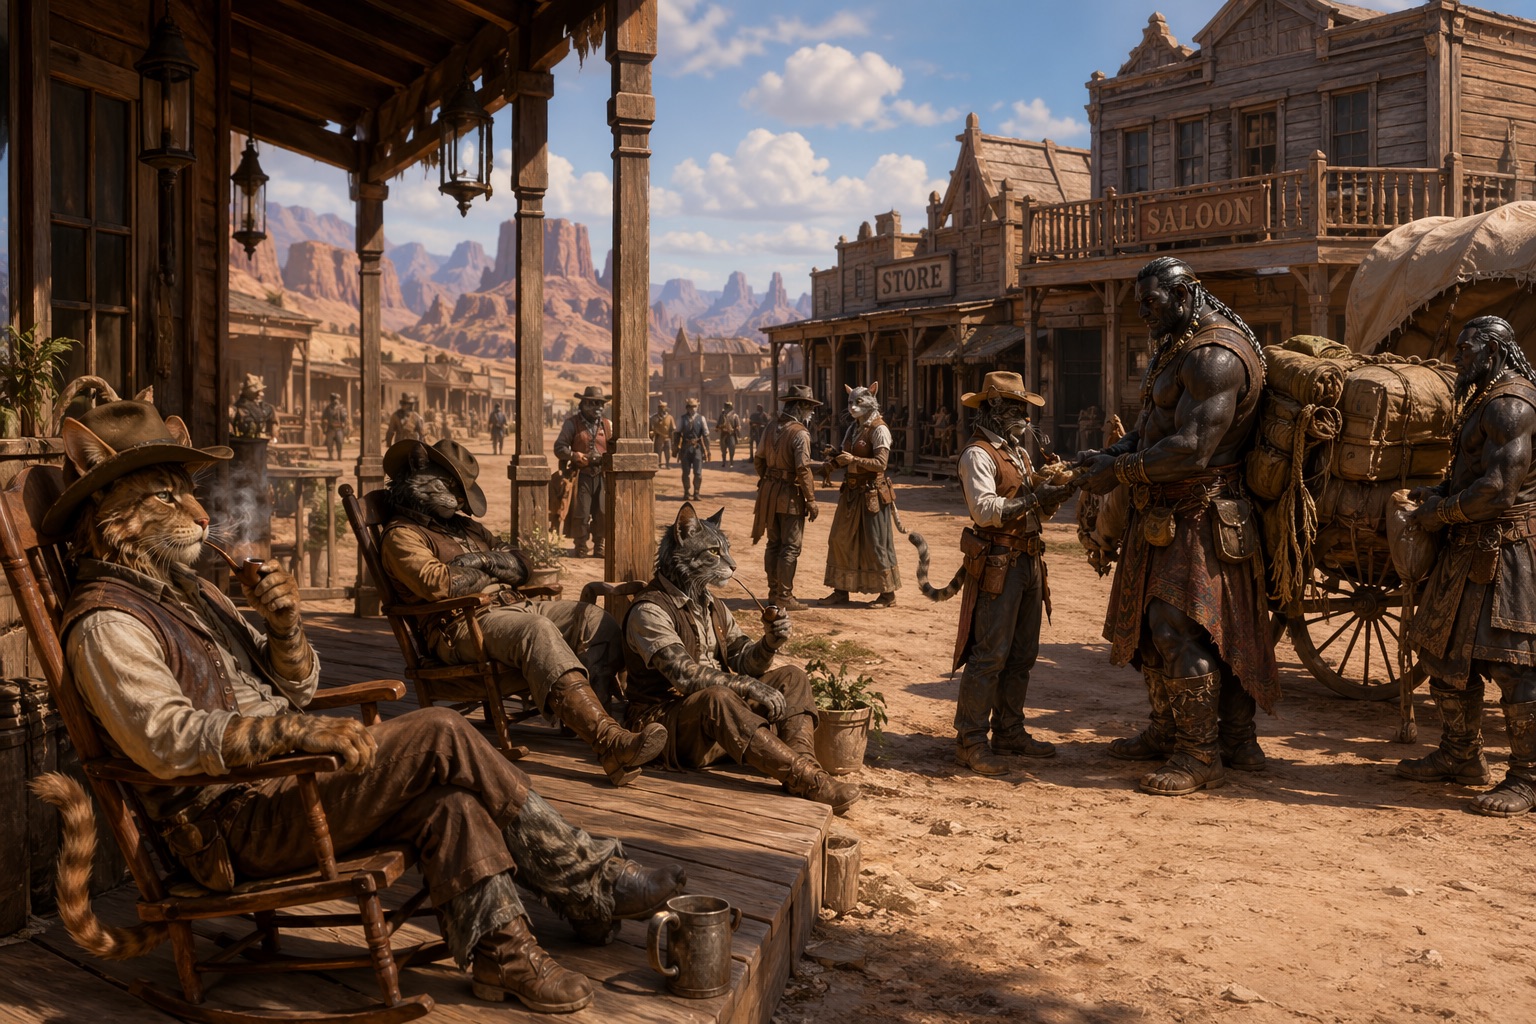
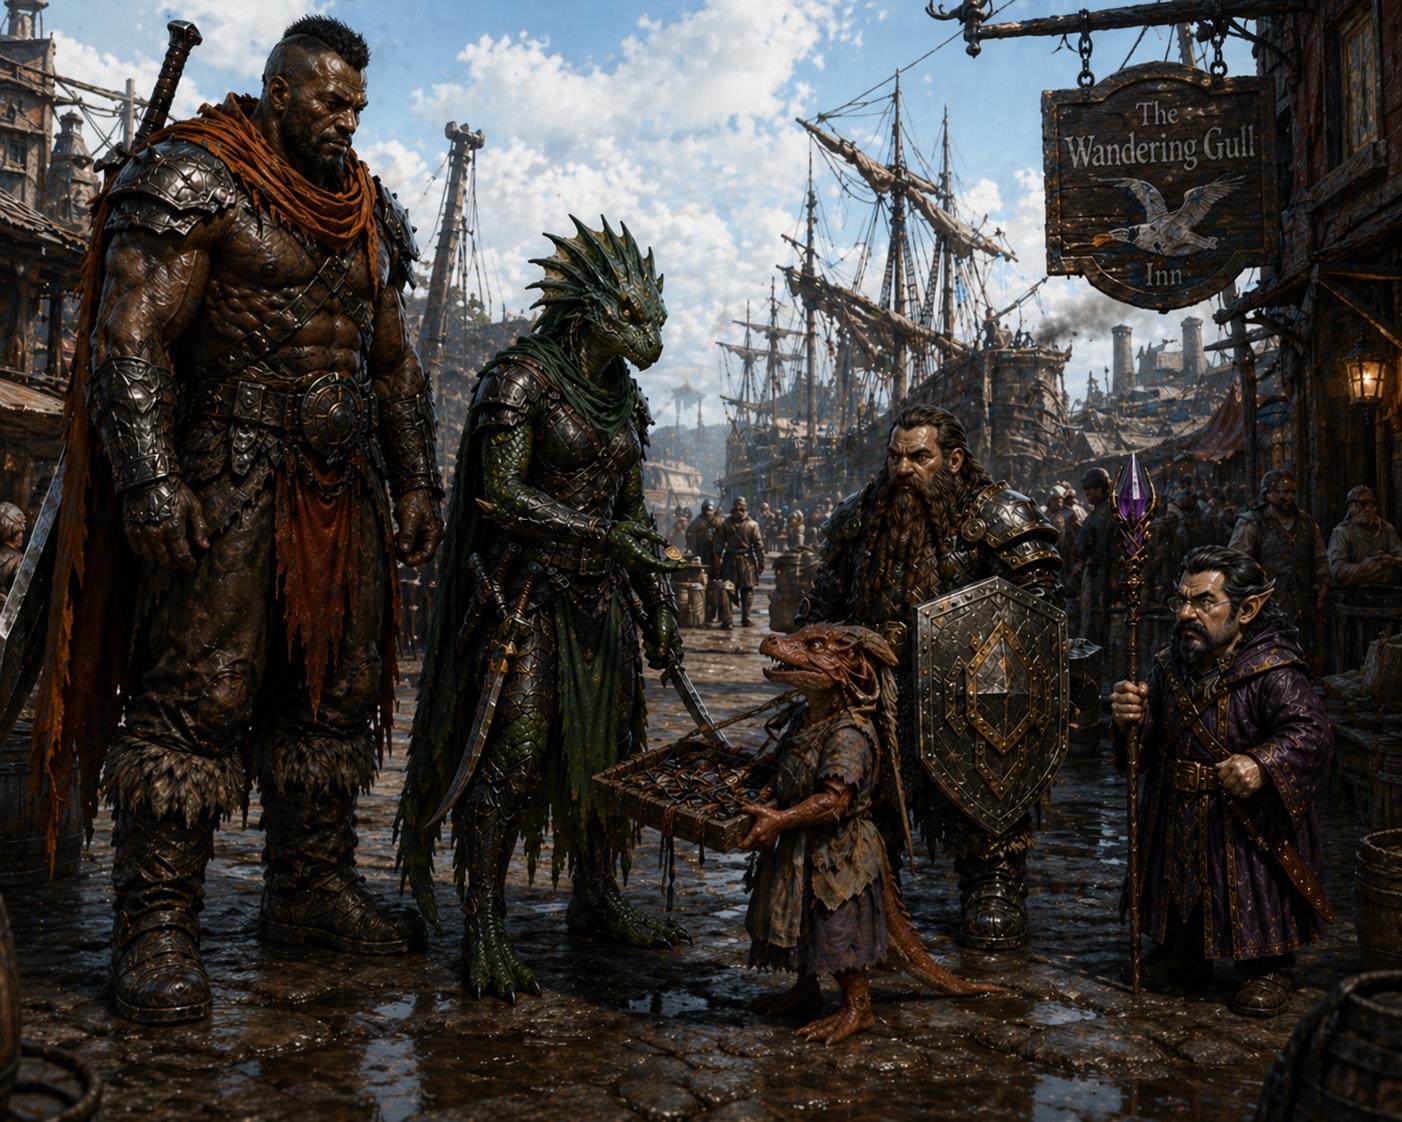
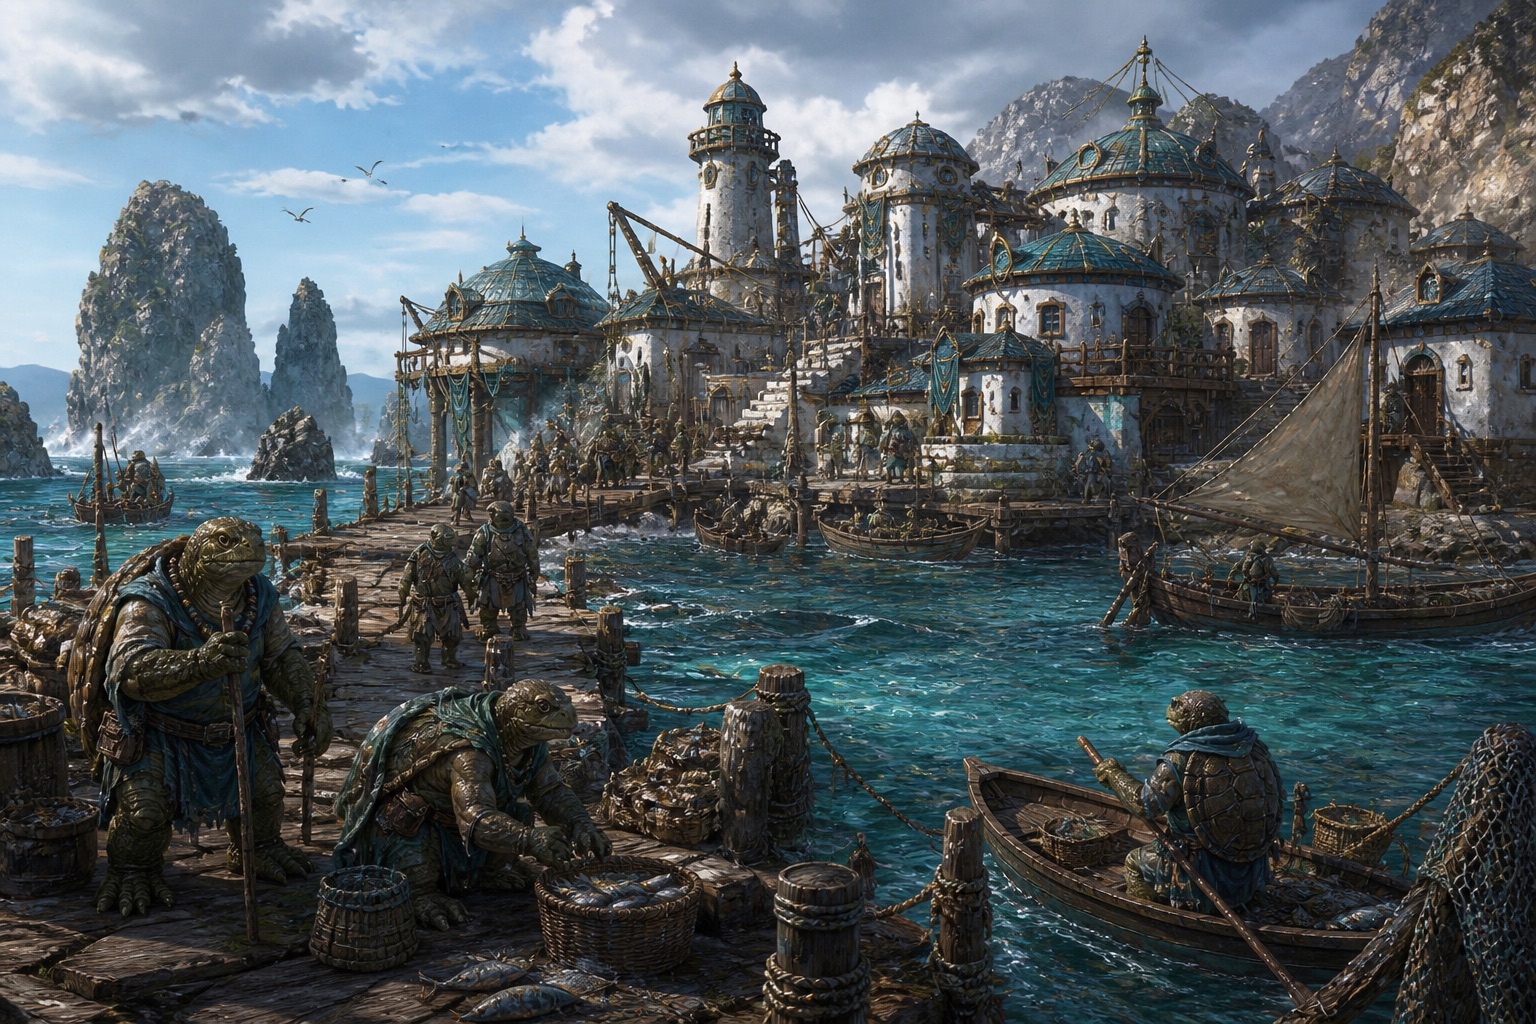
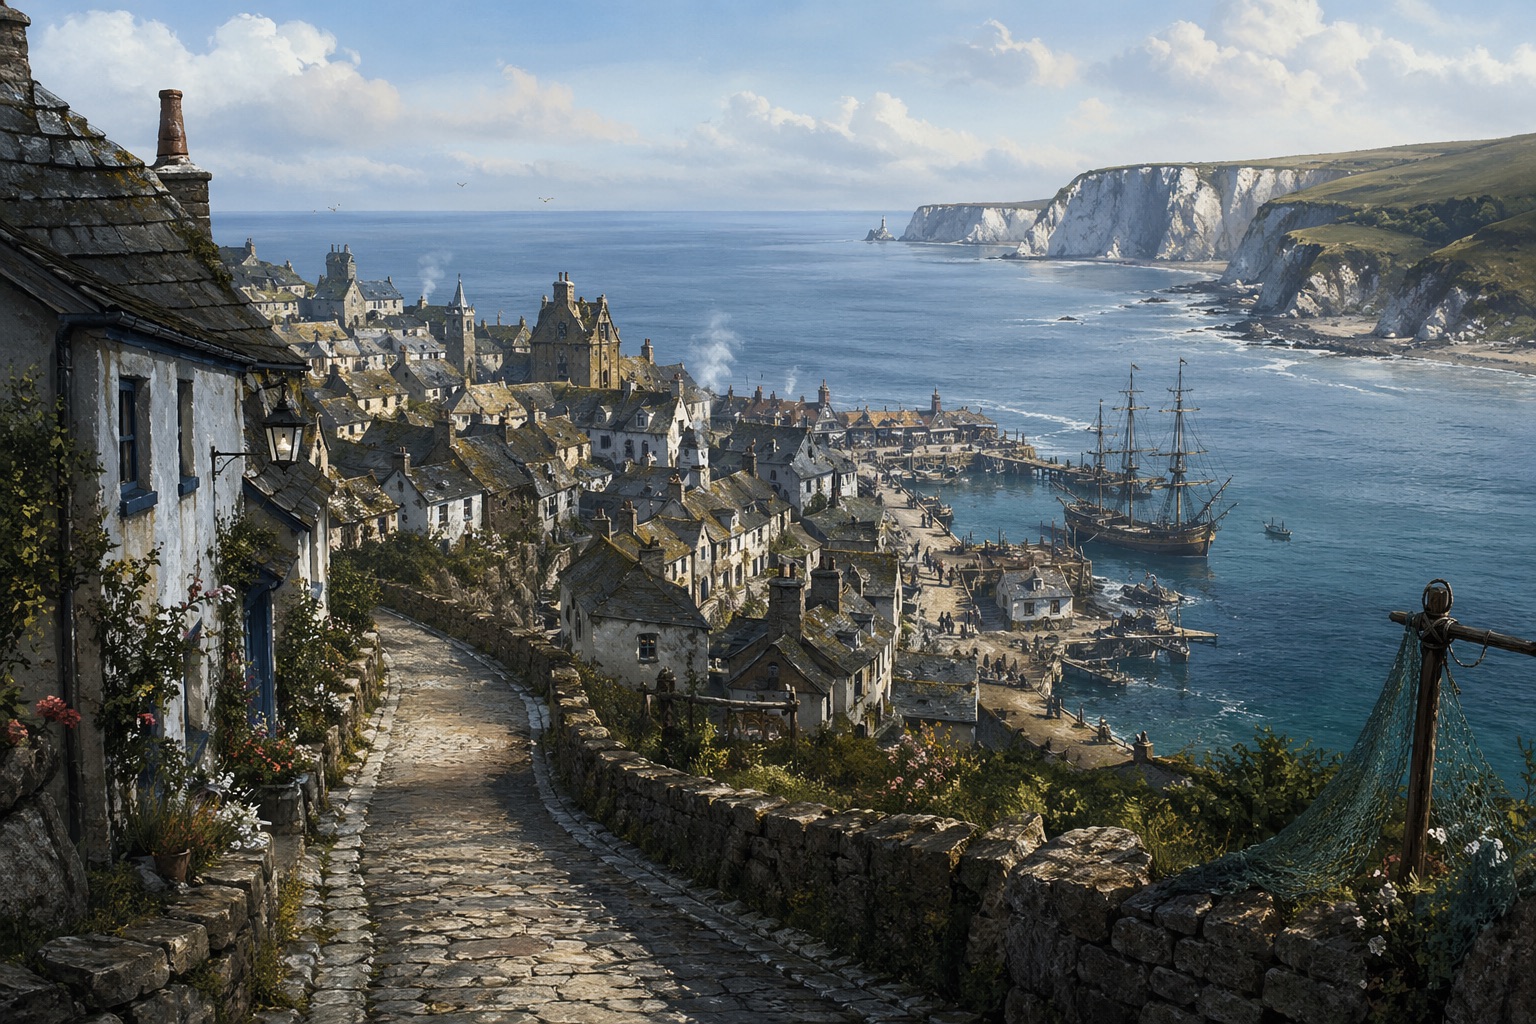
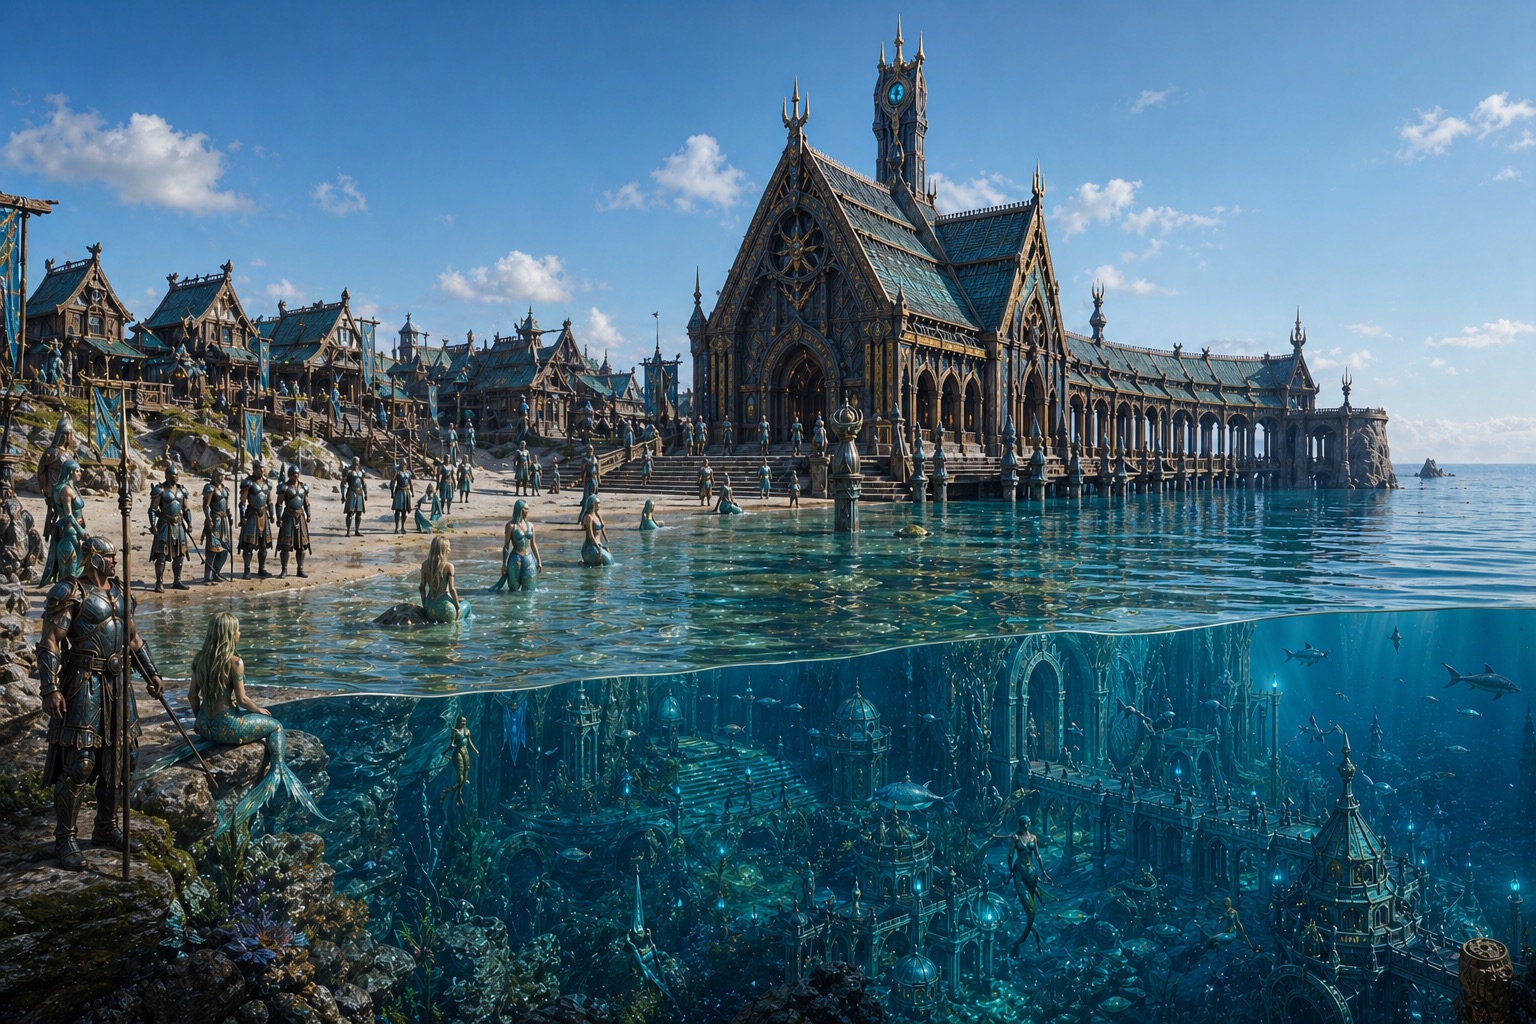
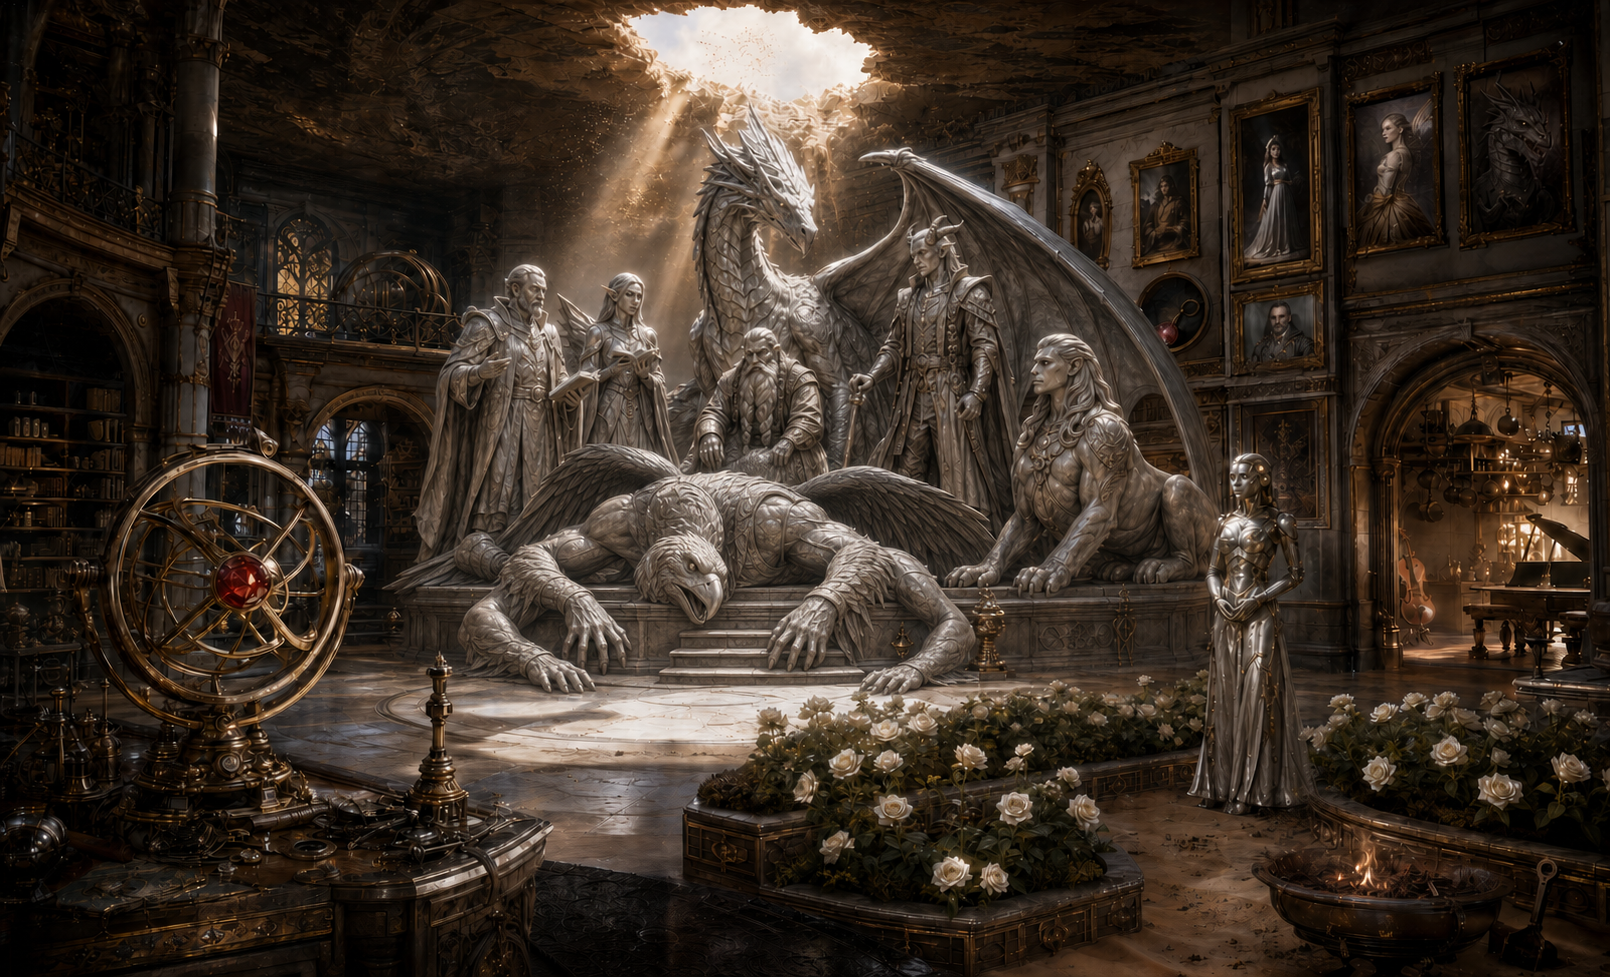
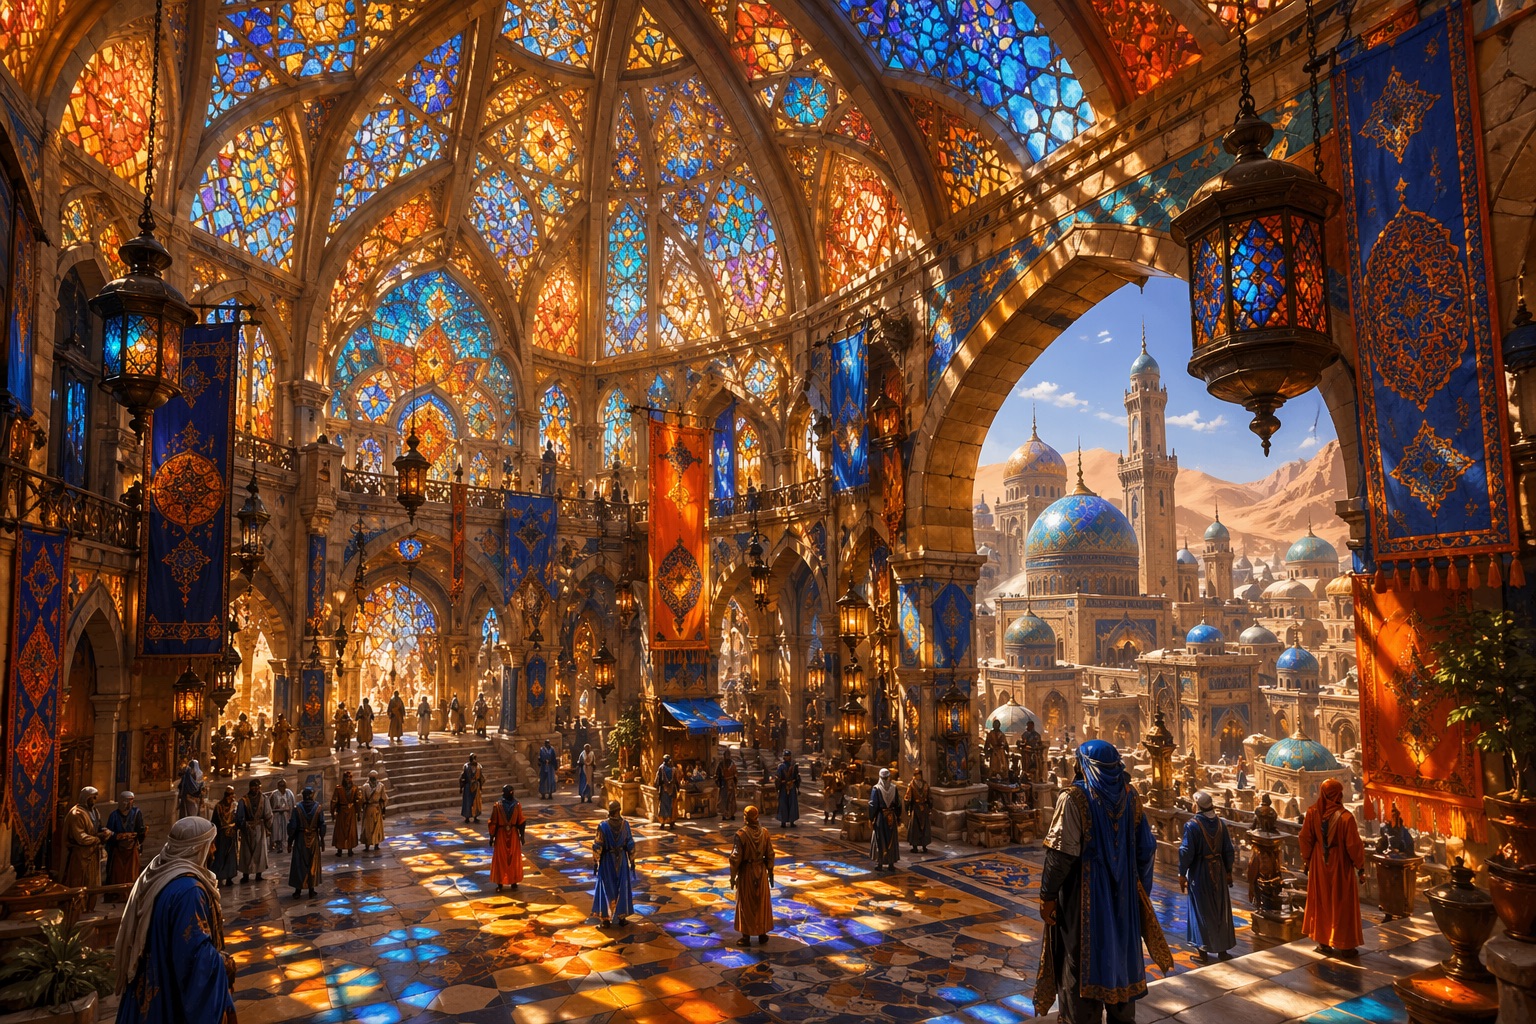
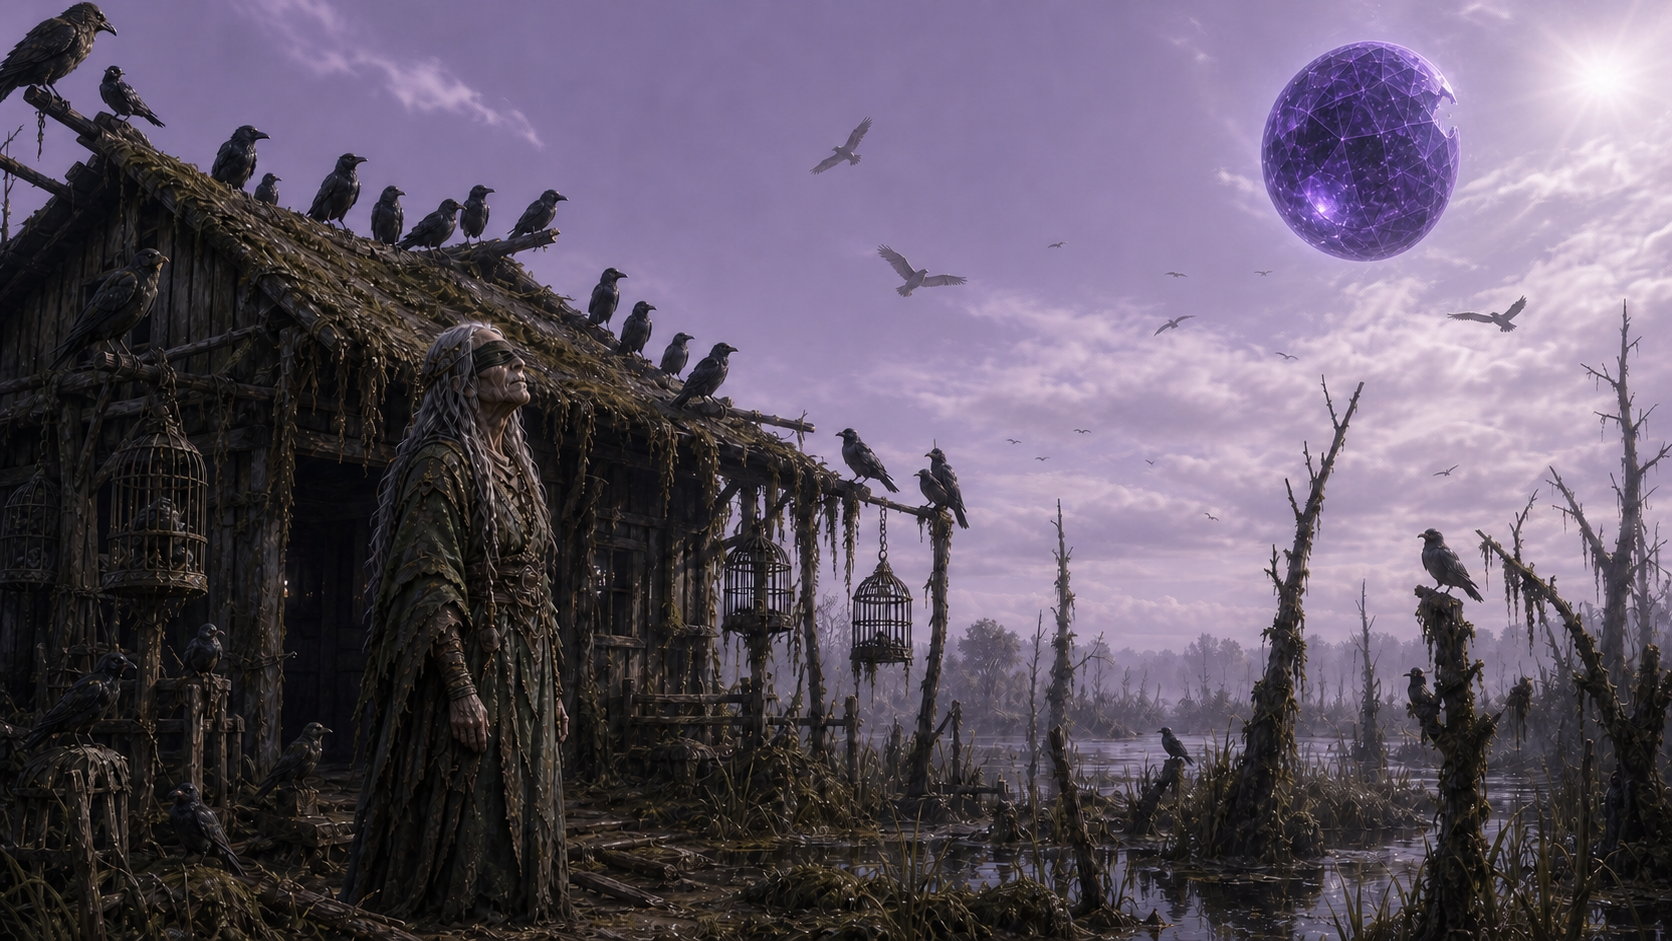
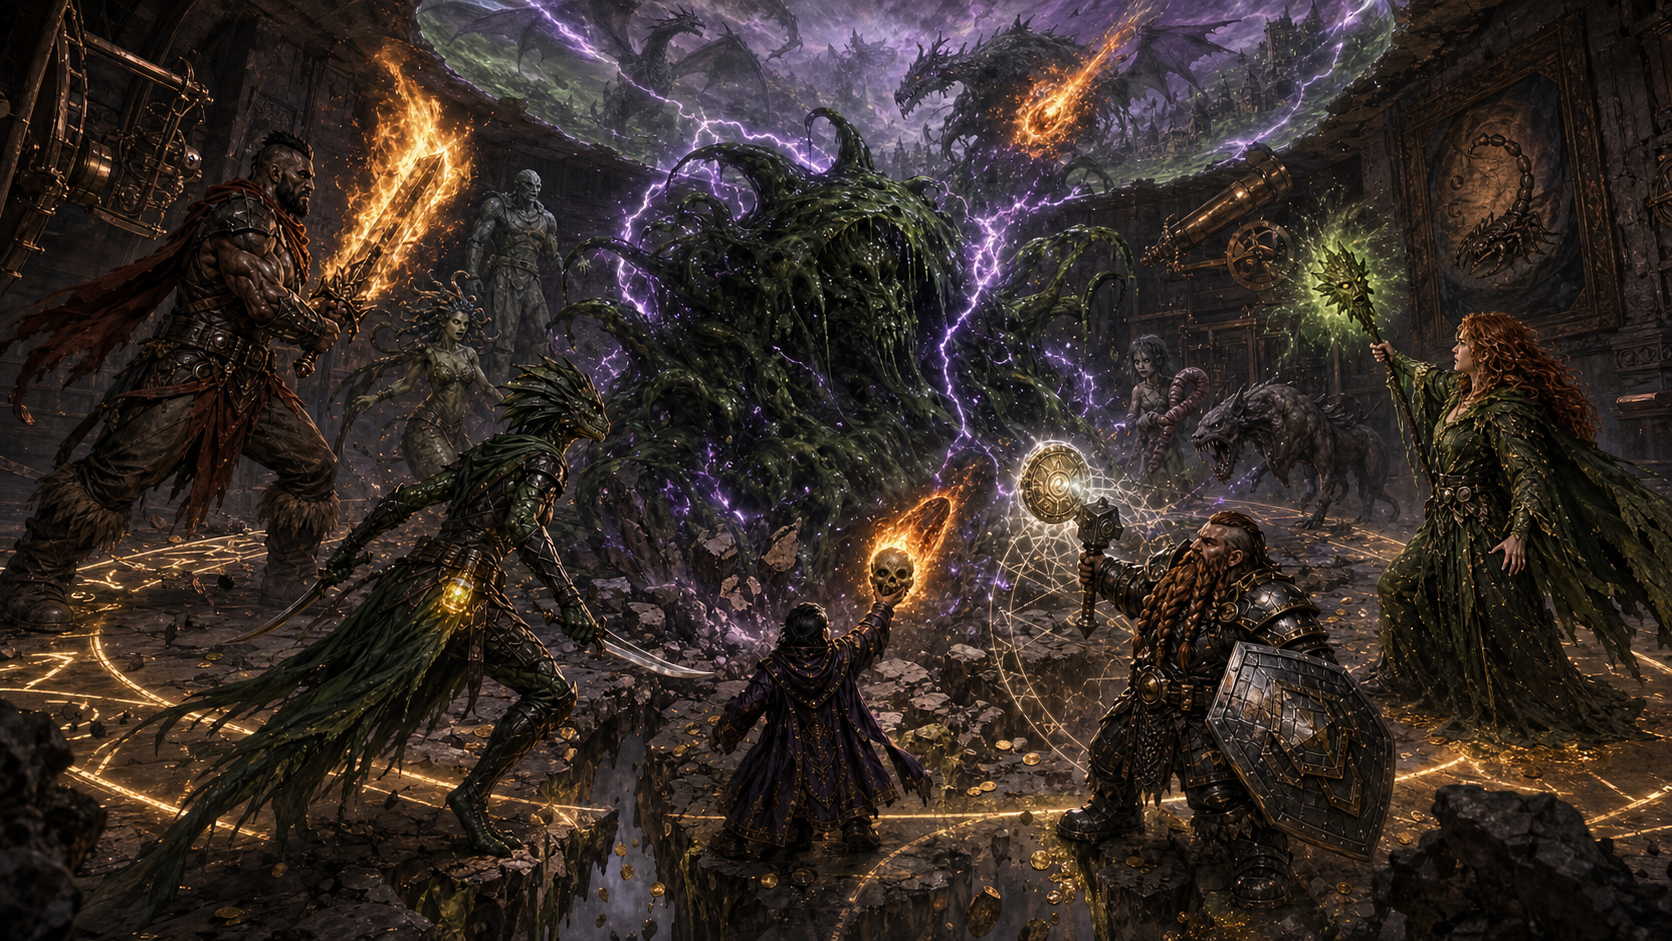
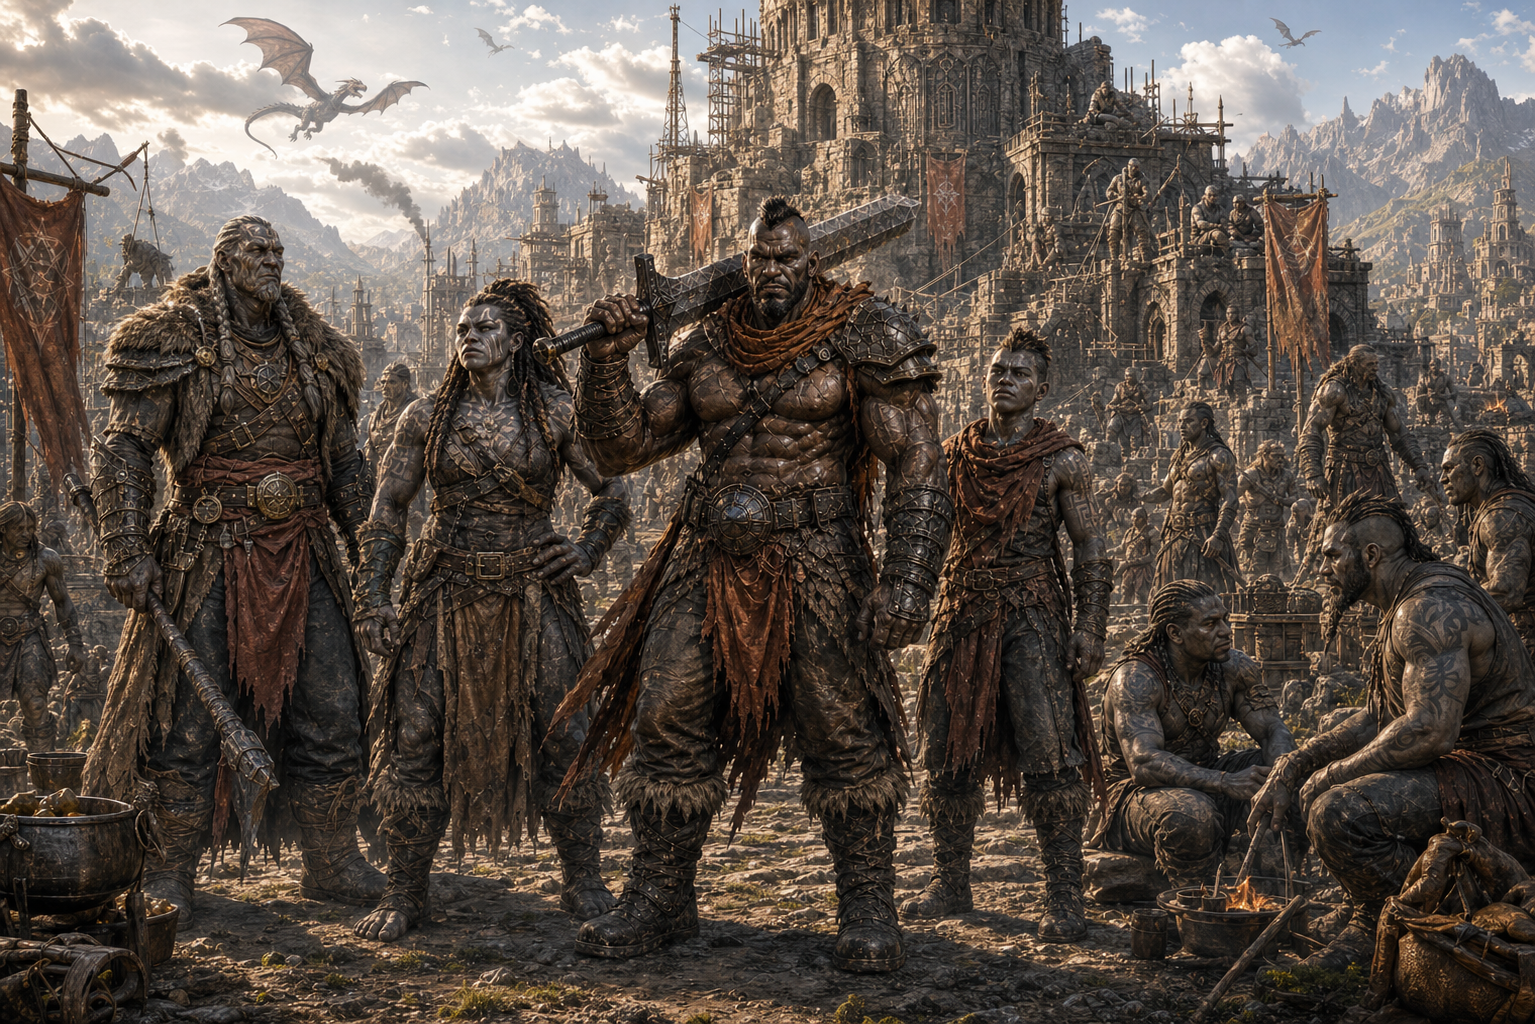
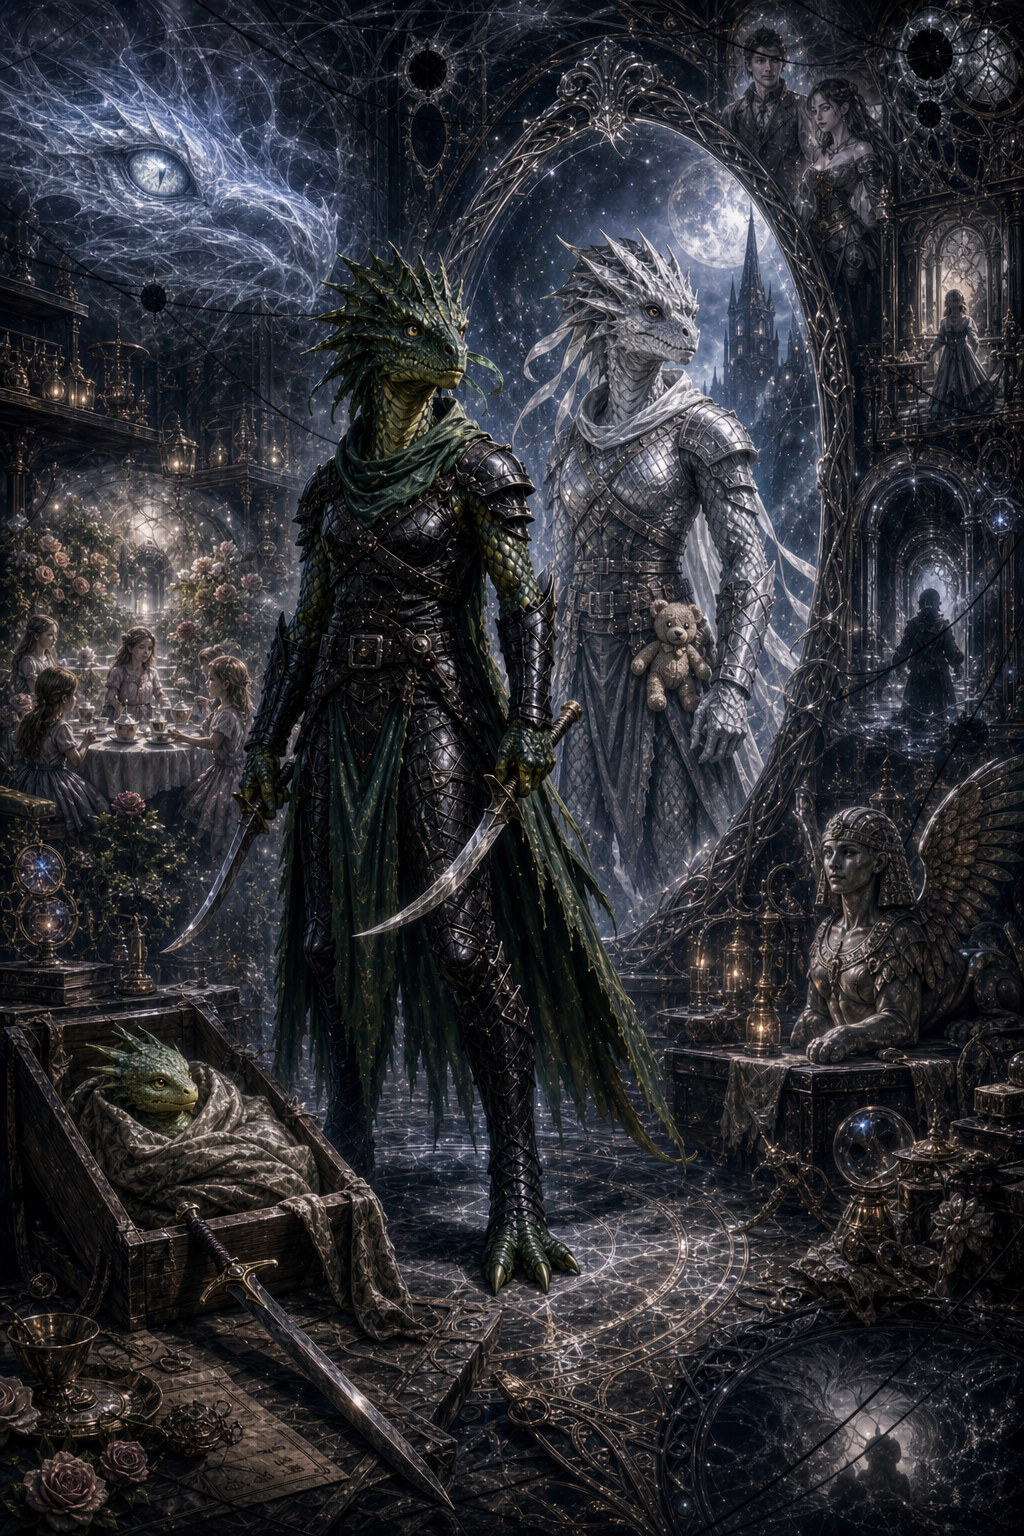
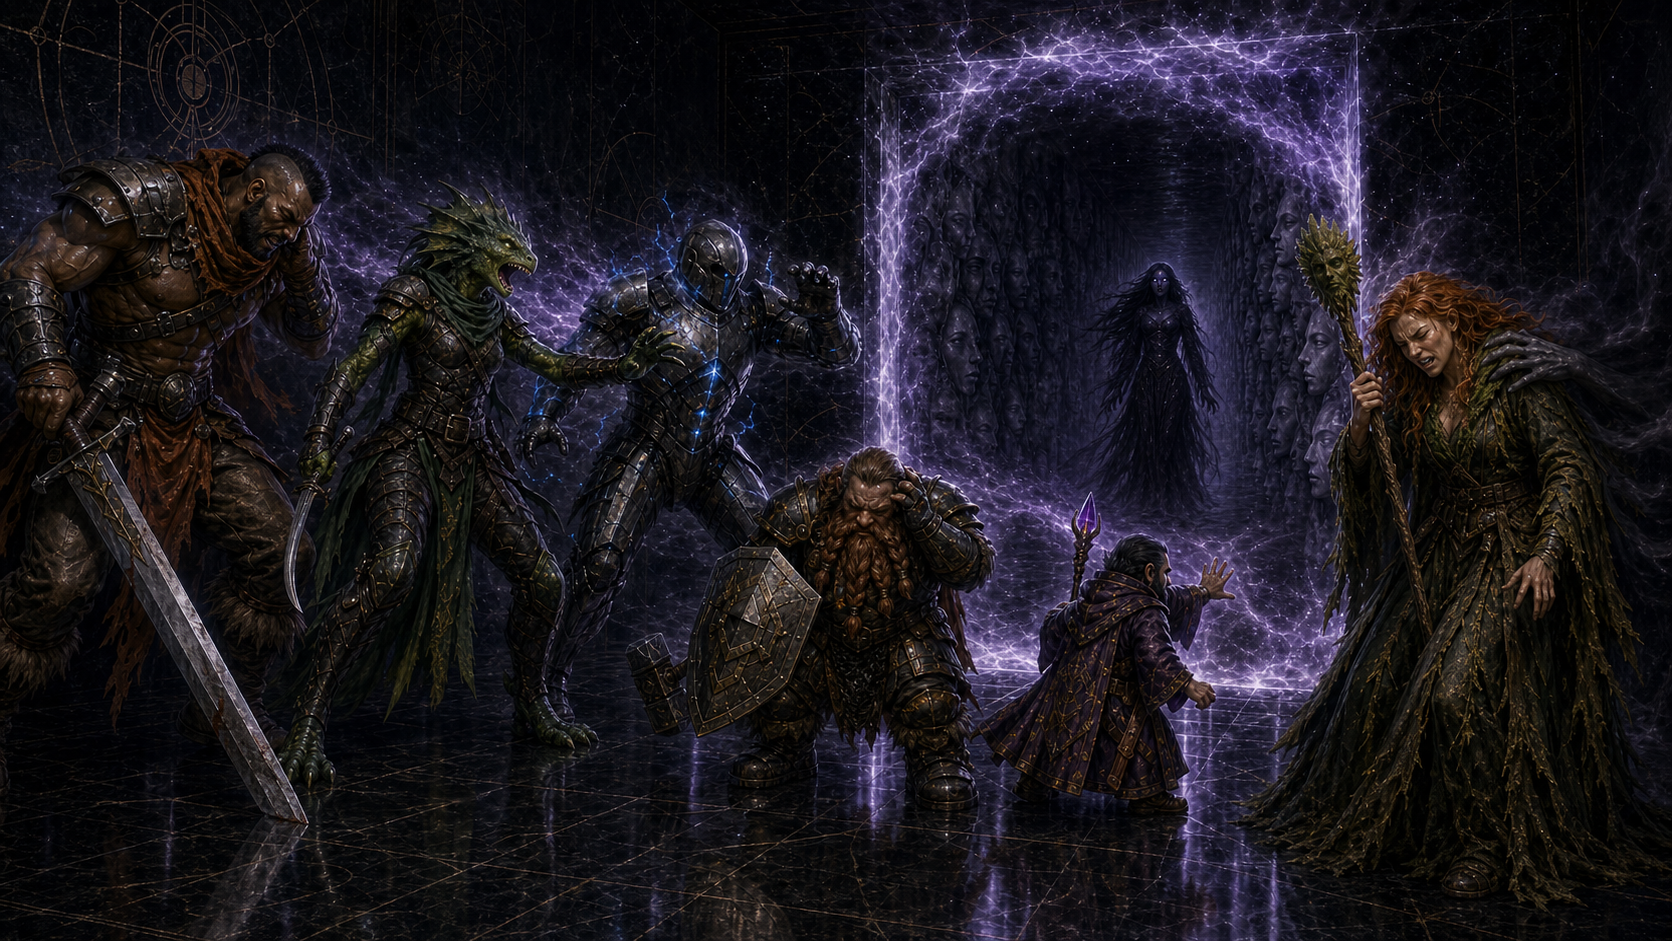
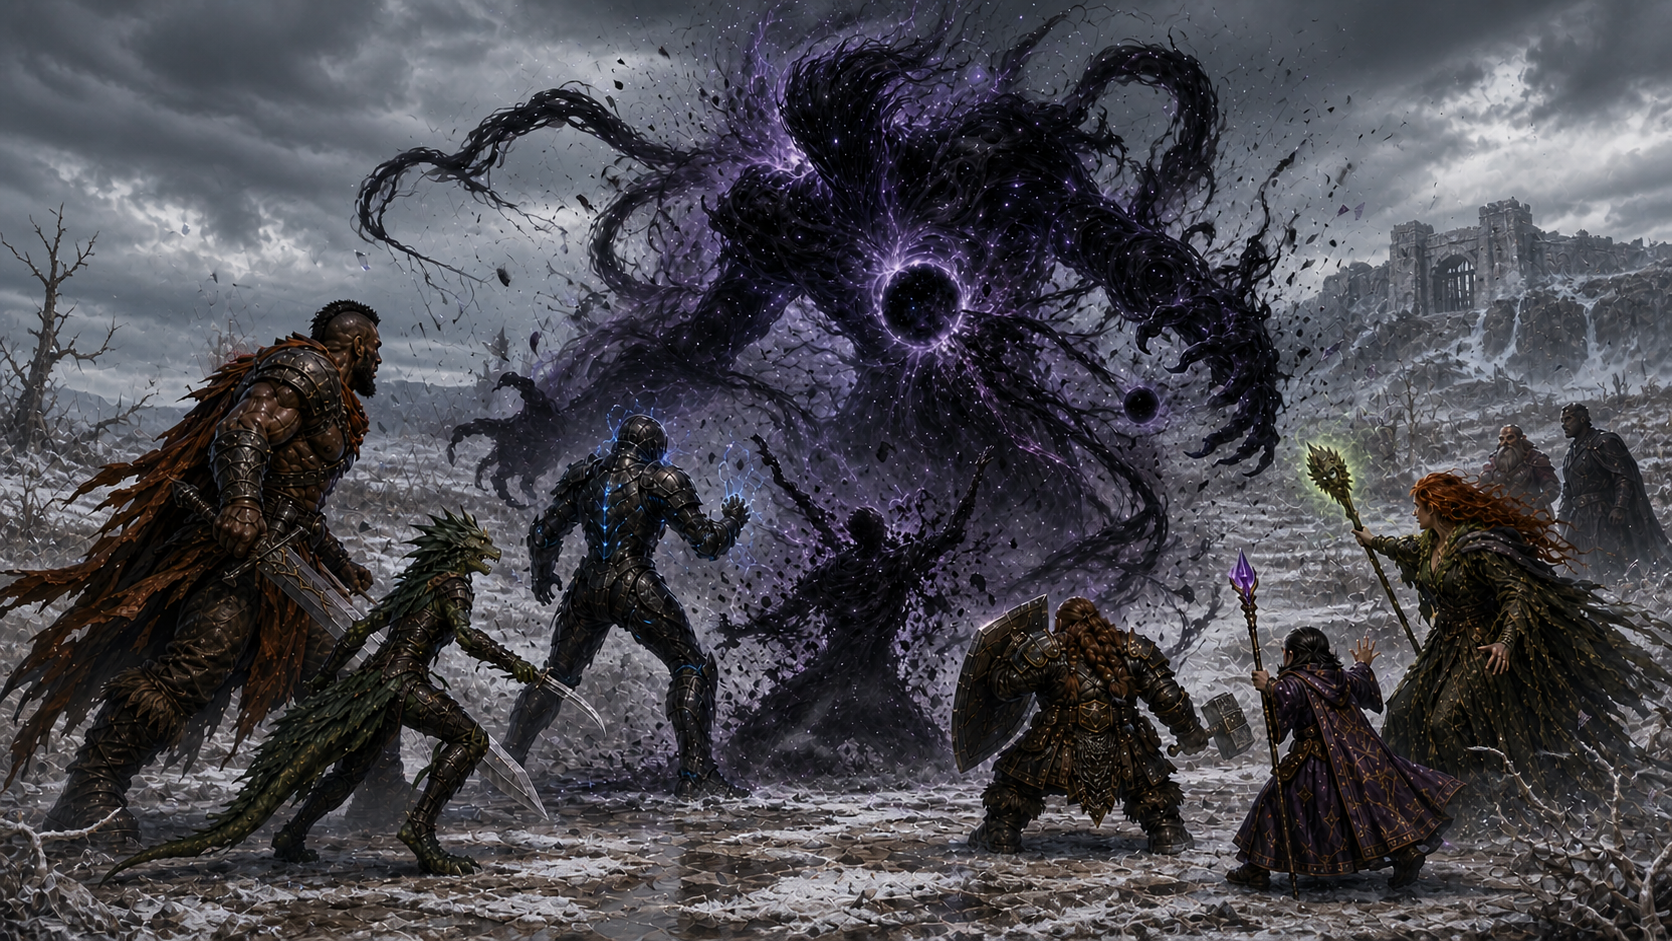
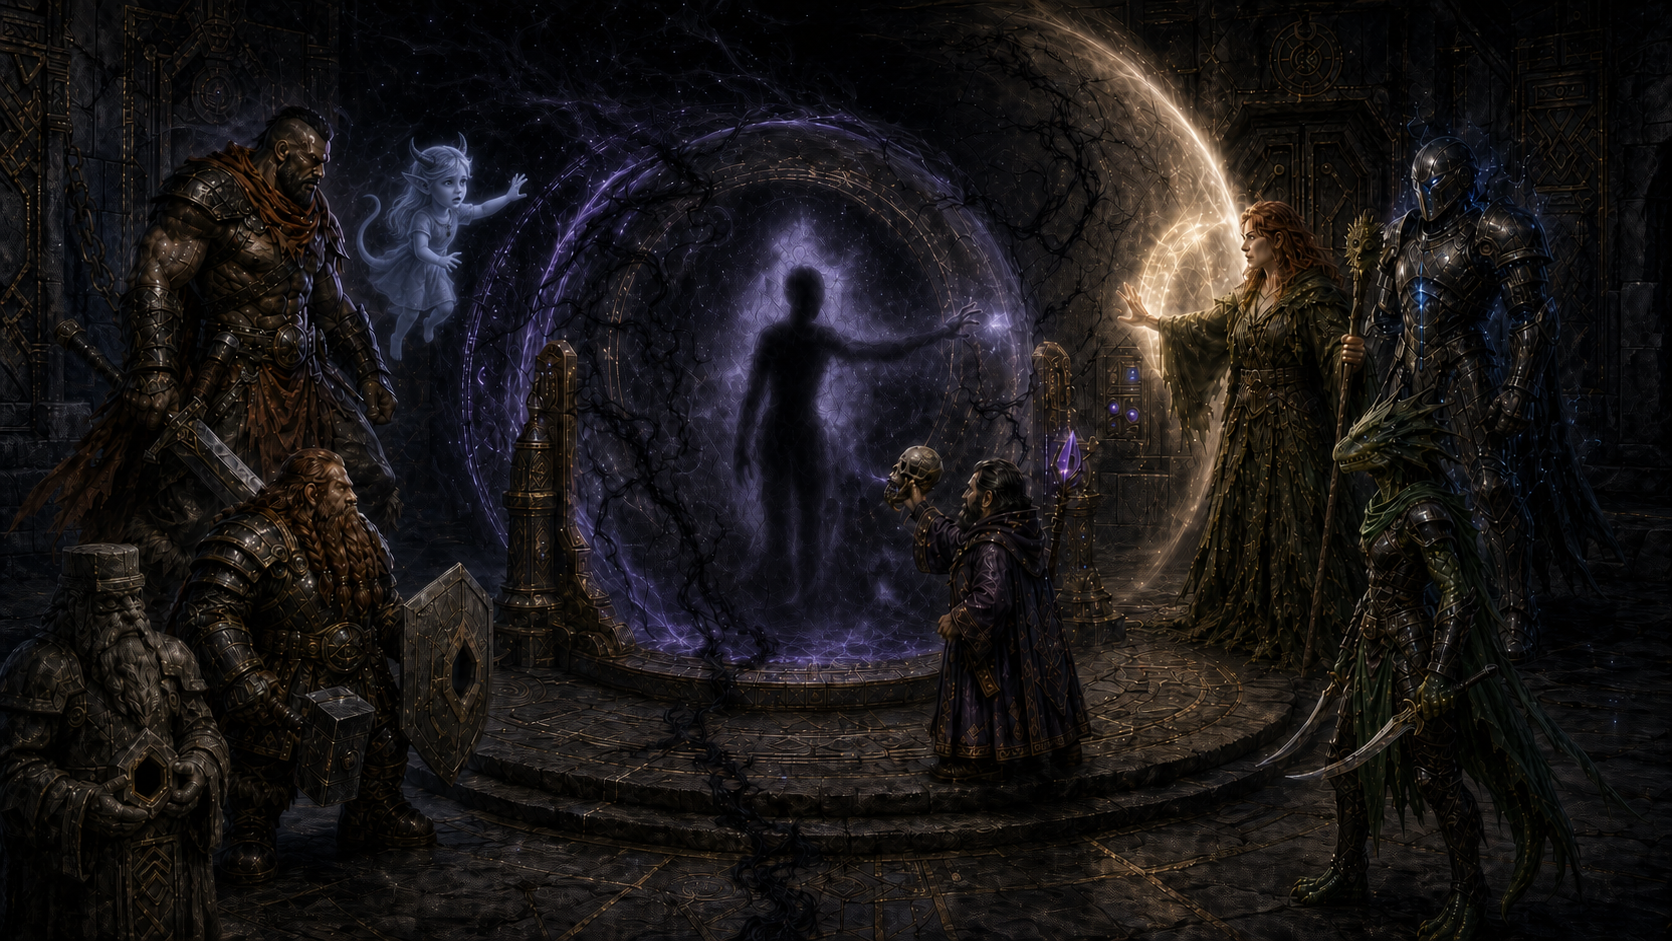
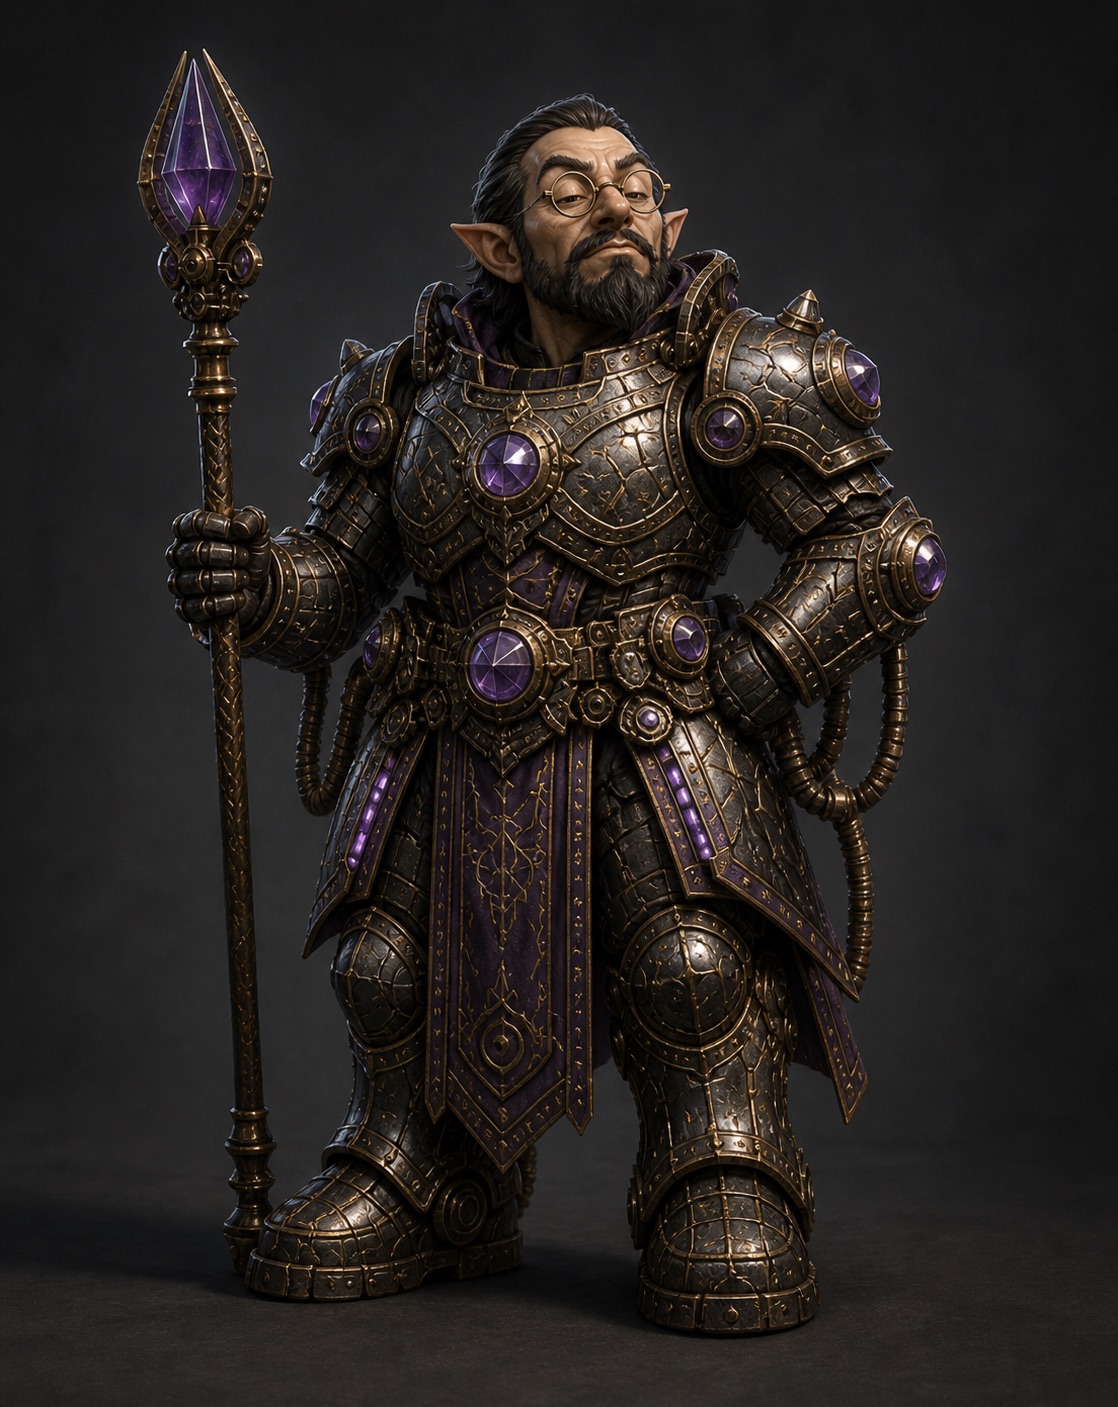
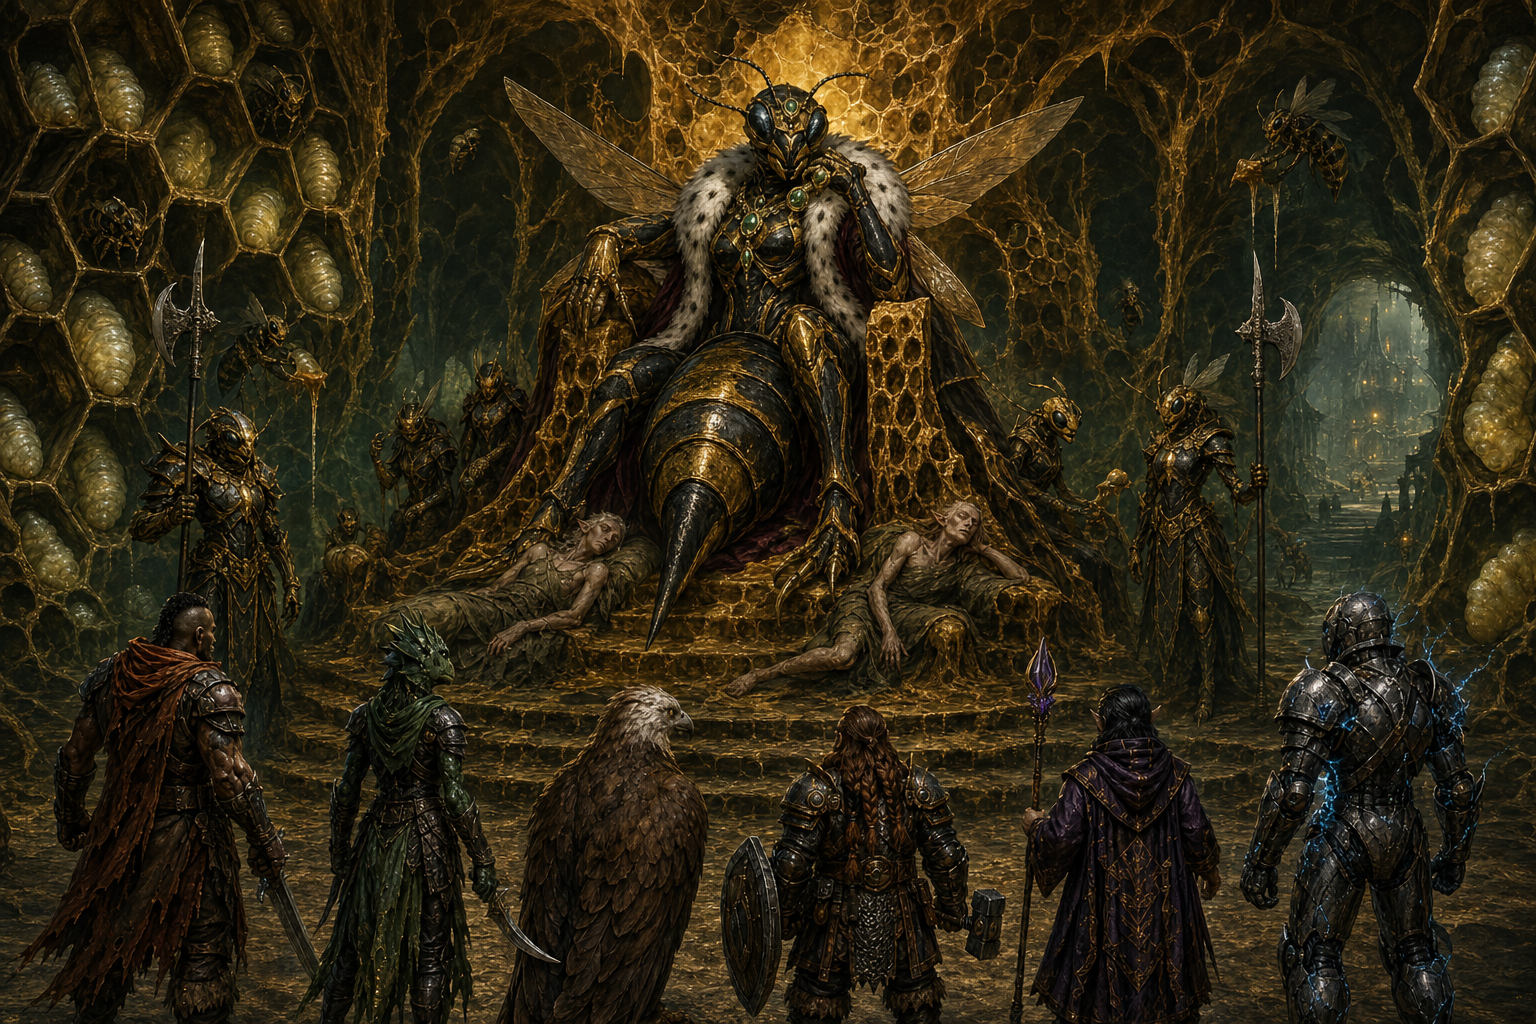
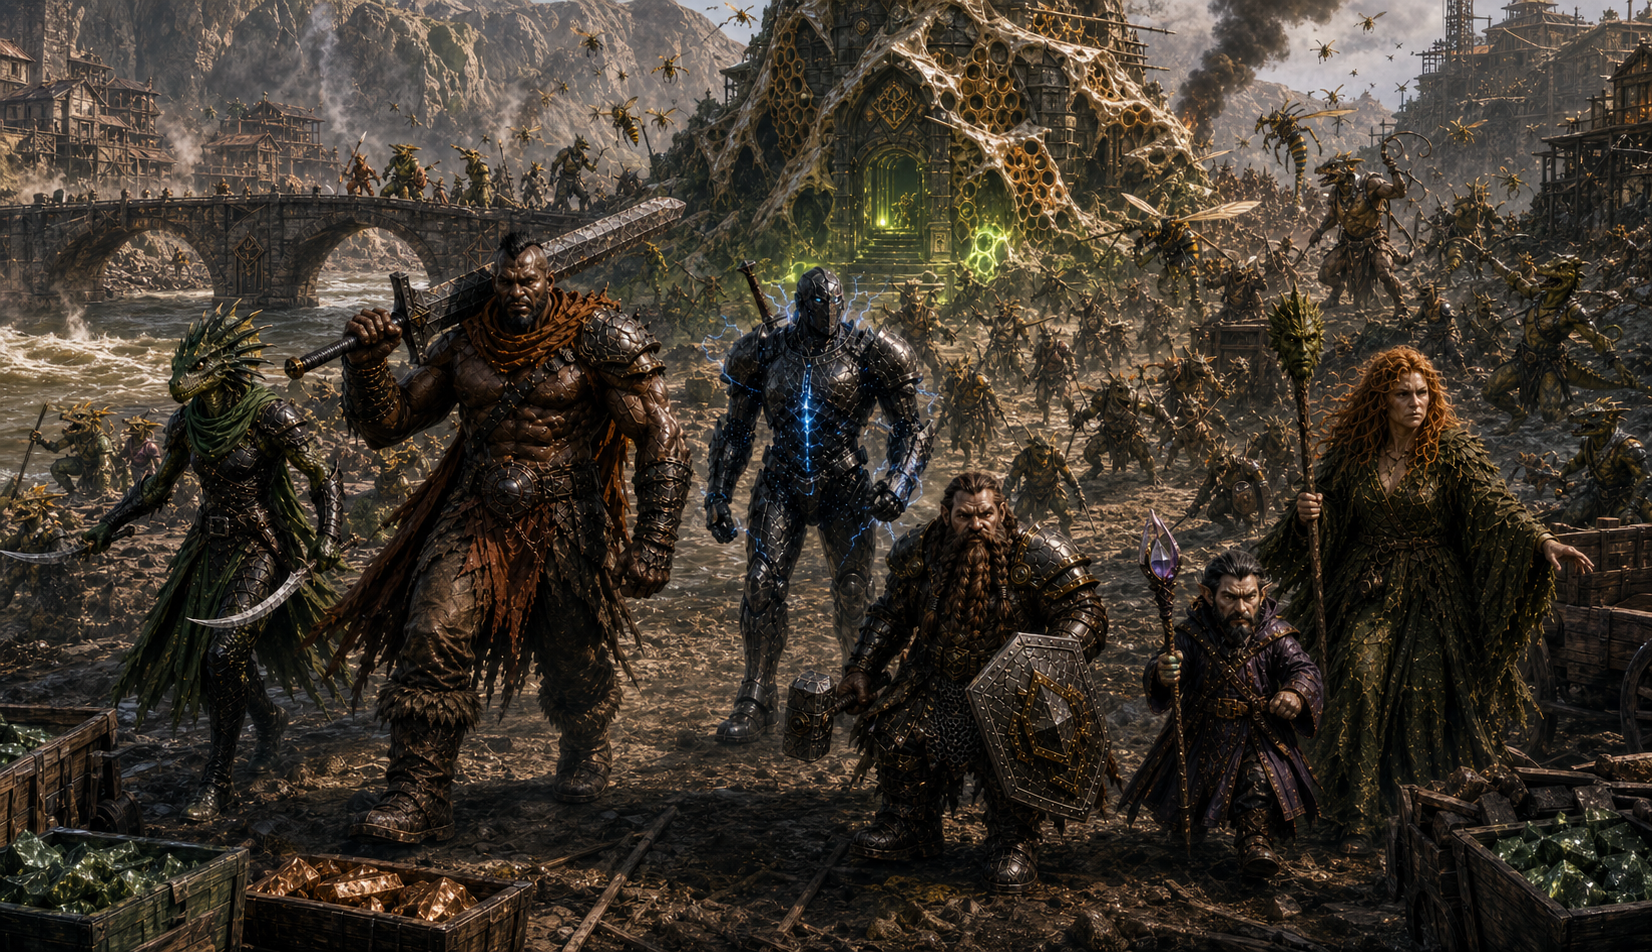
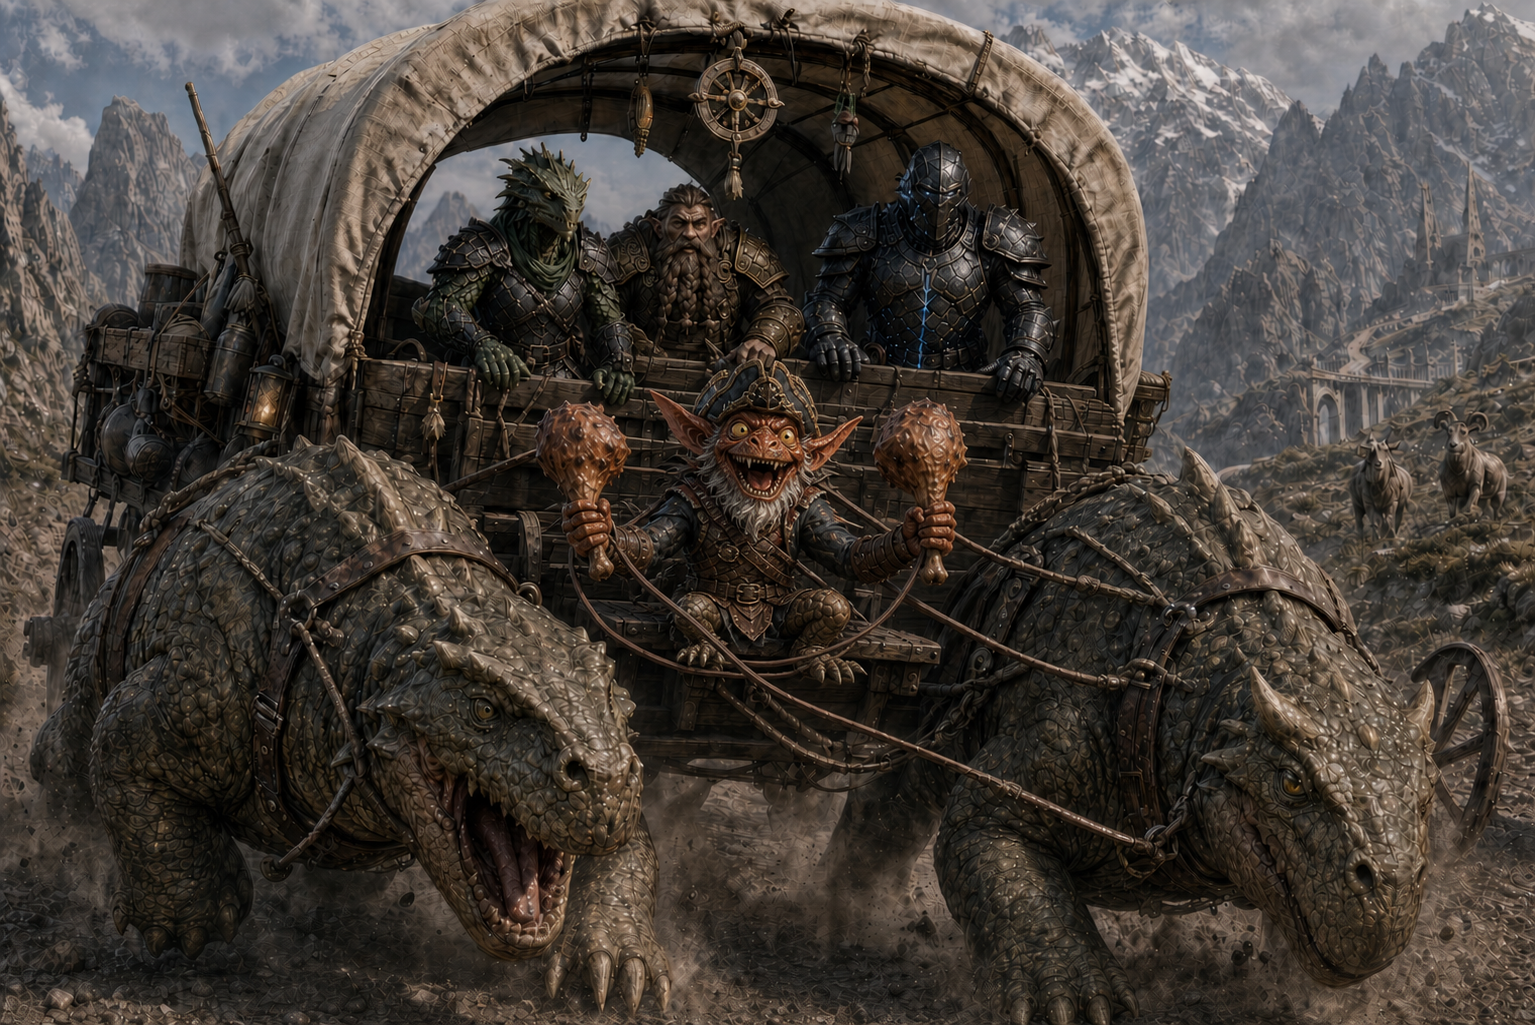
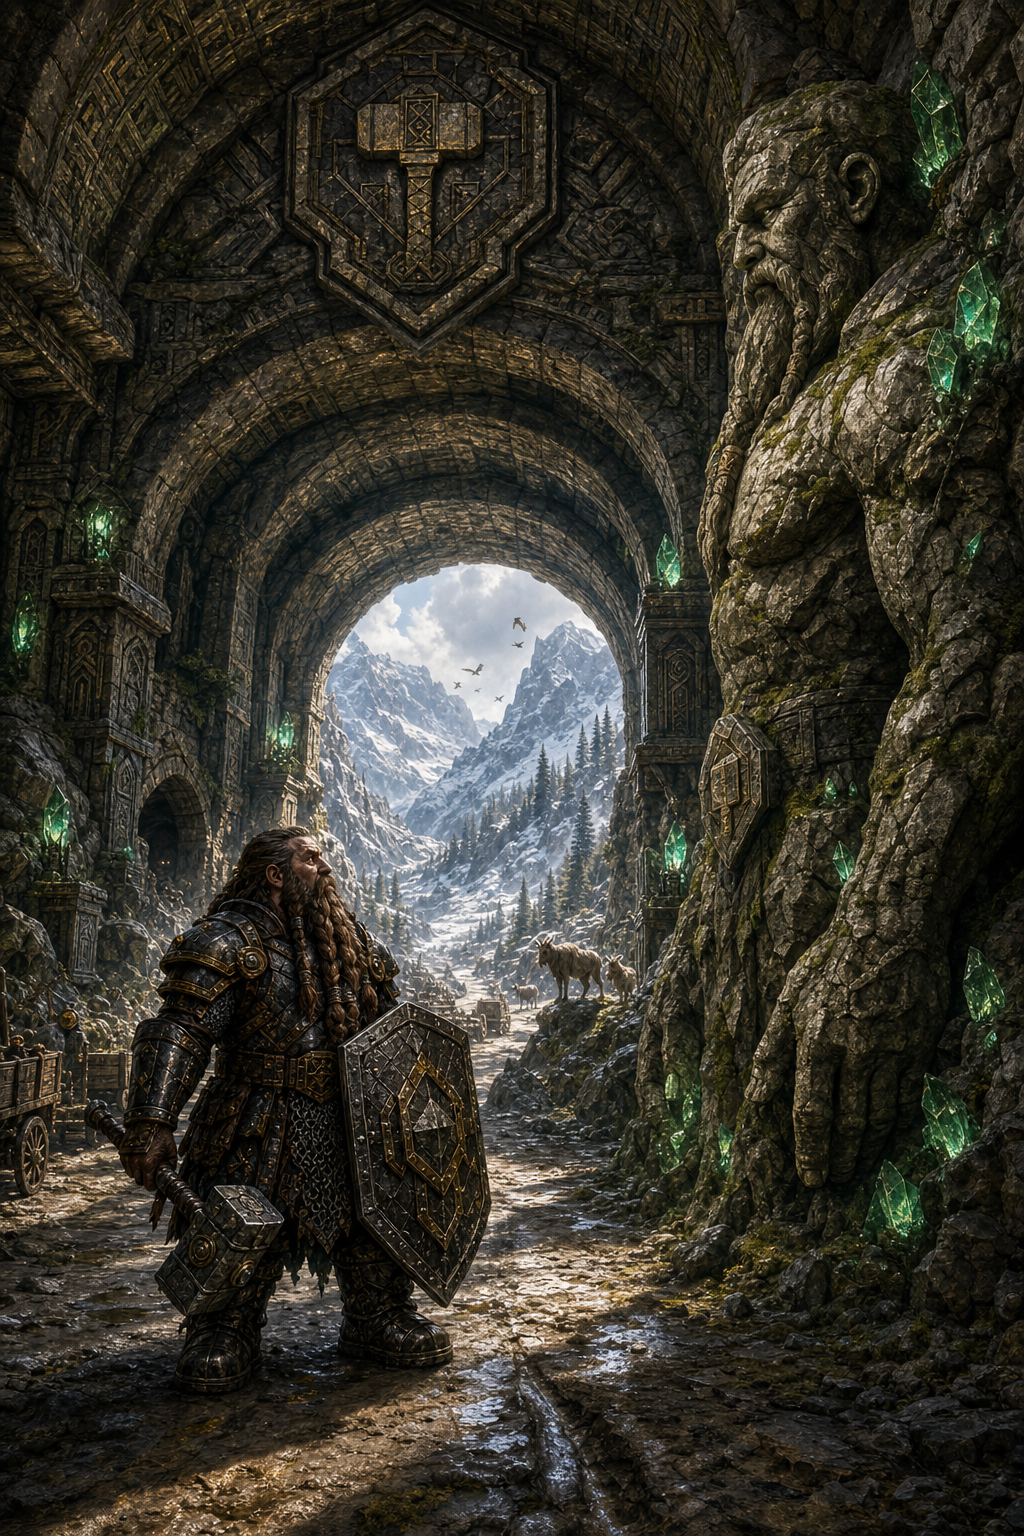
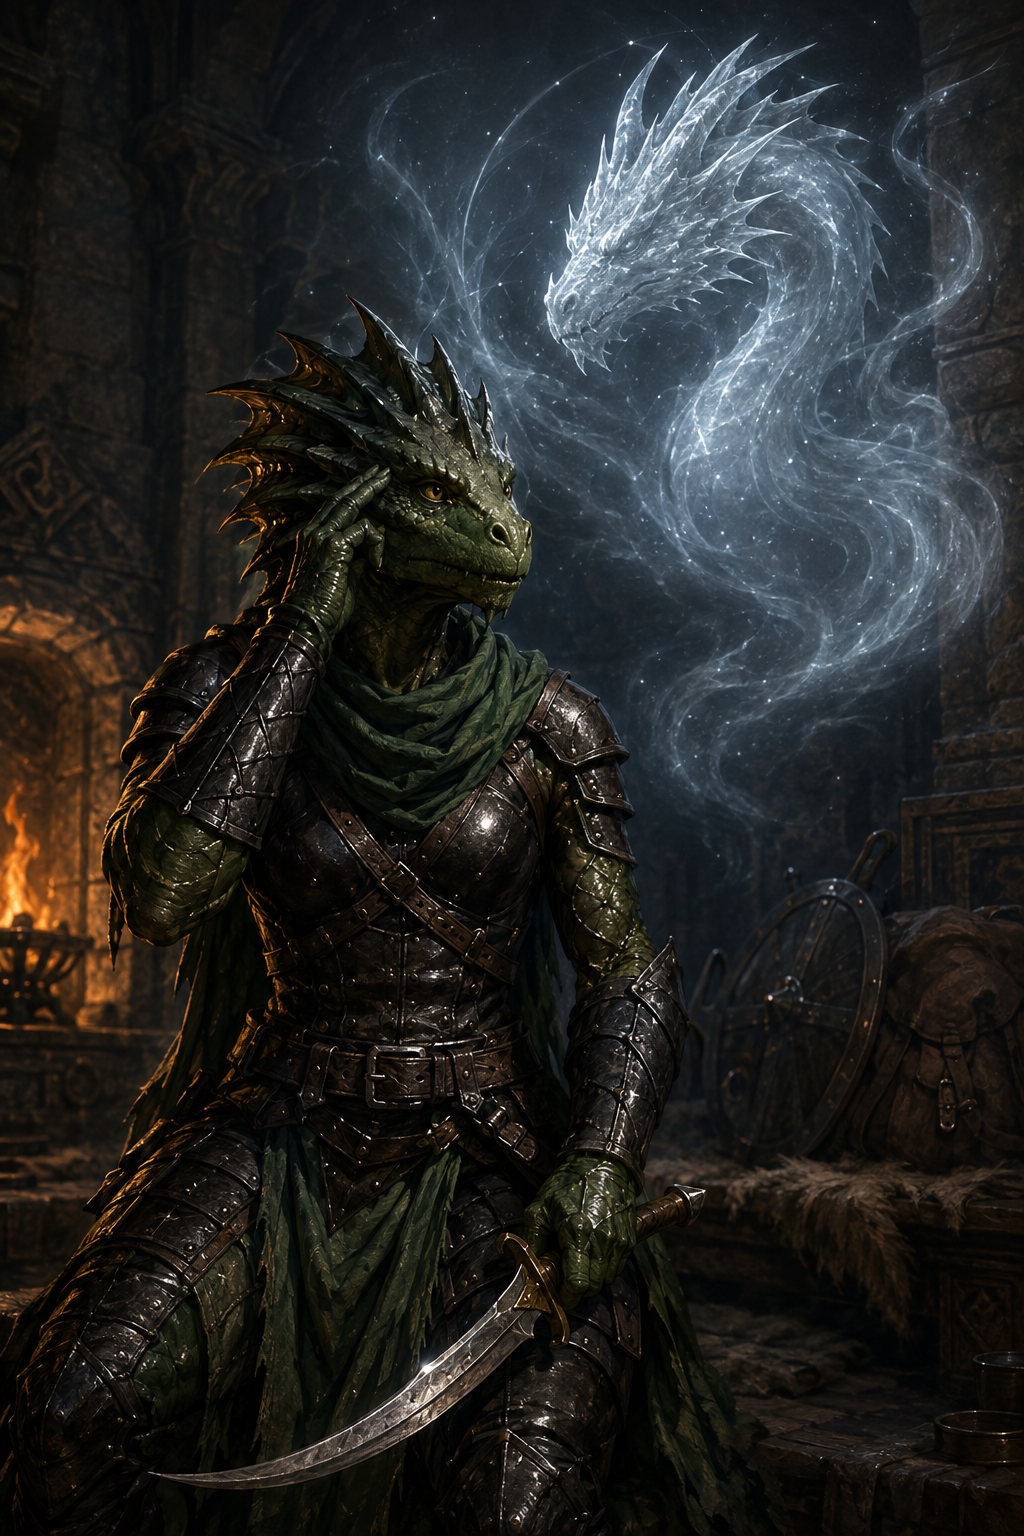
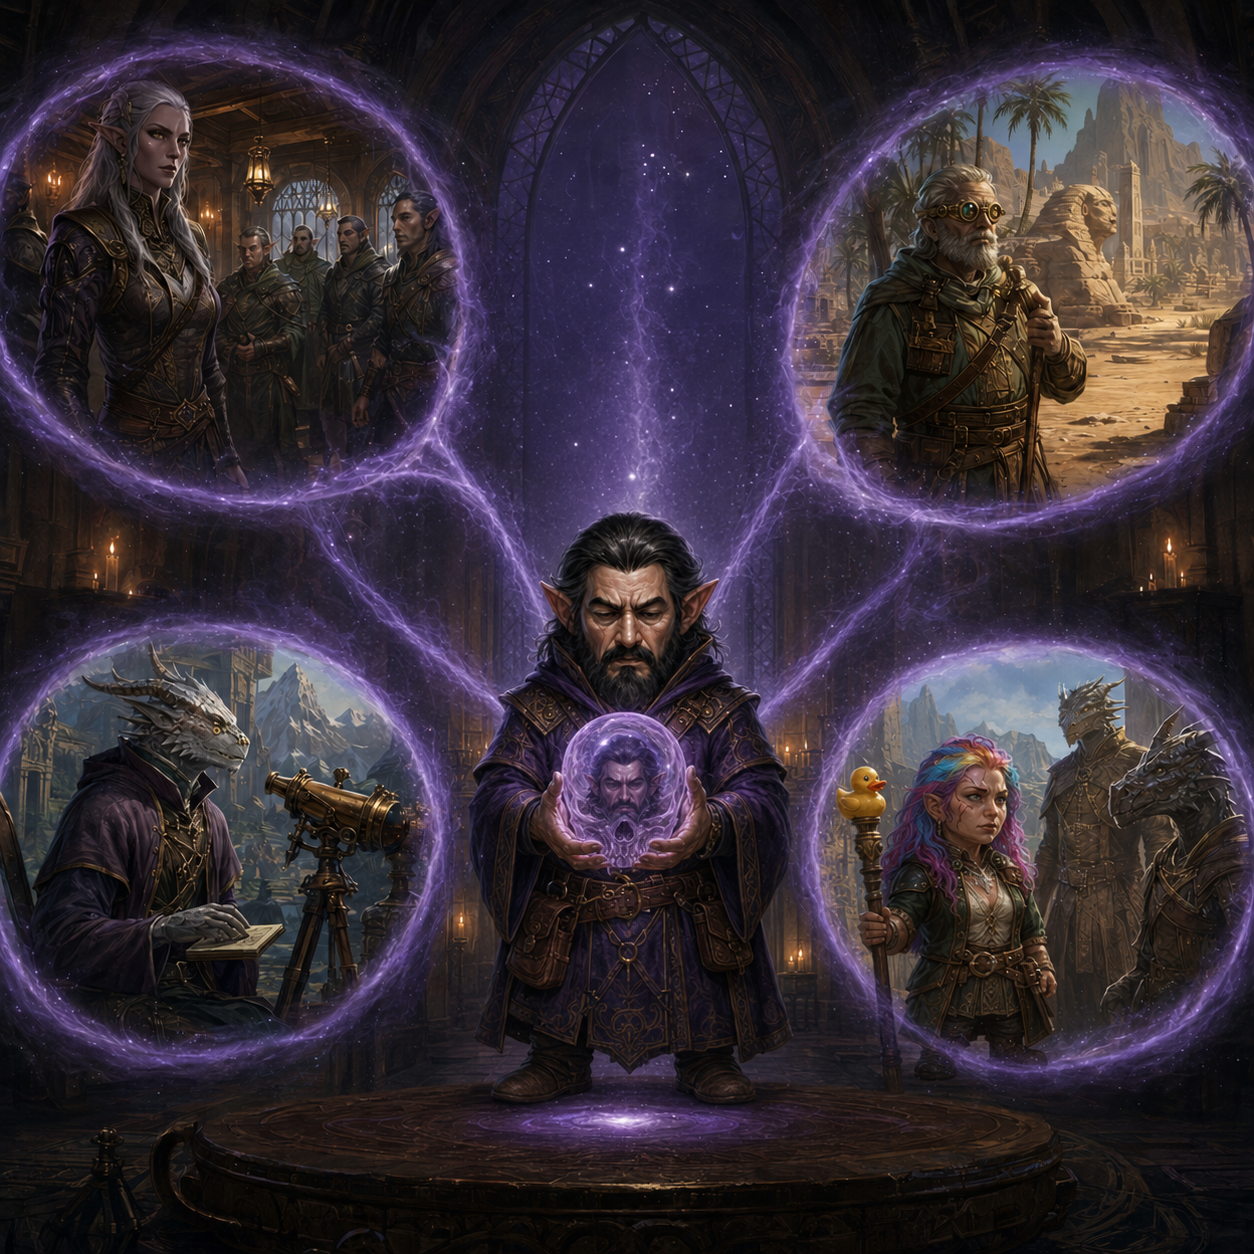
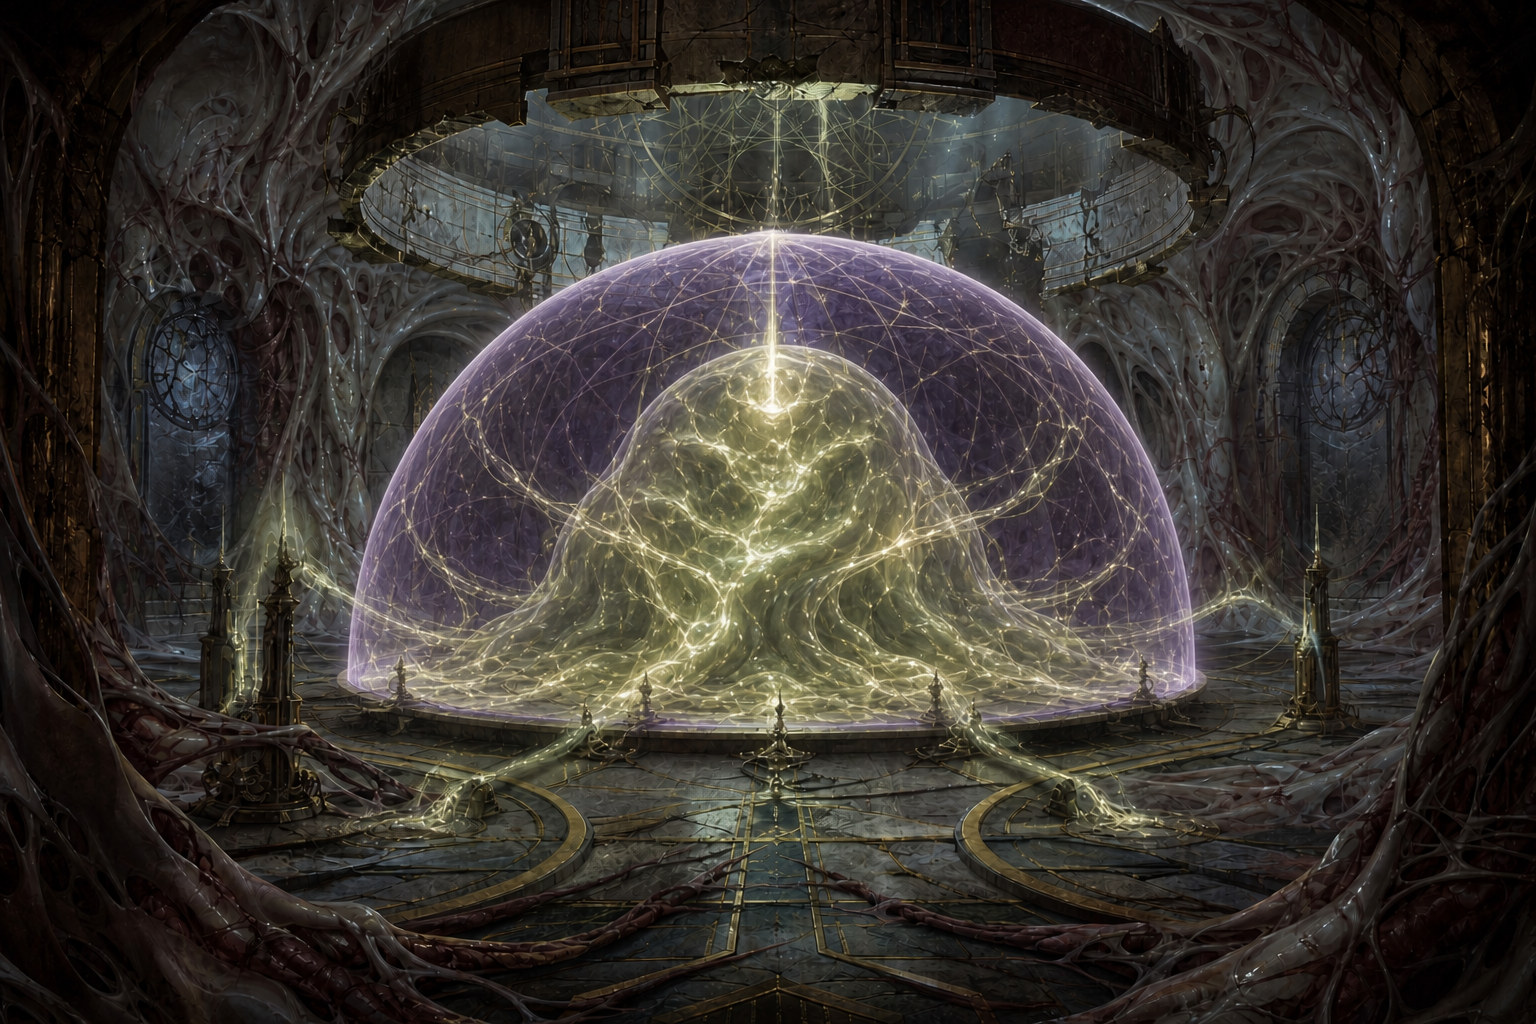
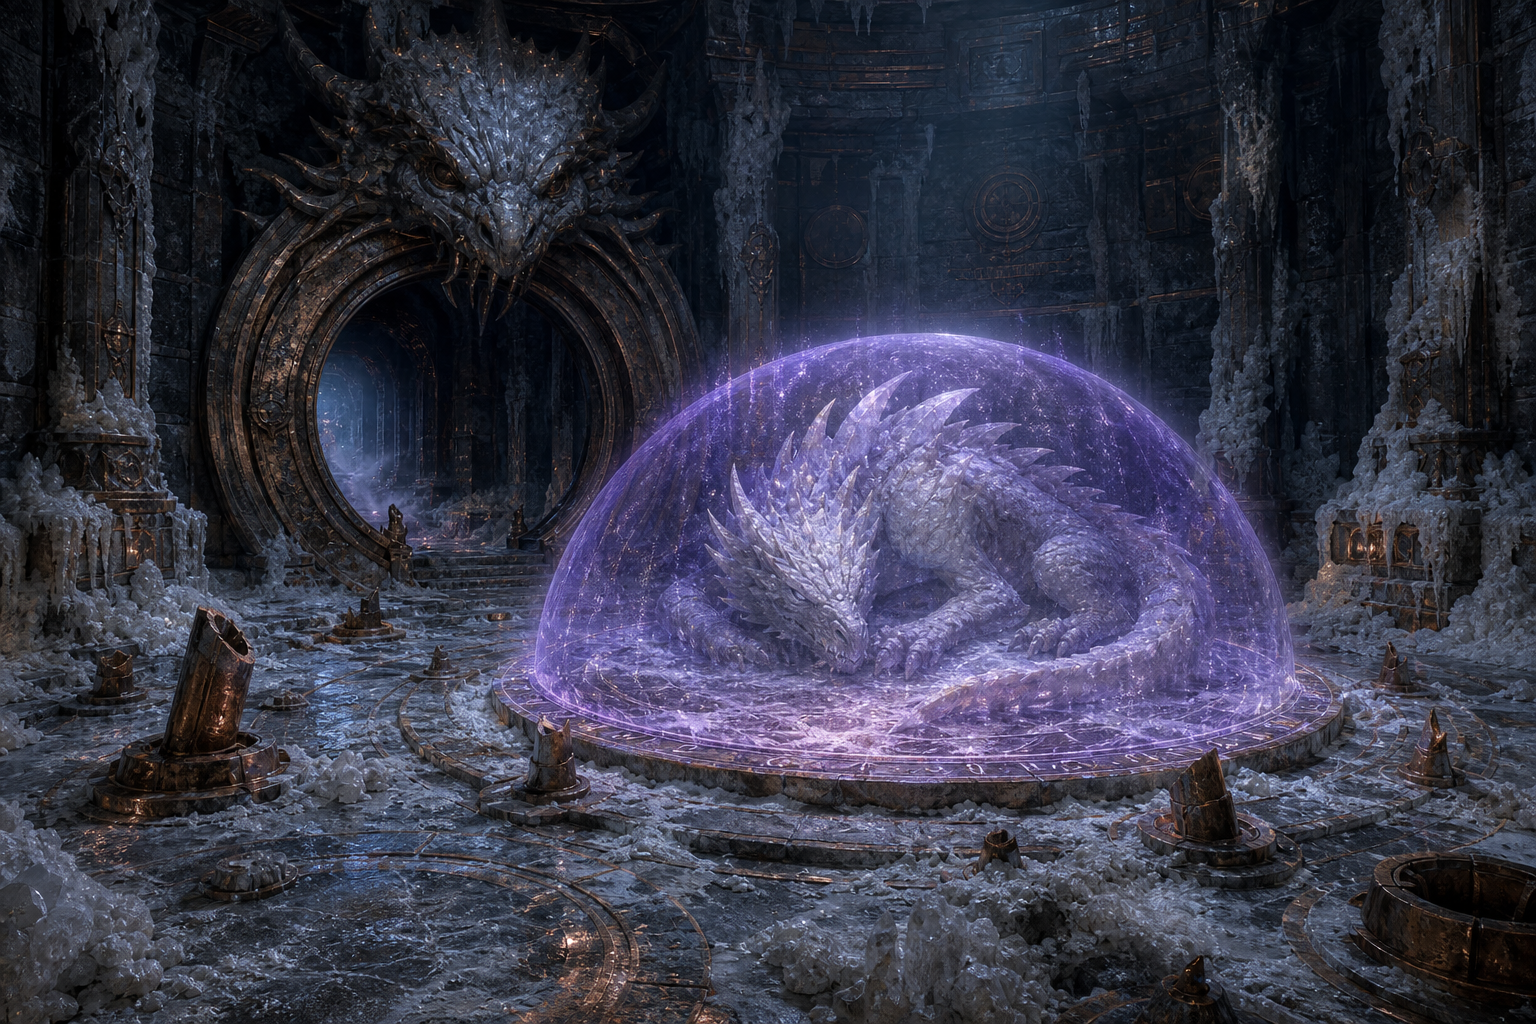
An image-first view of the campaign’s maps, character illustrations, party scenes, and place artwork. Select an image to open the full-size version.
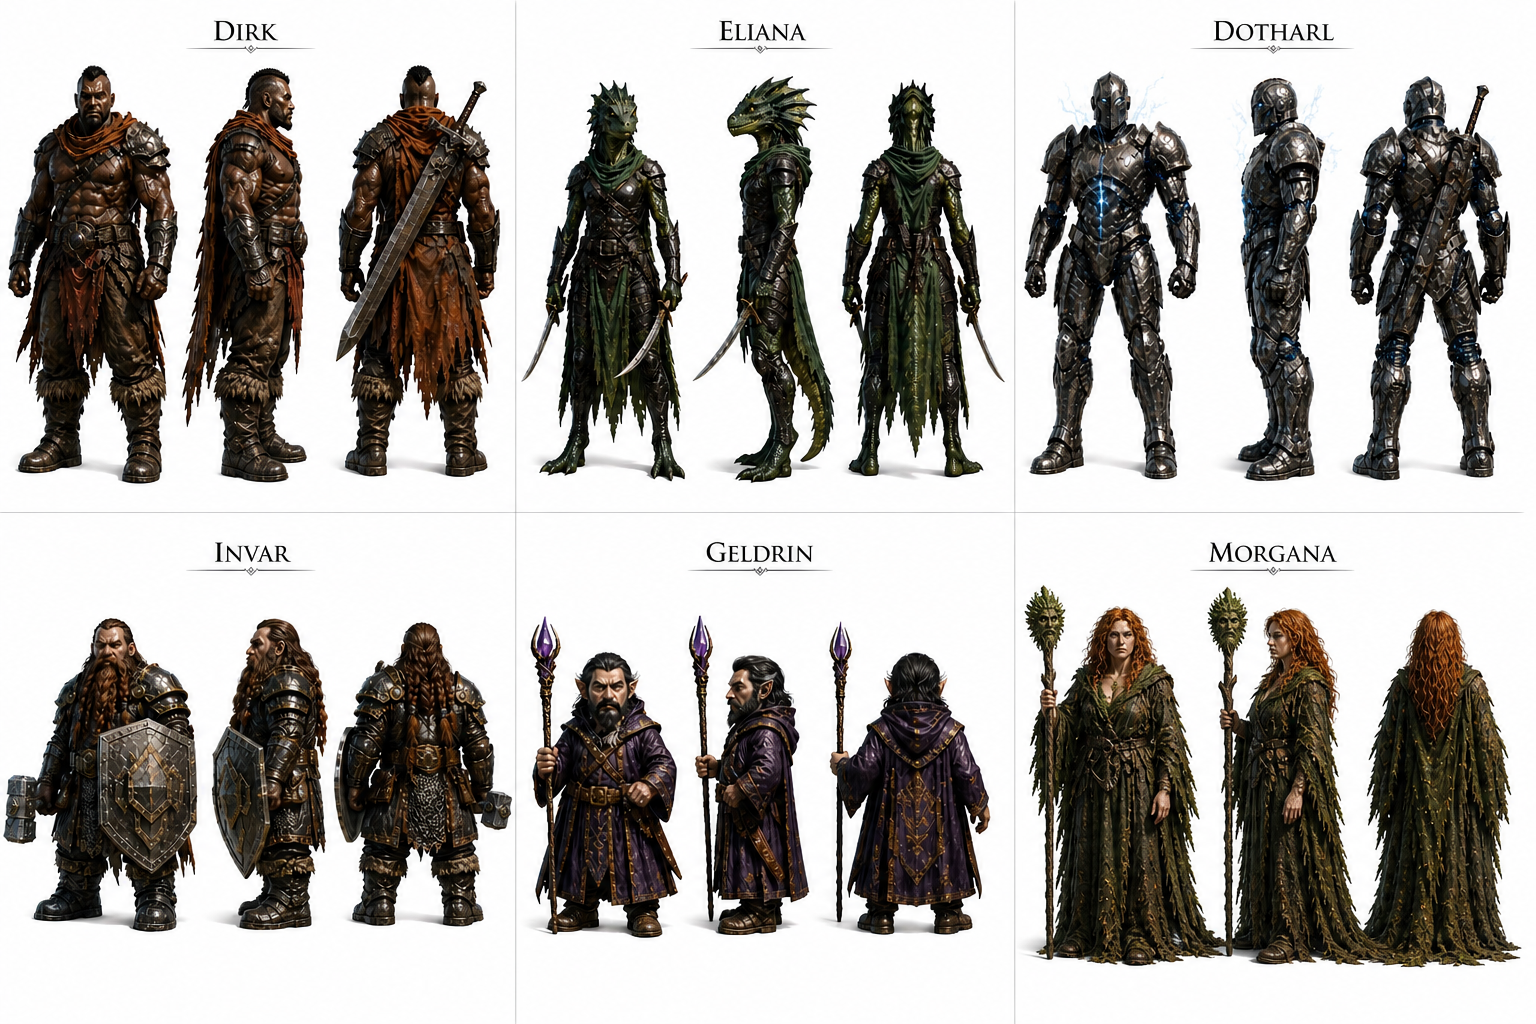
Party Reference
Player characters
Chronological Artwork
The artwork below is ordered by the earliest clear campaign day associated with each scene or location. Images with only a broad late-campaign context are grouped into day ranges.
Undated or Context-Neutral
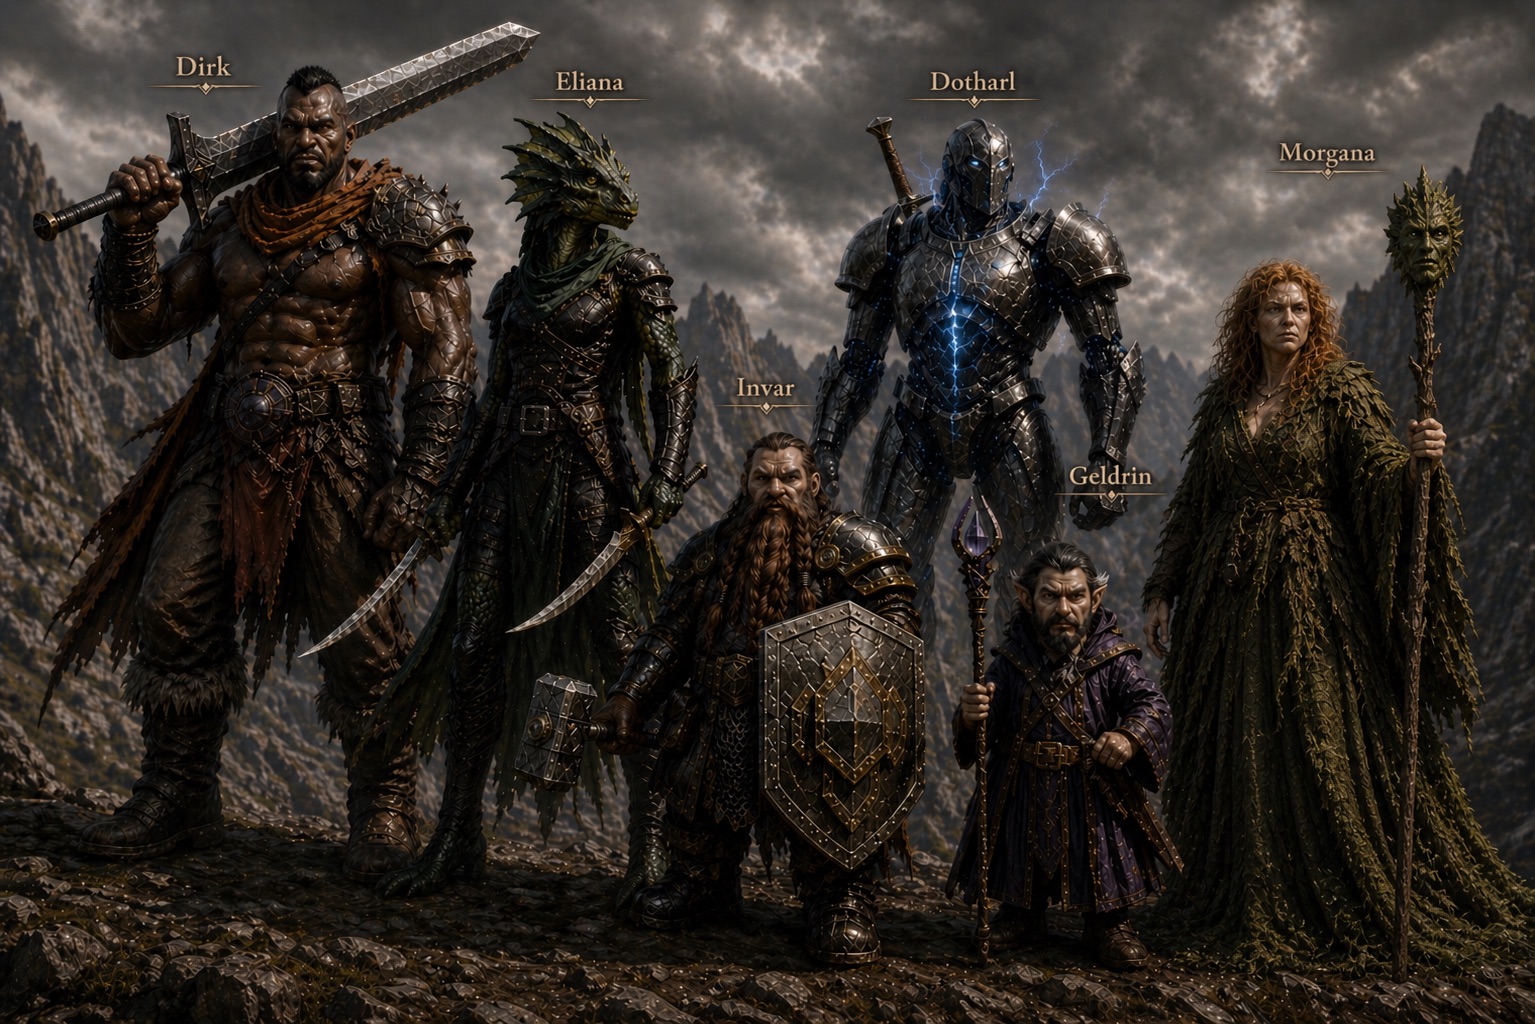
The party
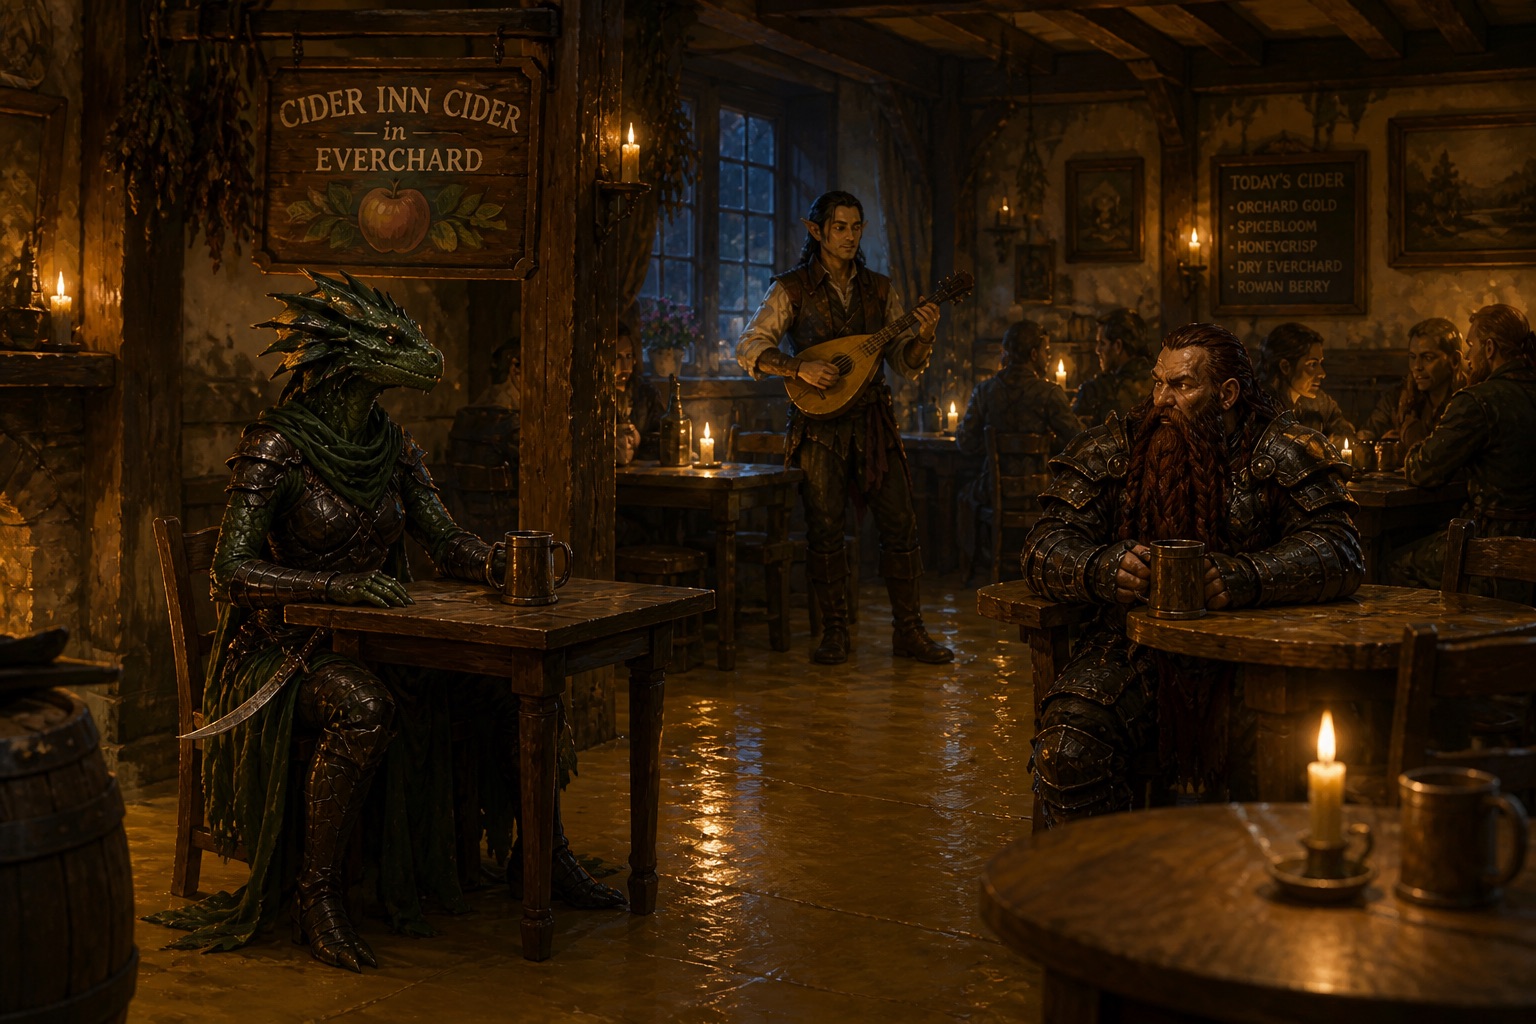
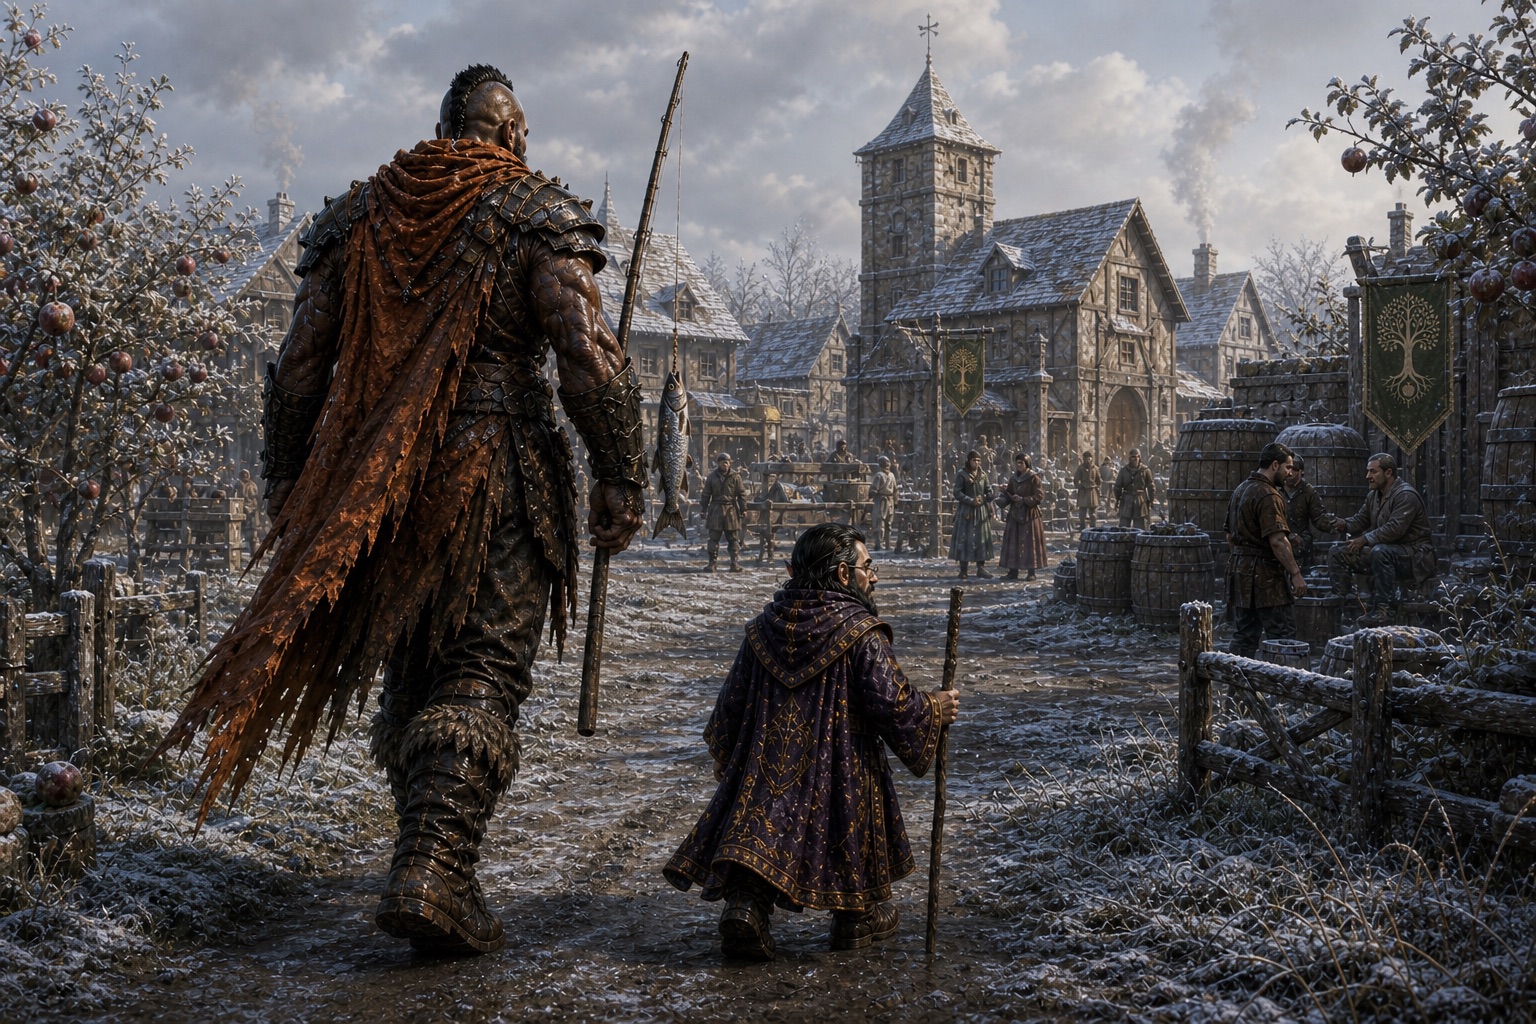
Day 1
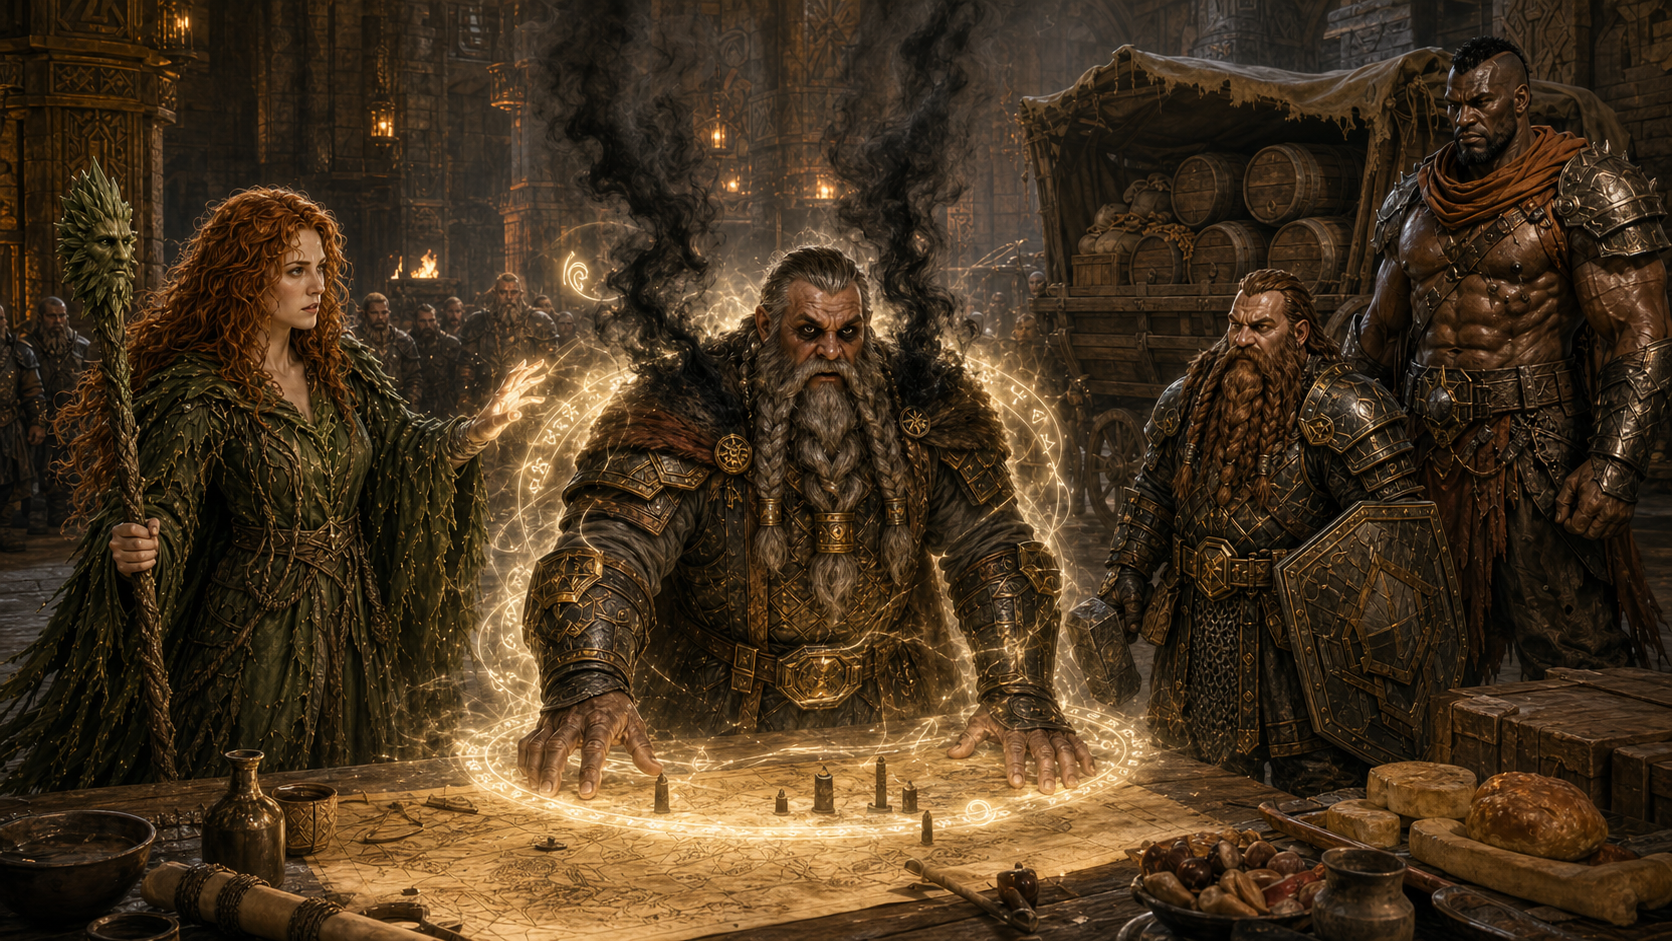
Eliana and Invar at the Cider Inn CiderDirk and Geldrin in EverchardEverchard
Days 2–6
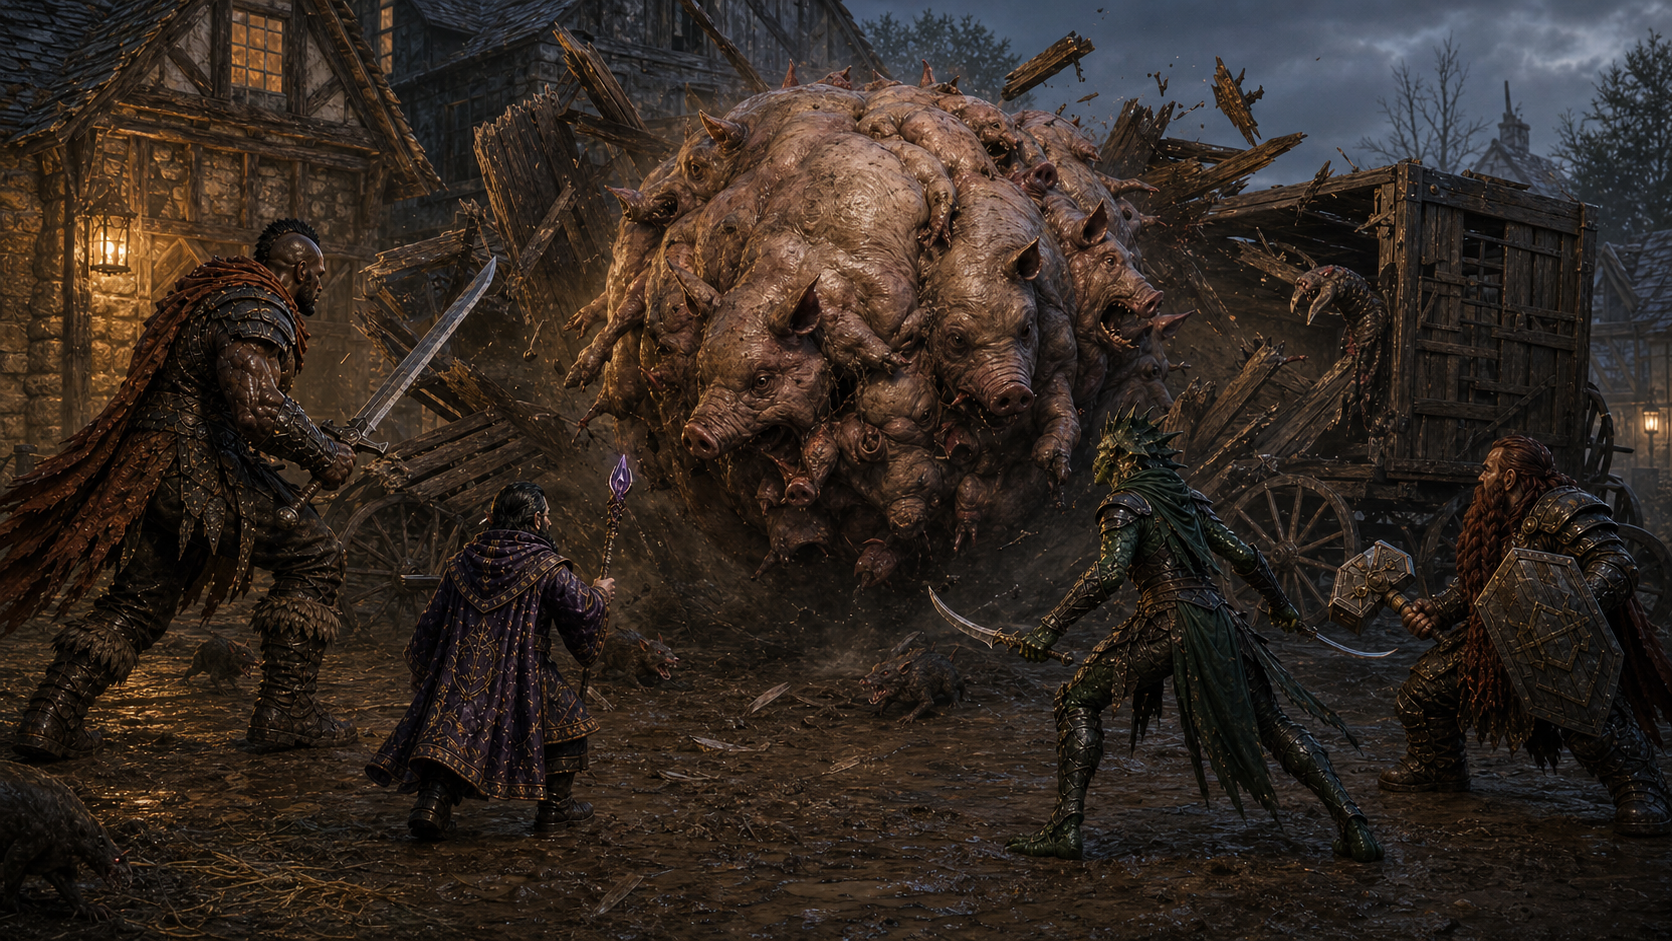
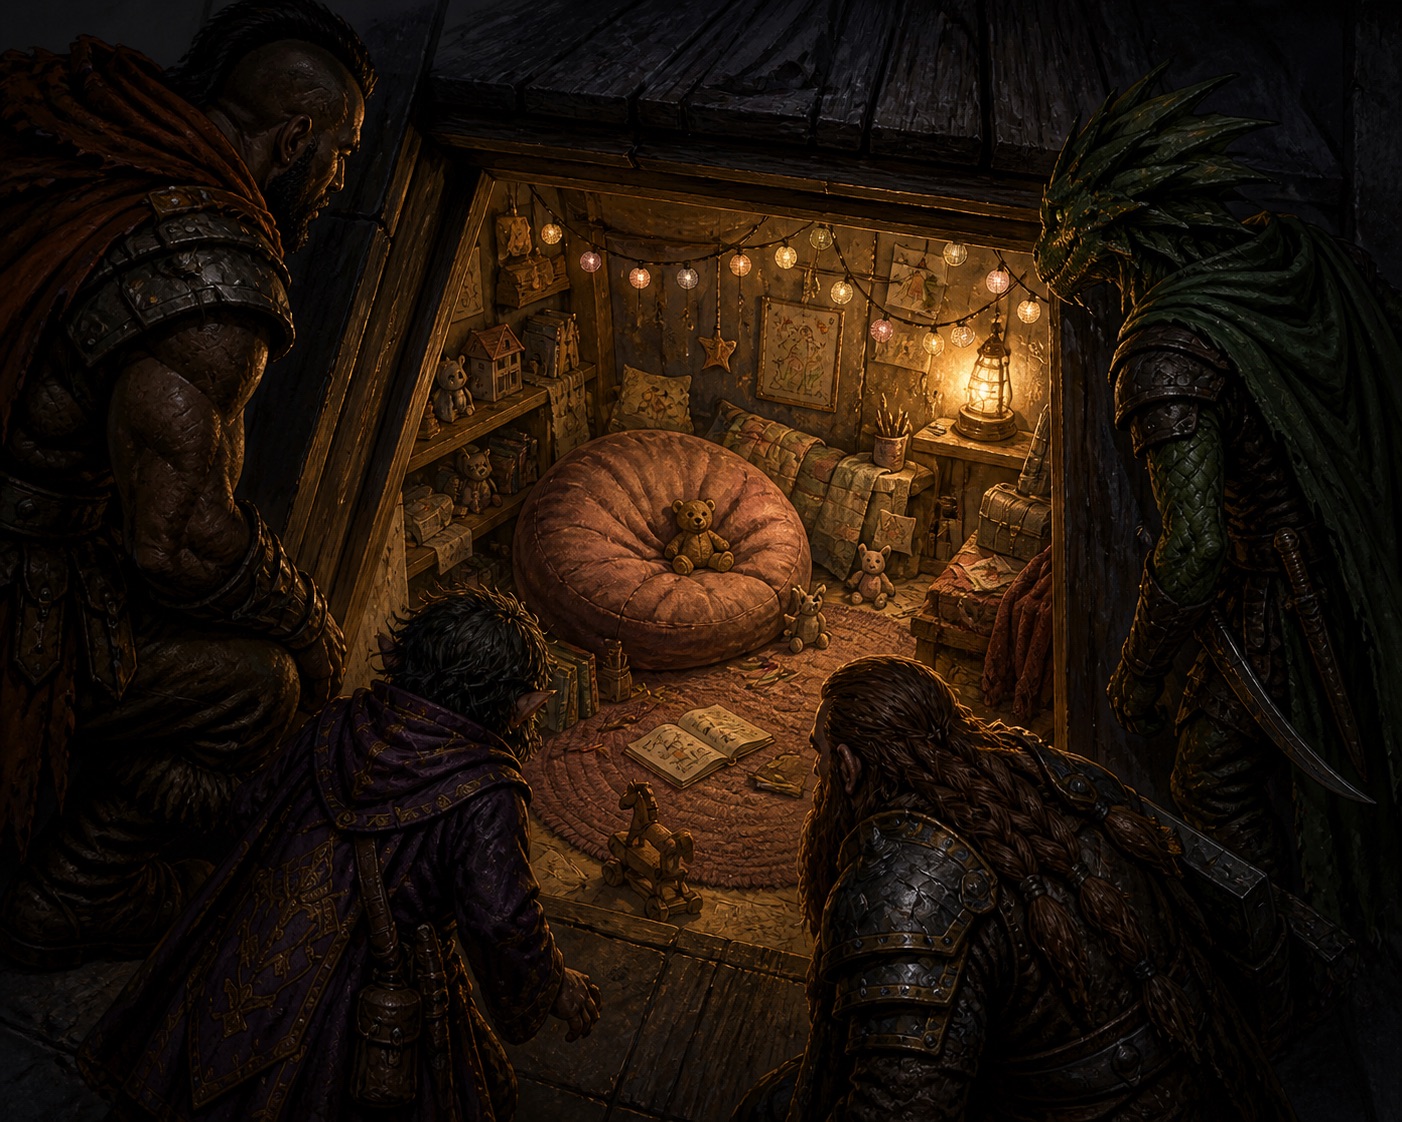
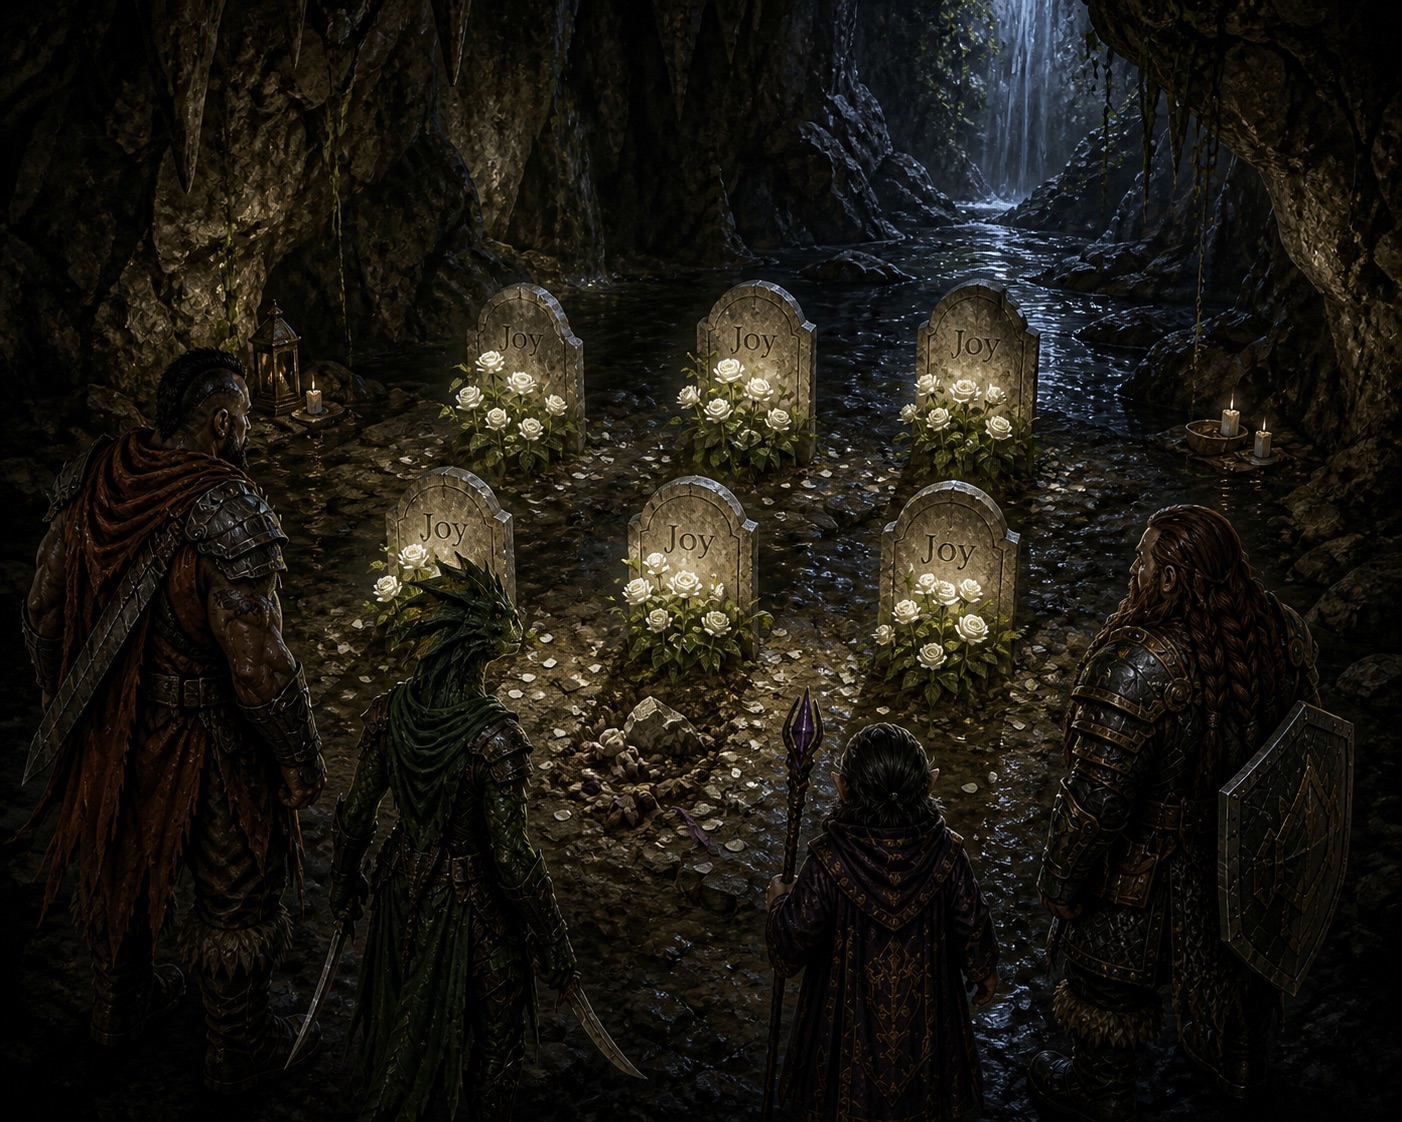
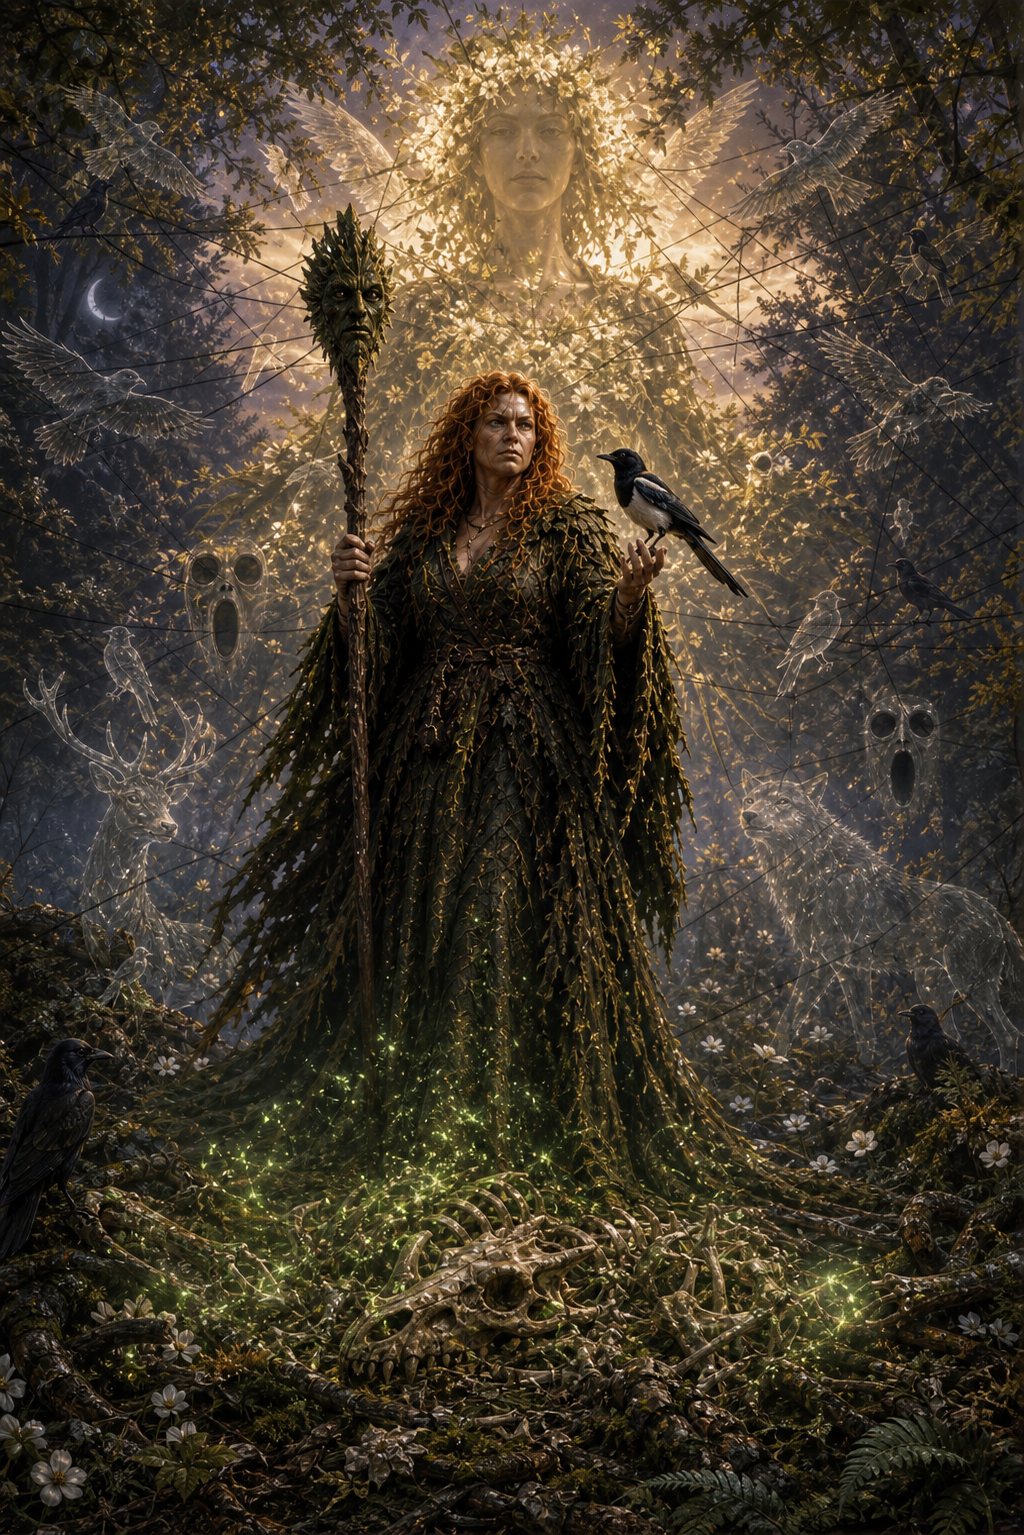
The ChorusDay 3: the party battles the fused pig beast outside the Everchard hostelJoy's hiding place at the Barrier ObservatoryJoy's graves at the Barrier Observatory
Day 8
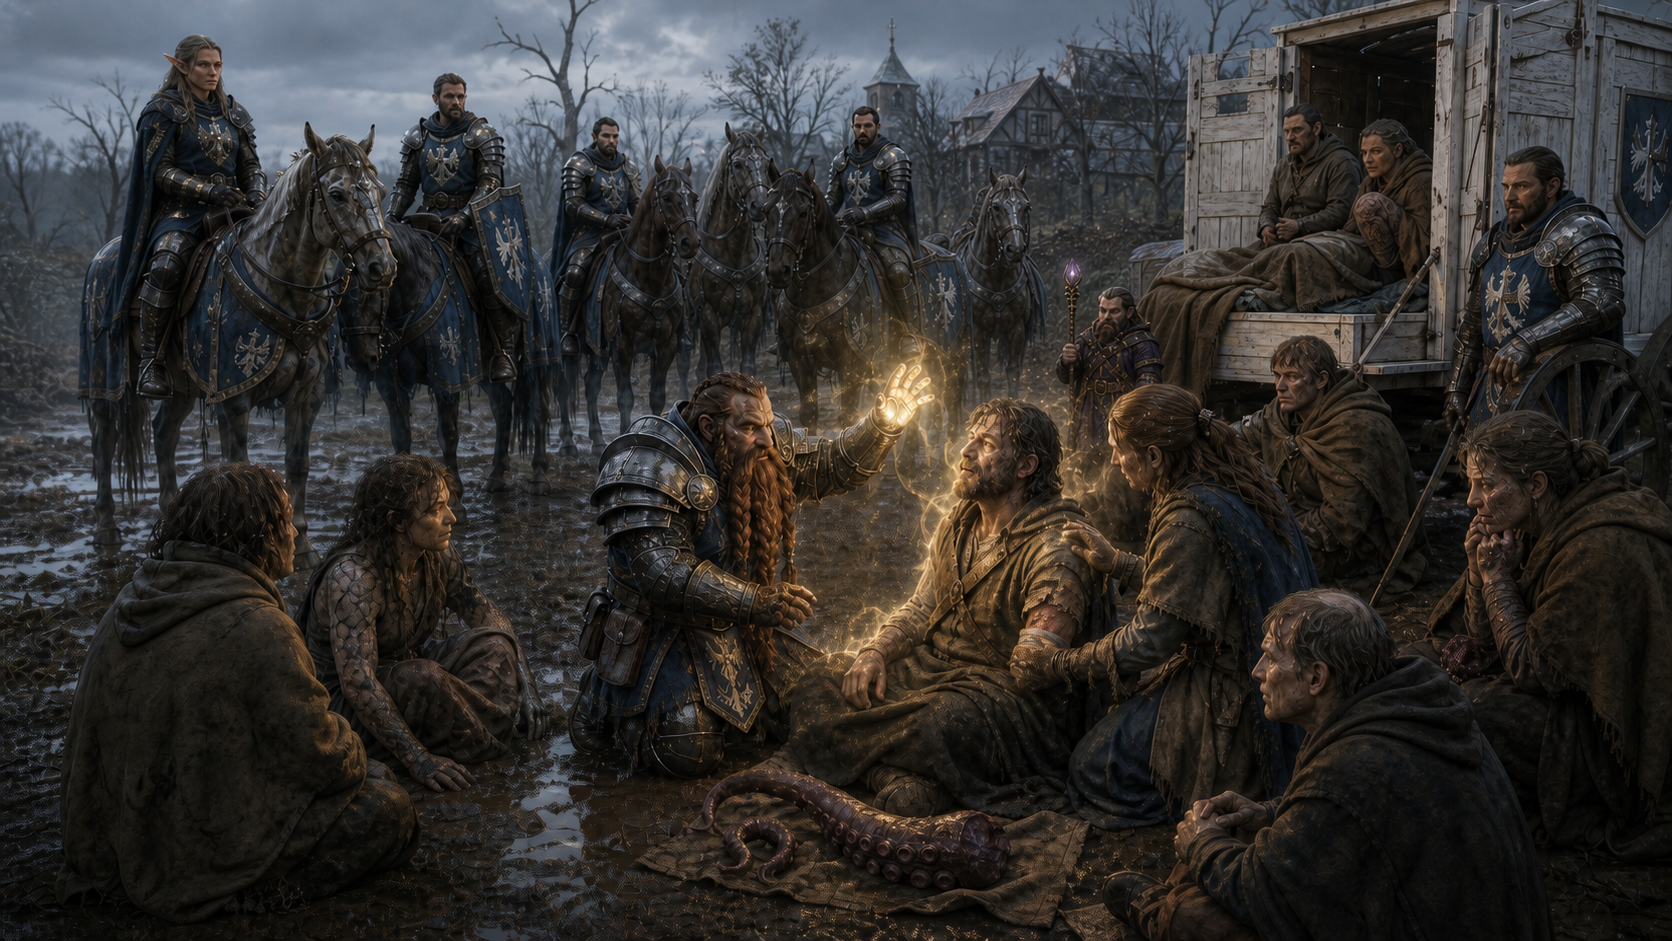
The Hartwall militia's dwarf healer partially restores the transformed Everchard townsfolk
Days 9–15
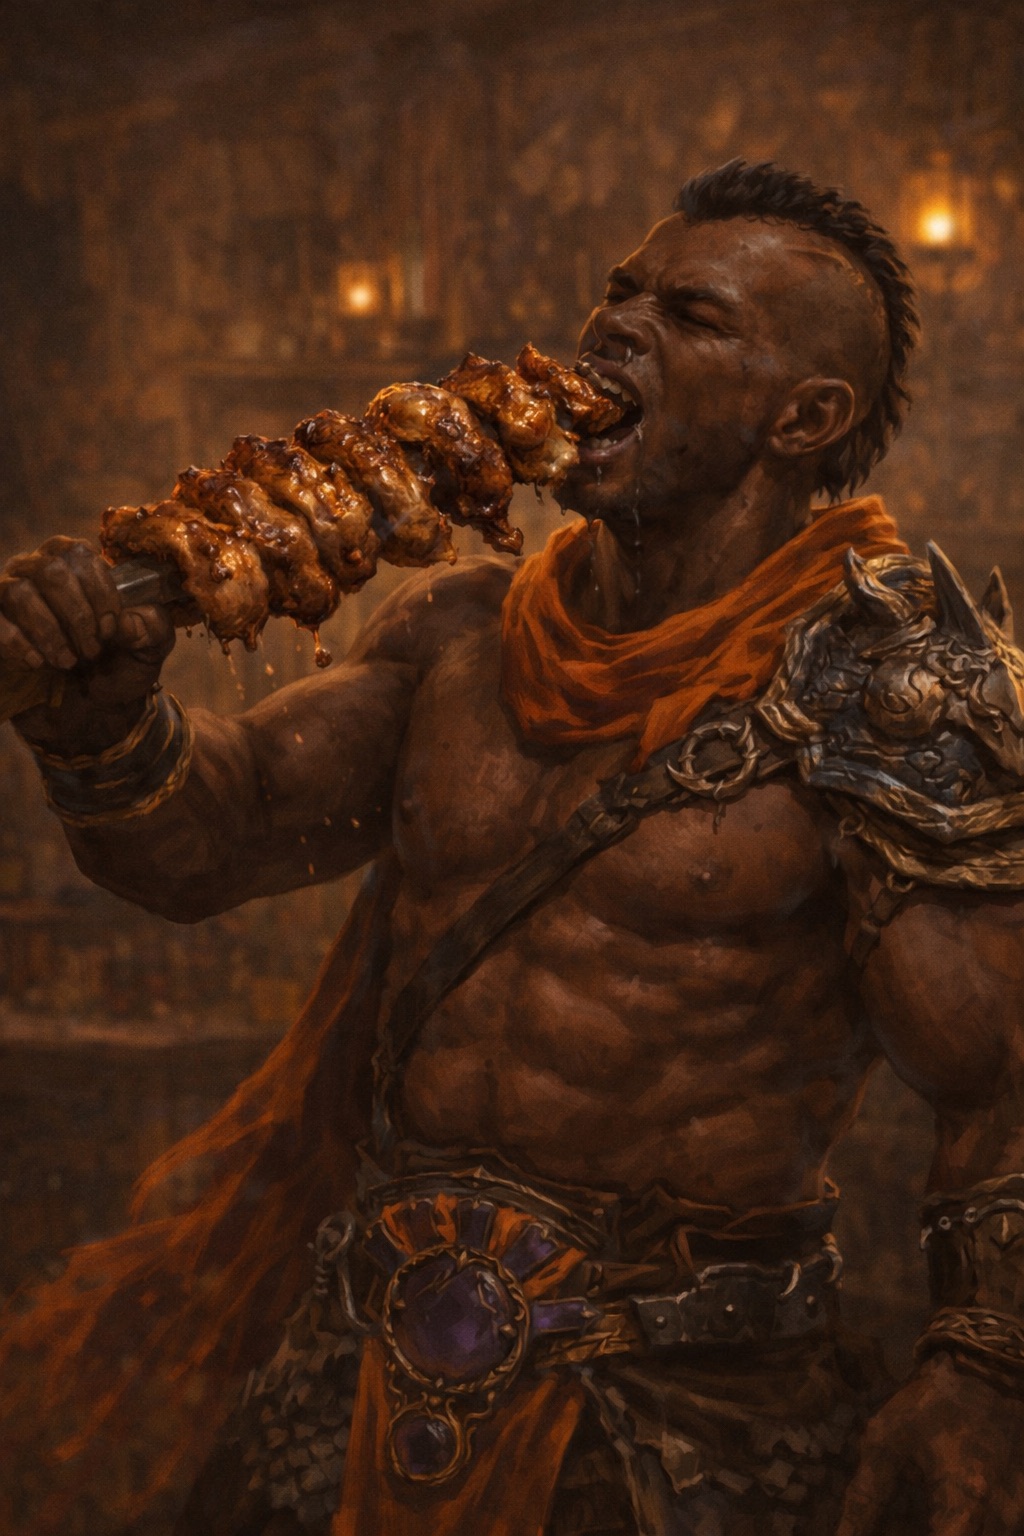
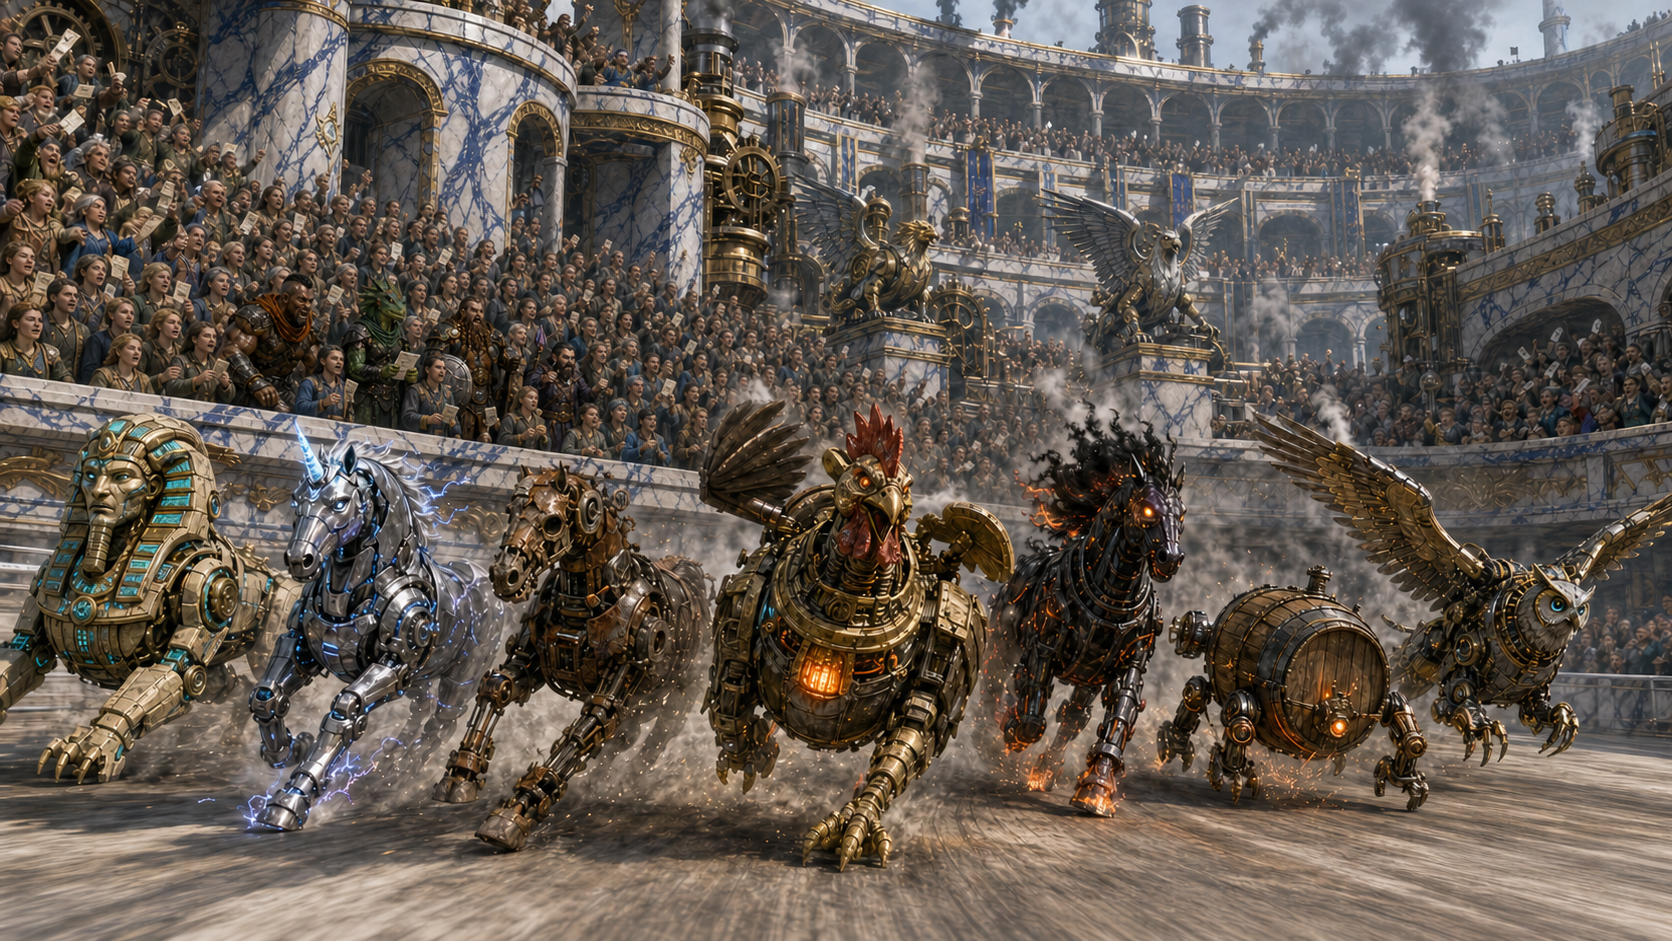
Dirk loves chicken in SeawardThe Seaward forge-charger automaton race
Days 16–20
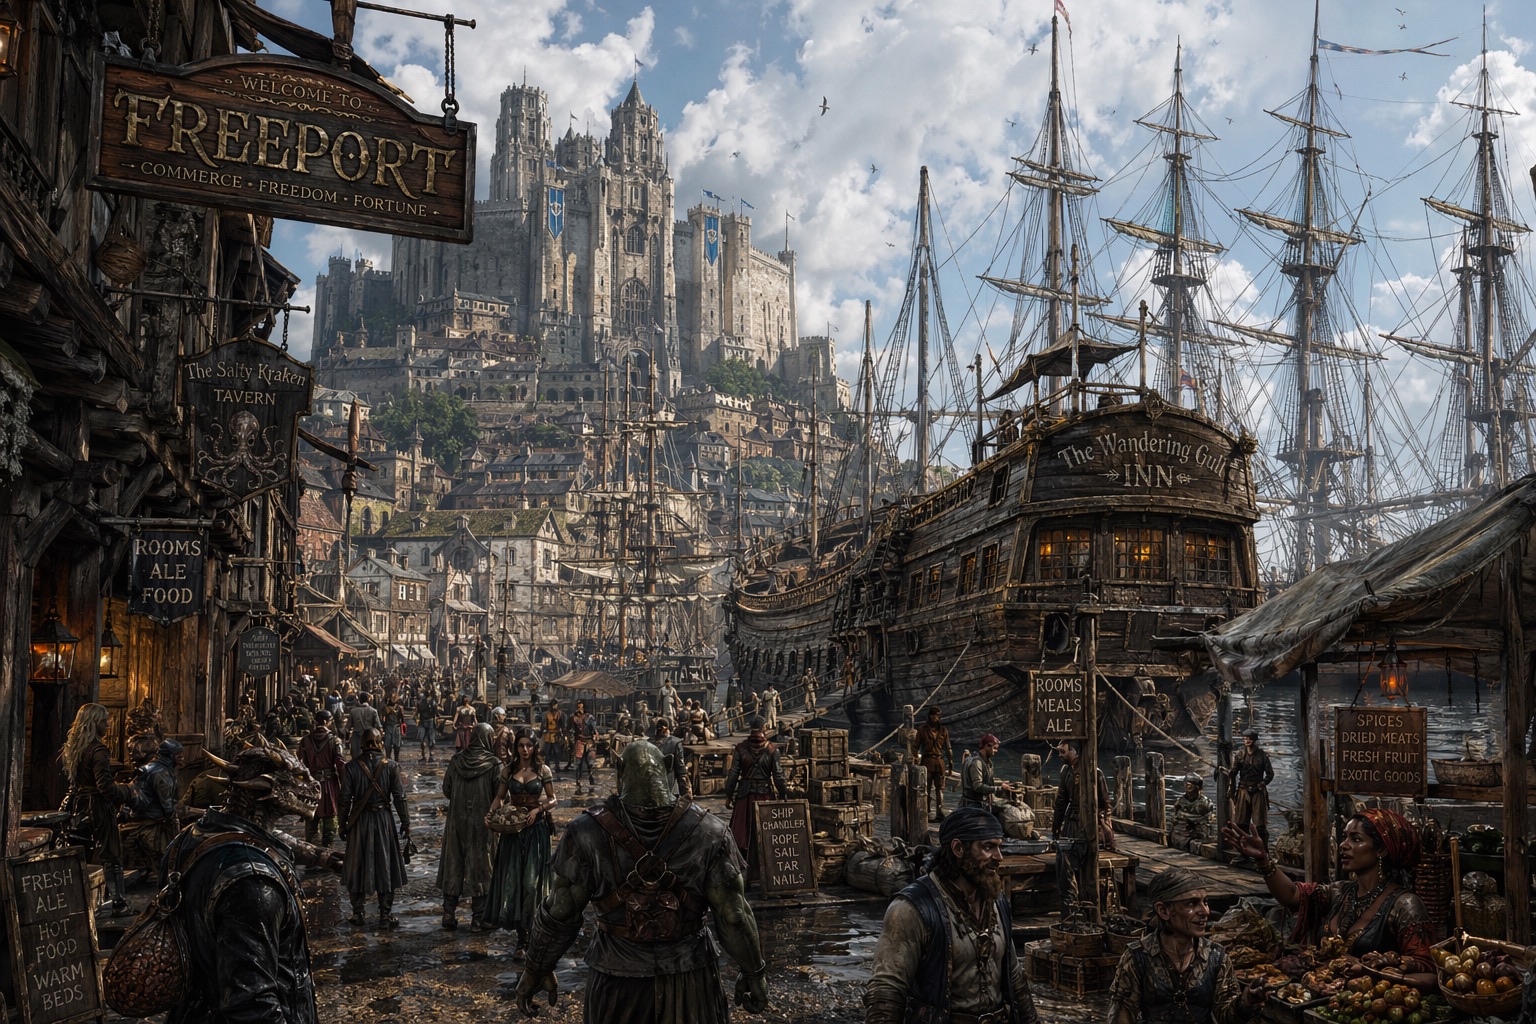
SalvationThe party in FreeportFreeportTorisle PointFairportBaytail Accord
Days 24–27
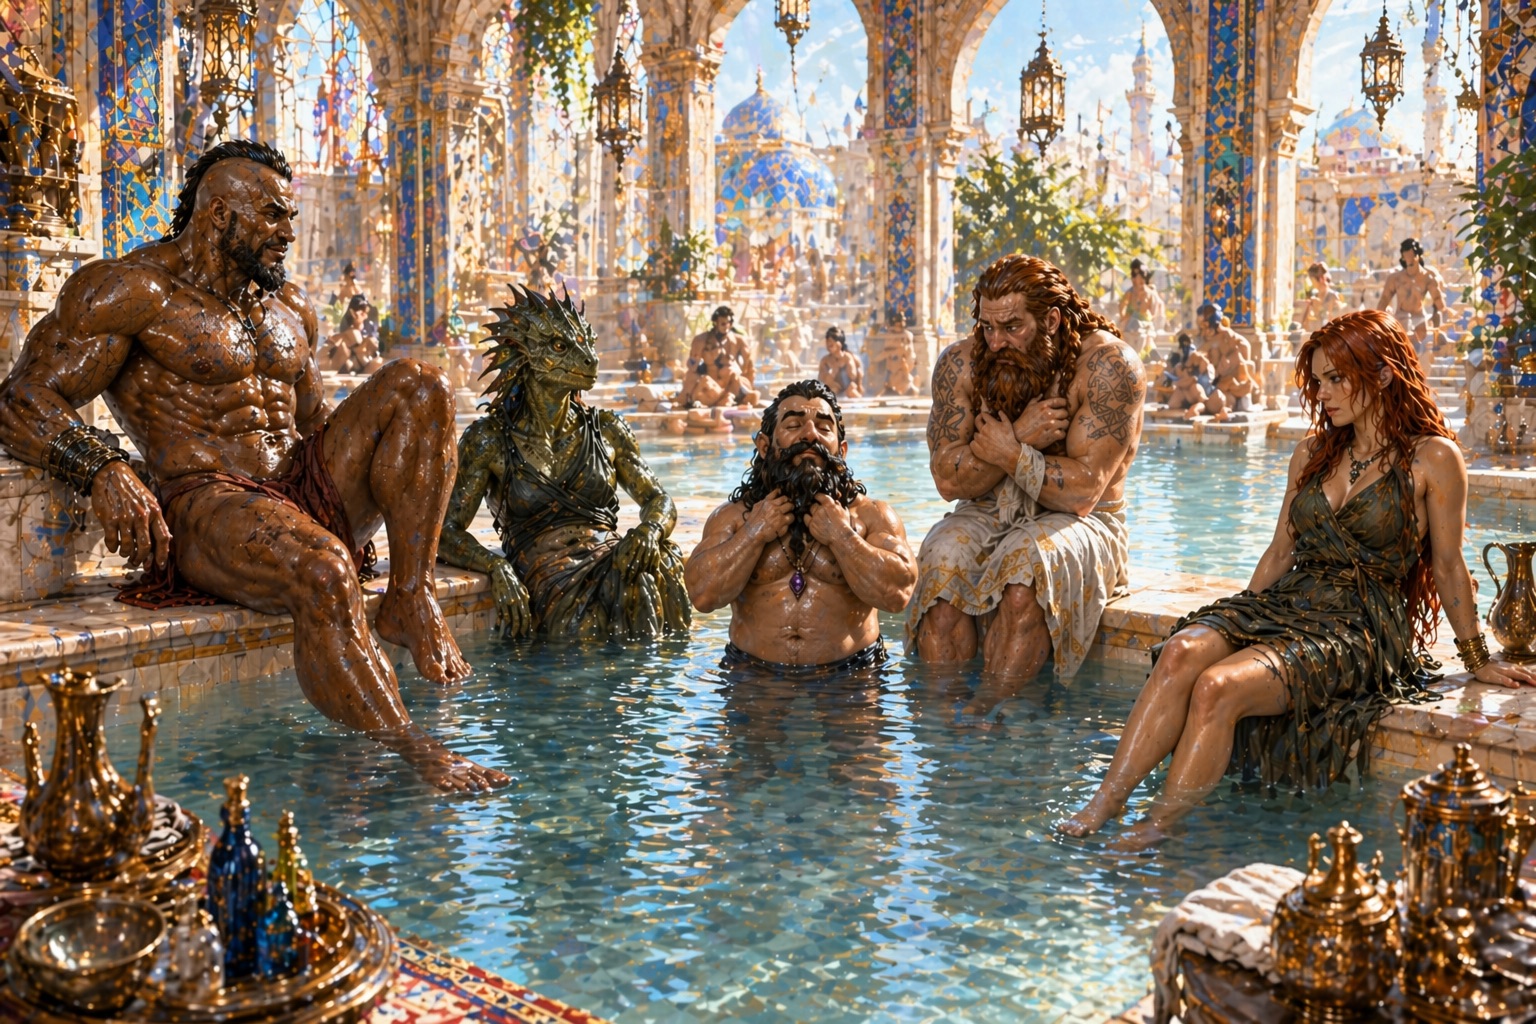
Cardonal's Desert LaboratoryDunnensendThe party bath in DunnensendMorgana, the Chorus, and the Igraine vision
Days 33–39
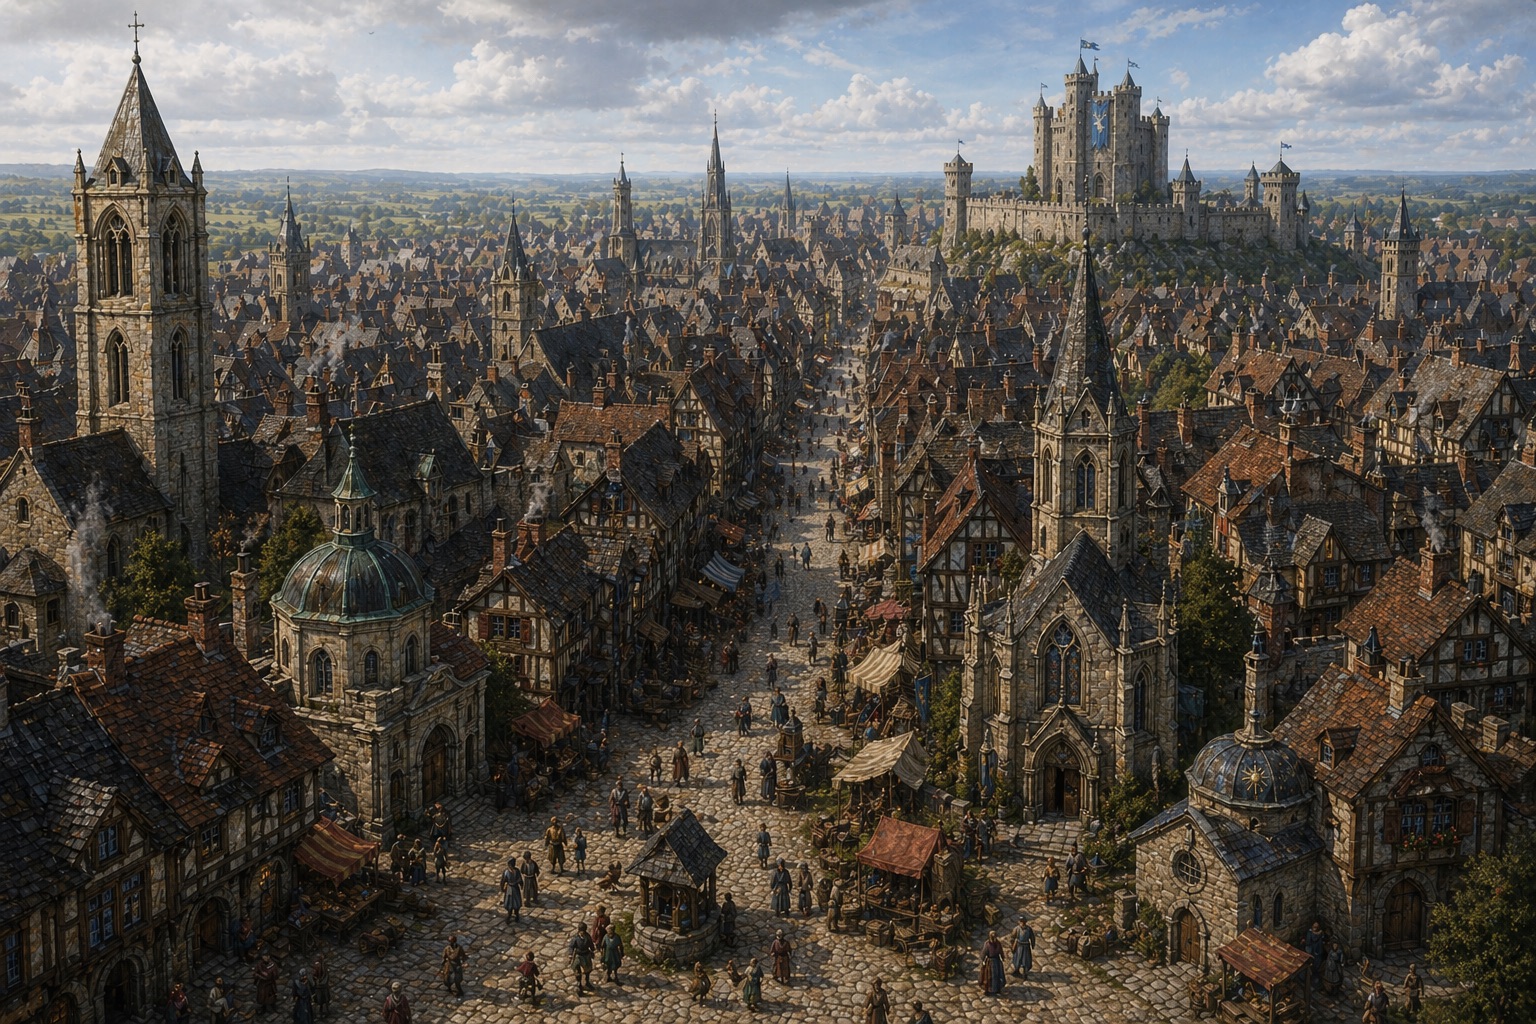
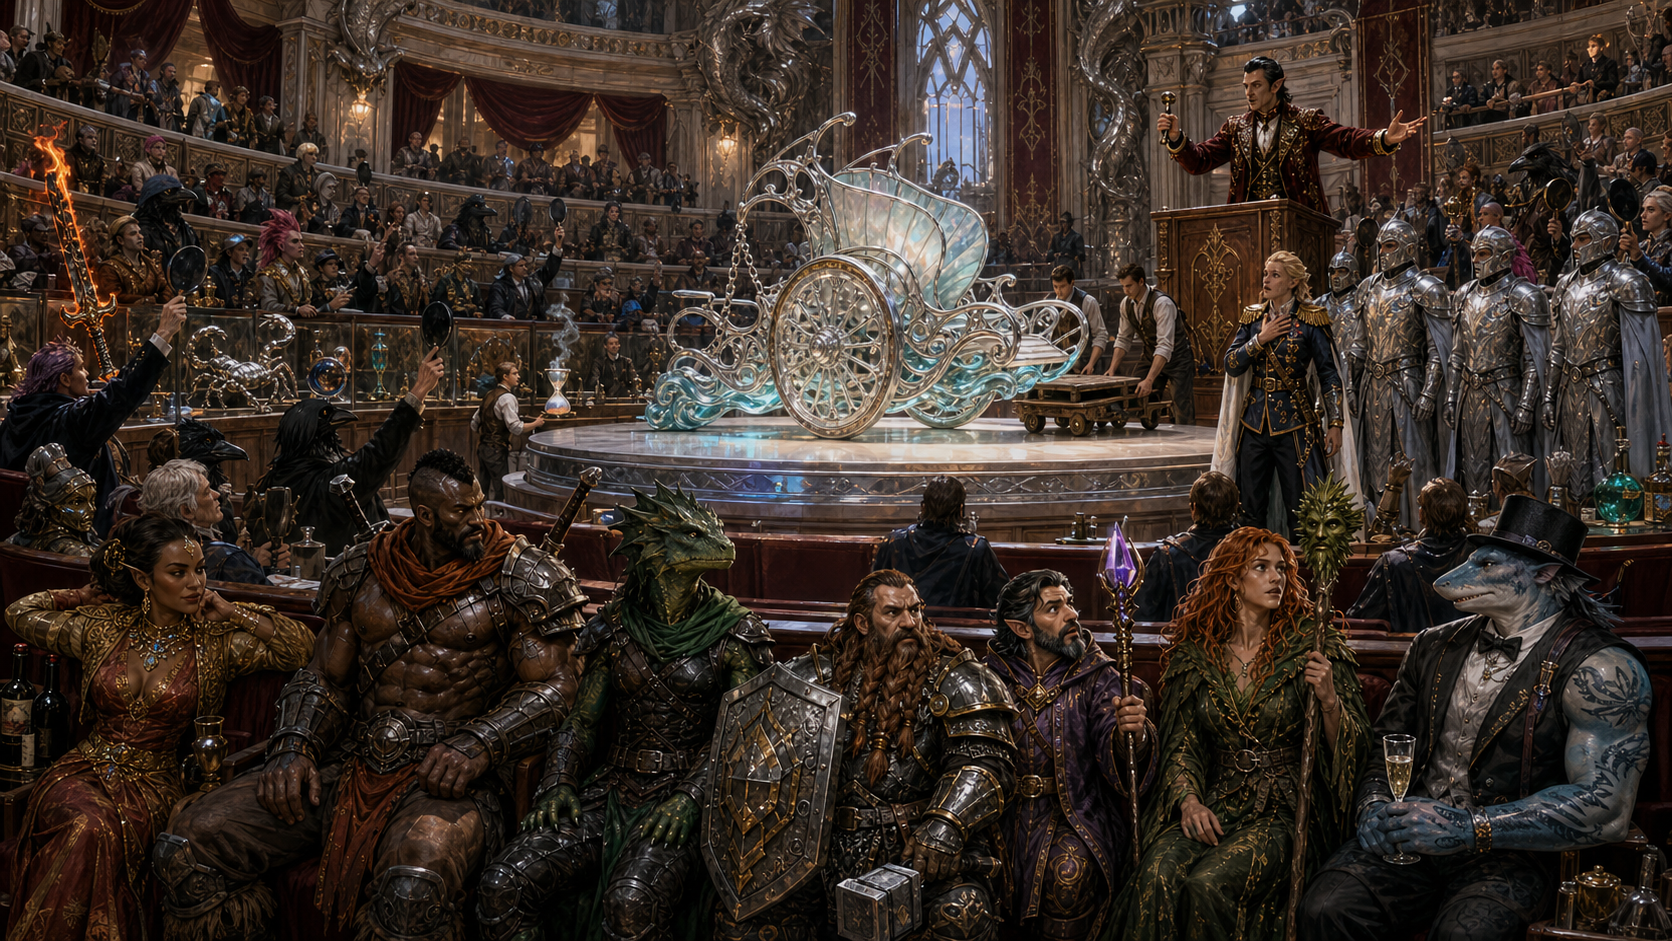
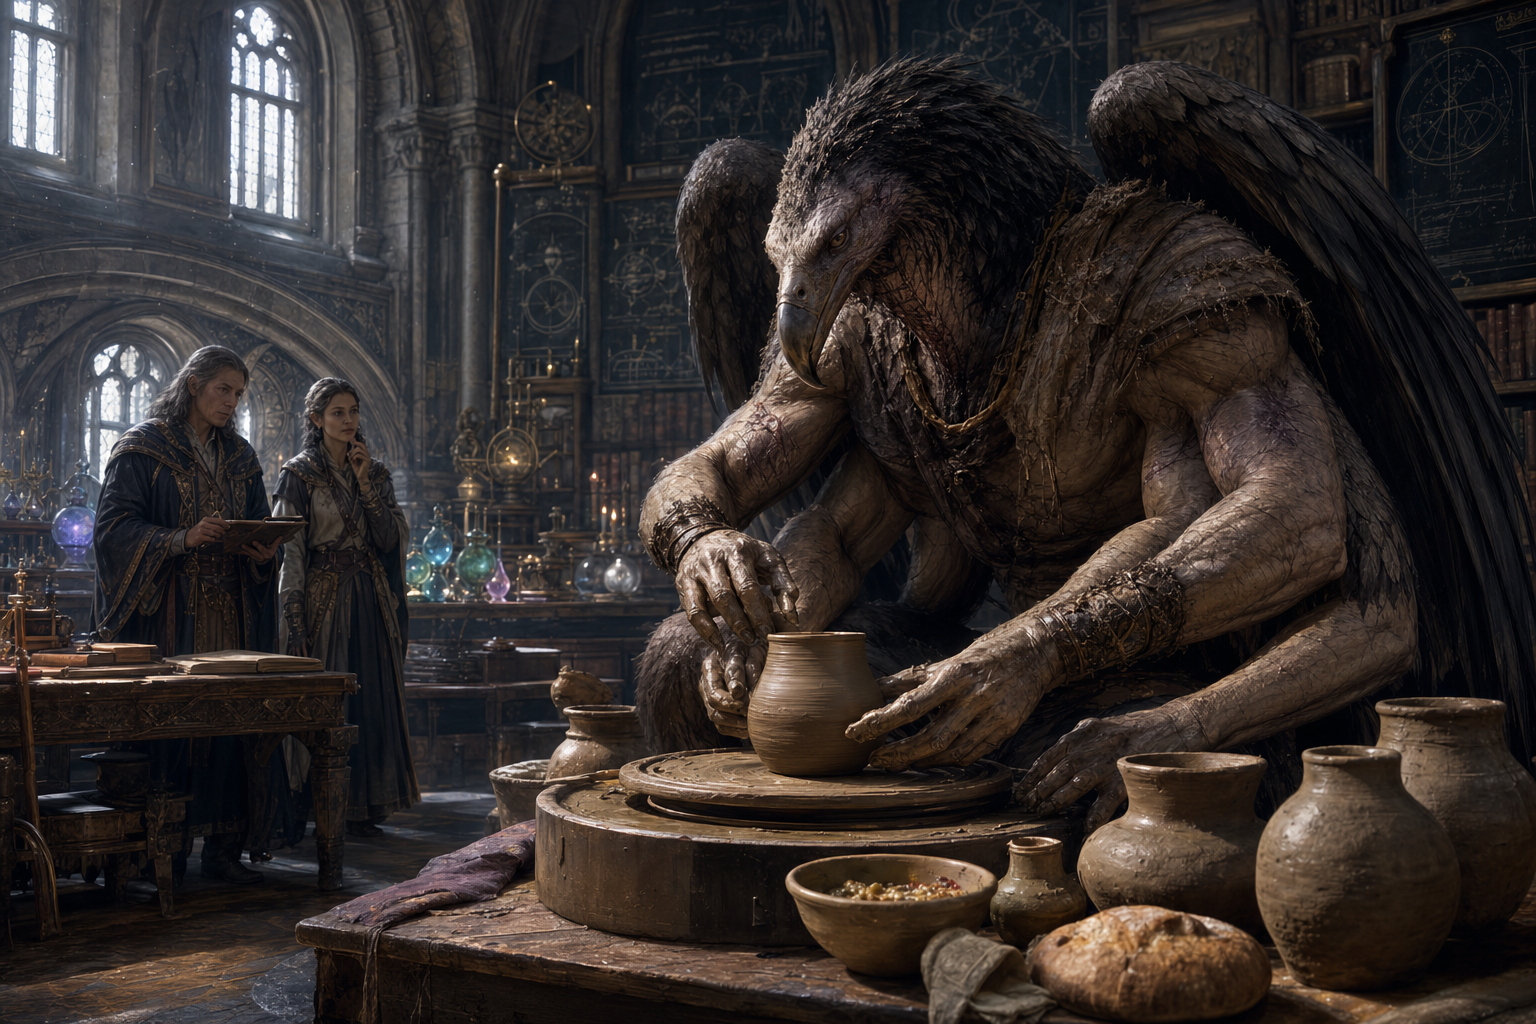
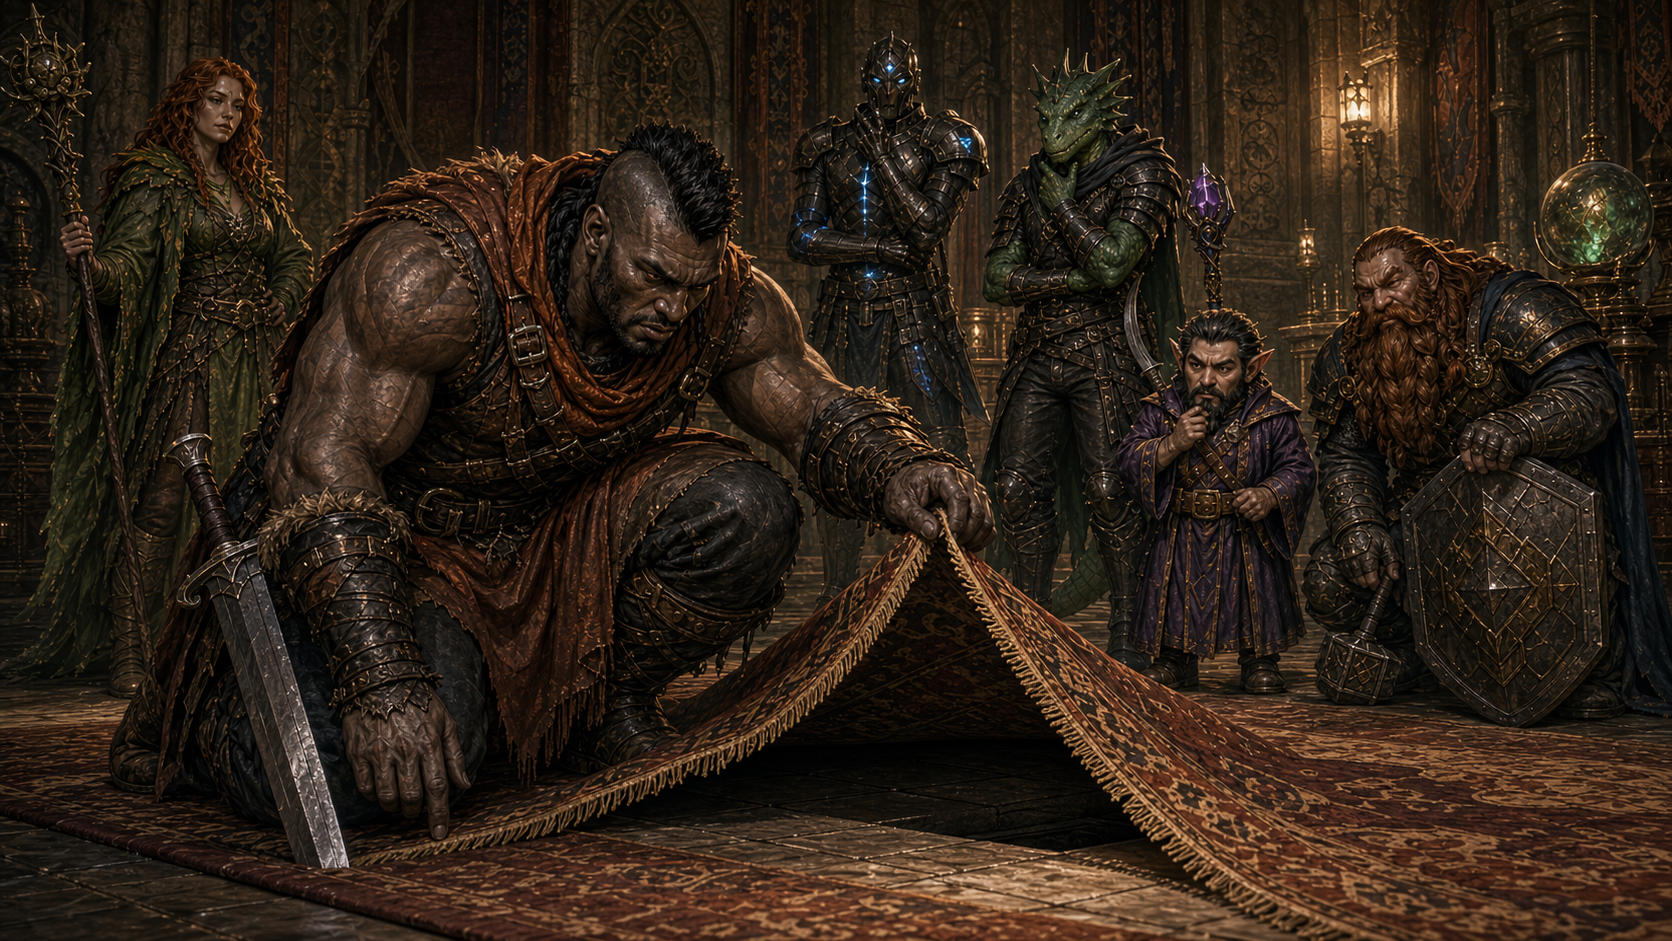
HartwallThe bidding war for the mother-of-pearl elemental chariot at Hartwall's Grand Auction HouseThe Chorus watches the daylight Tri-moon omenHephaestoos making pots at Riversmeet Mage SchoolDirk checking under the rugCoalmount Falls
Days 42–47
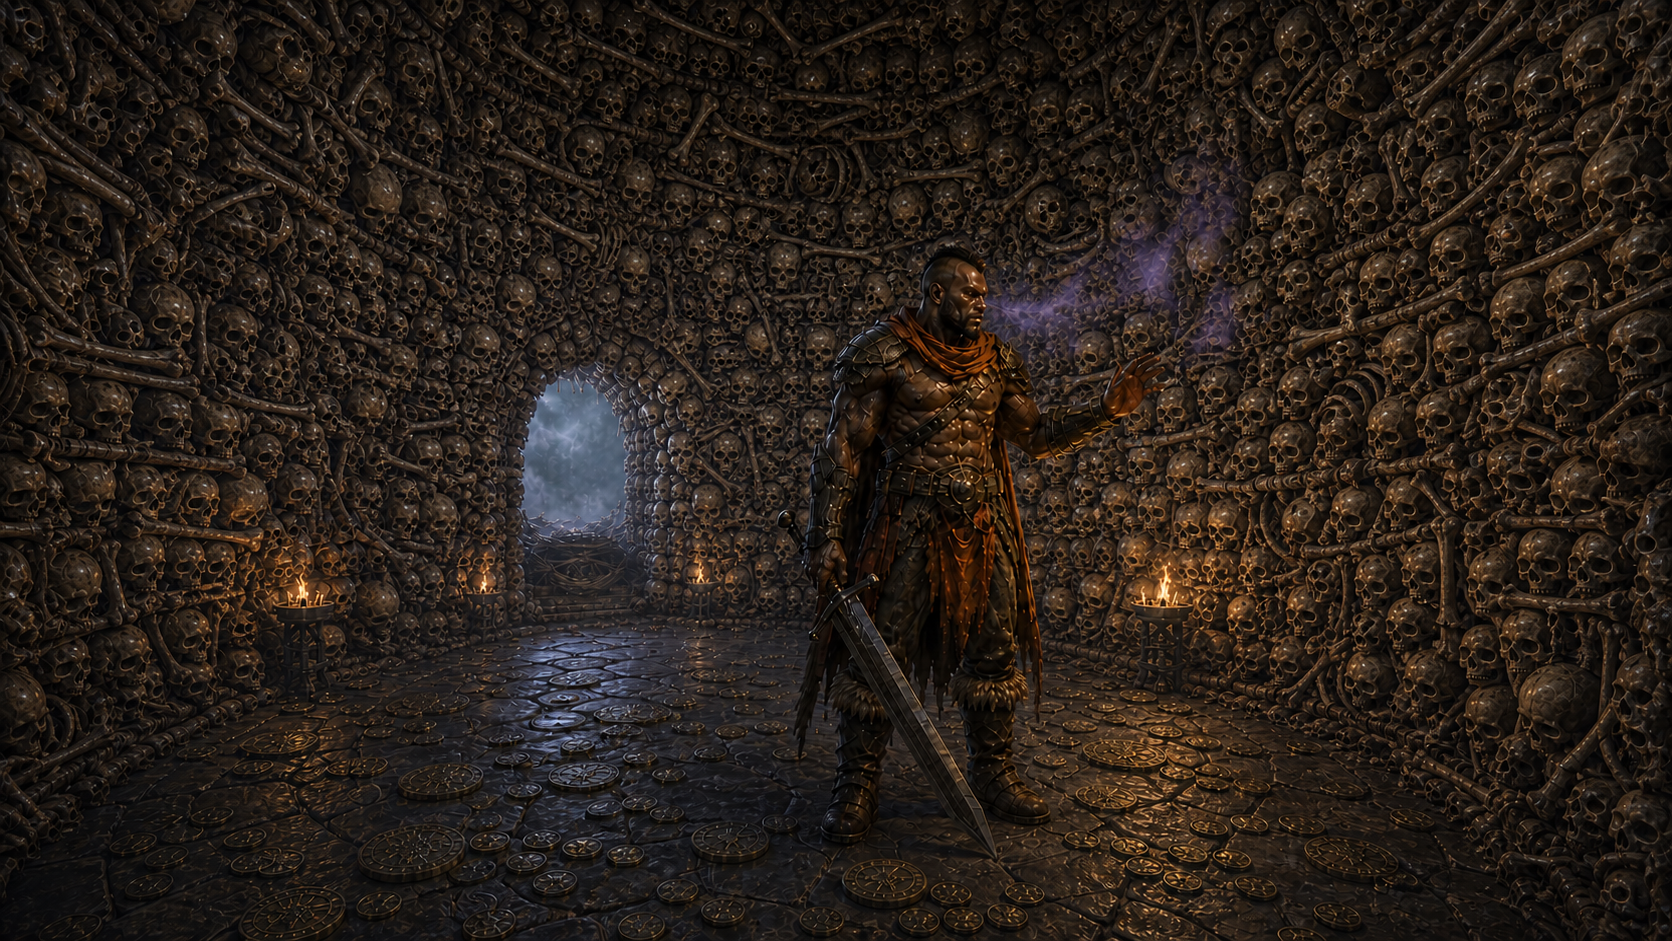
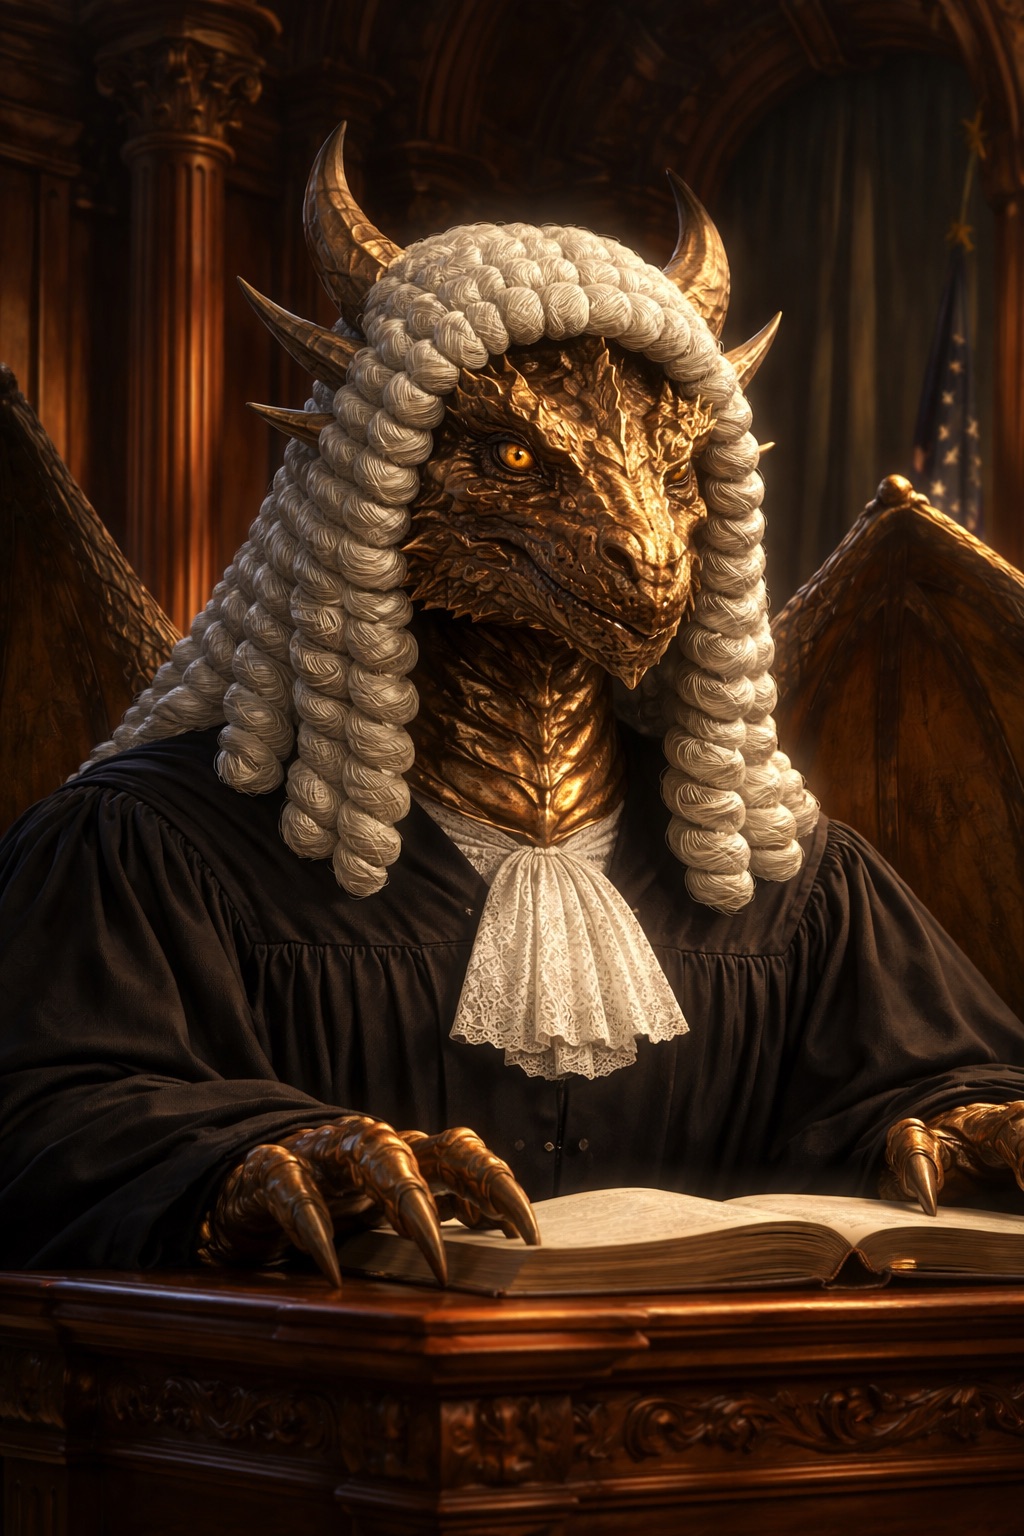
Dirk listens to the moaning Goliath remains in Ashkelon's skull-built tower roomThe party battles the Noxia Beast avatarDirk and the restored GoliathsDragon Judge in SunsereneEliana Hartwall revelationThe party opens the portal into Valentinhide's house
Days 48–56
Pride's death releases the void elementalThe party encounters the lost part of ValentinhideThe party takes six paths through Bridged's domainGreater Restoration frees General Tussil Pebblegrinder from the malevolent influenceThe party confronts Everard Browning's trap in the Grand Towers control room
Days 57–58
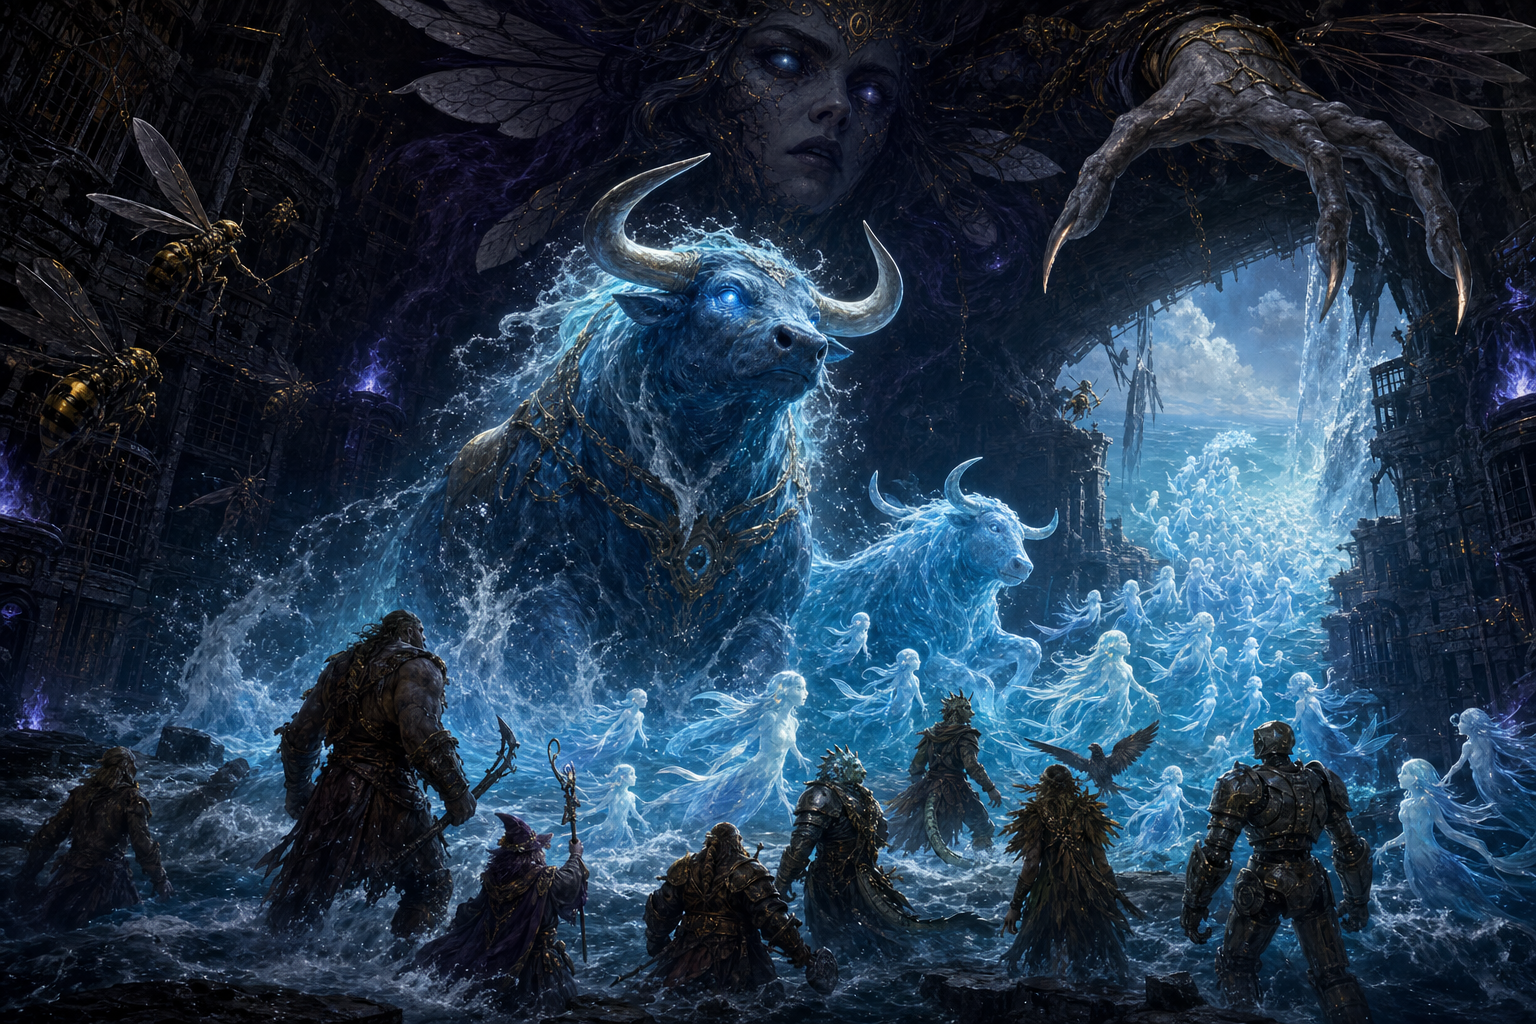
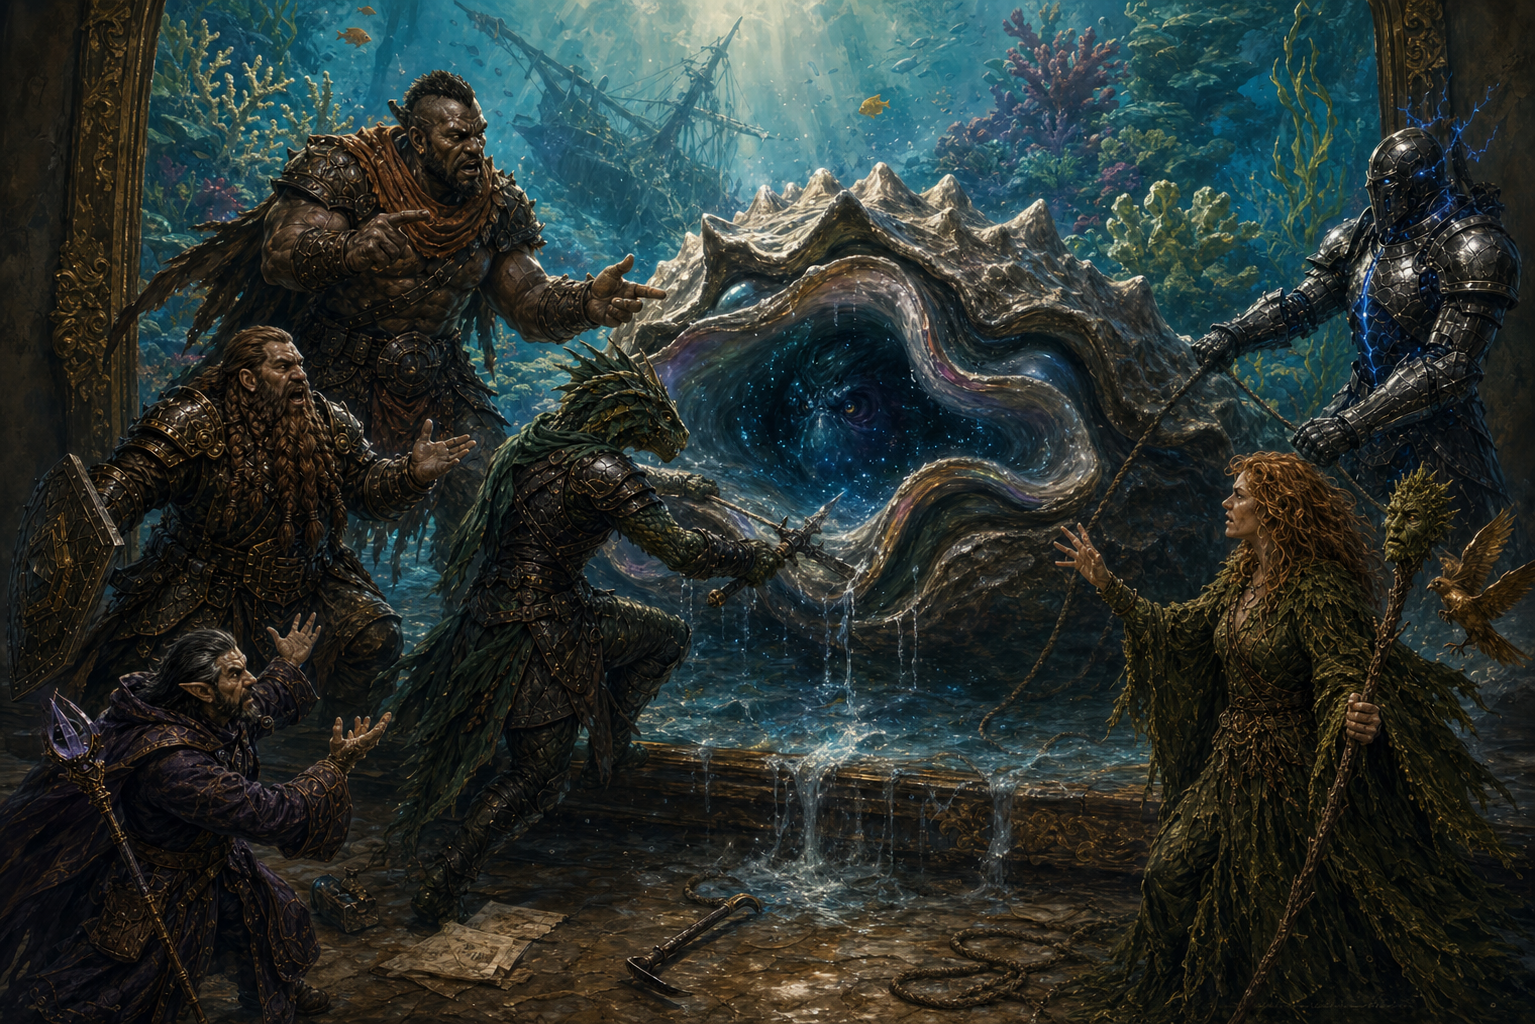
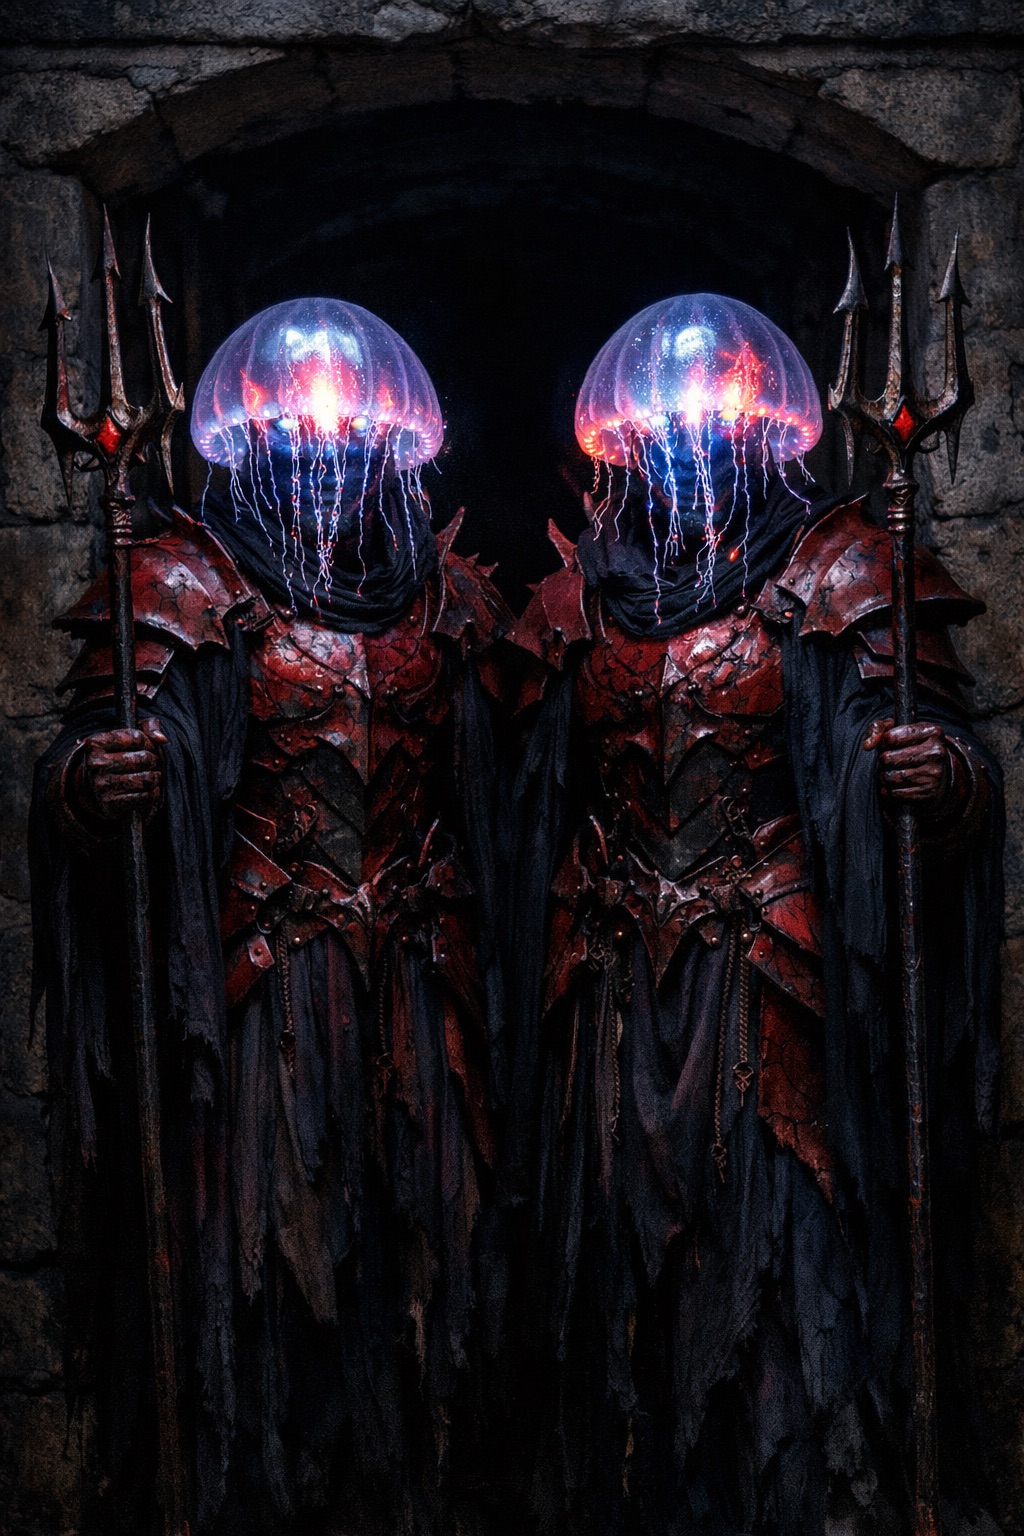
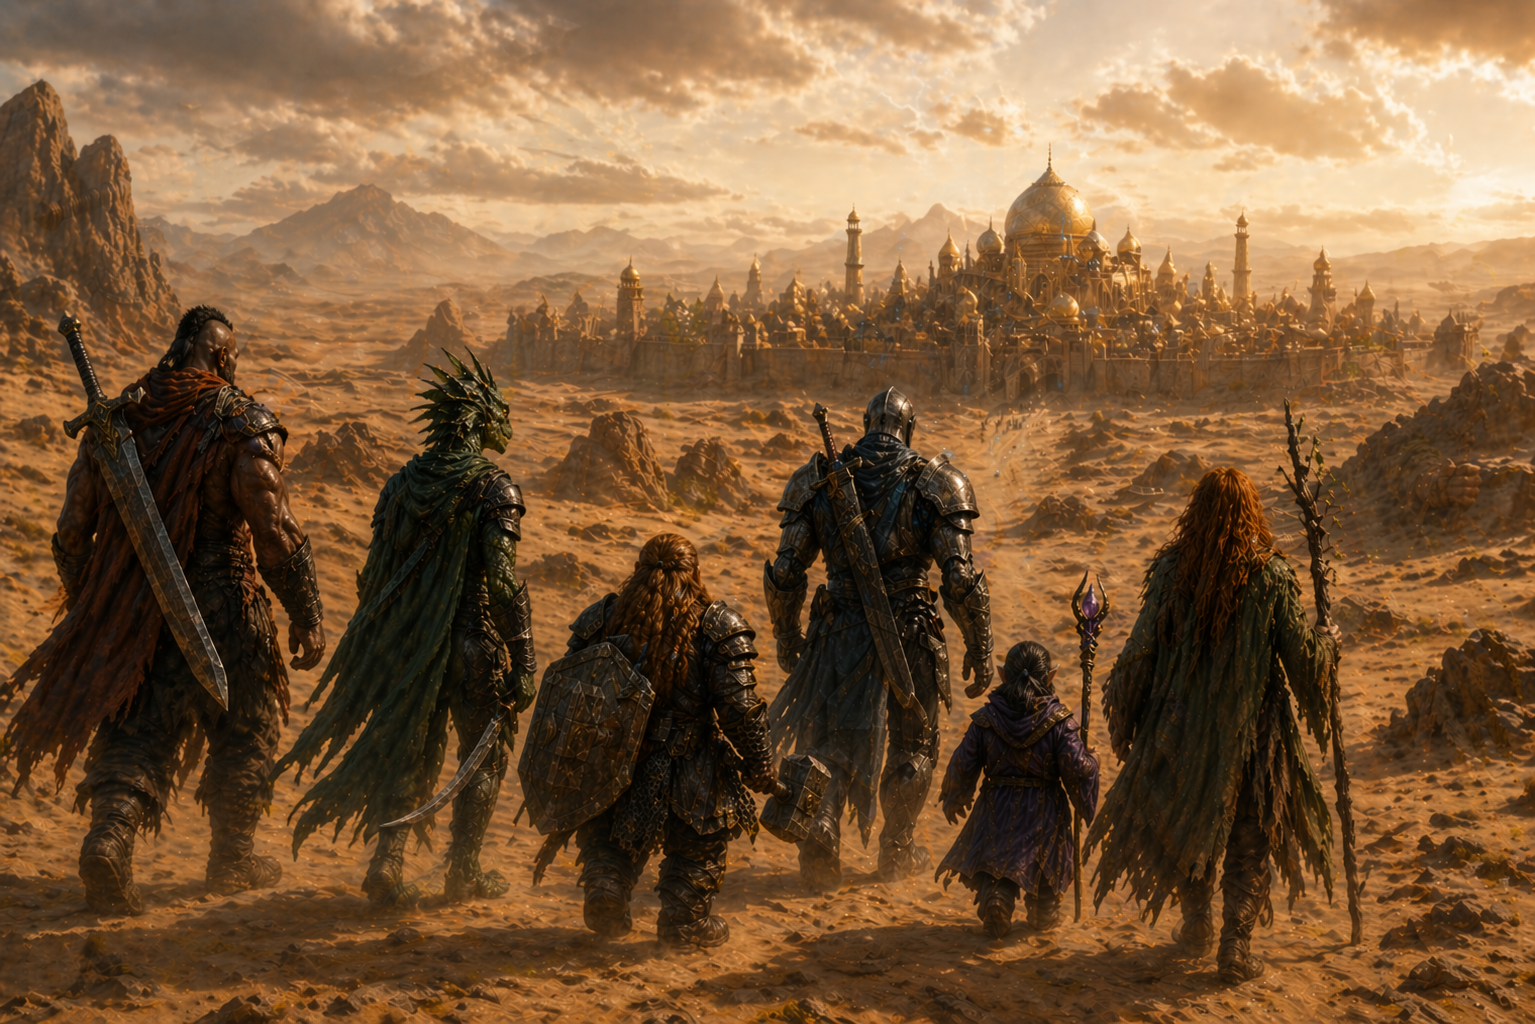
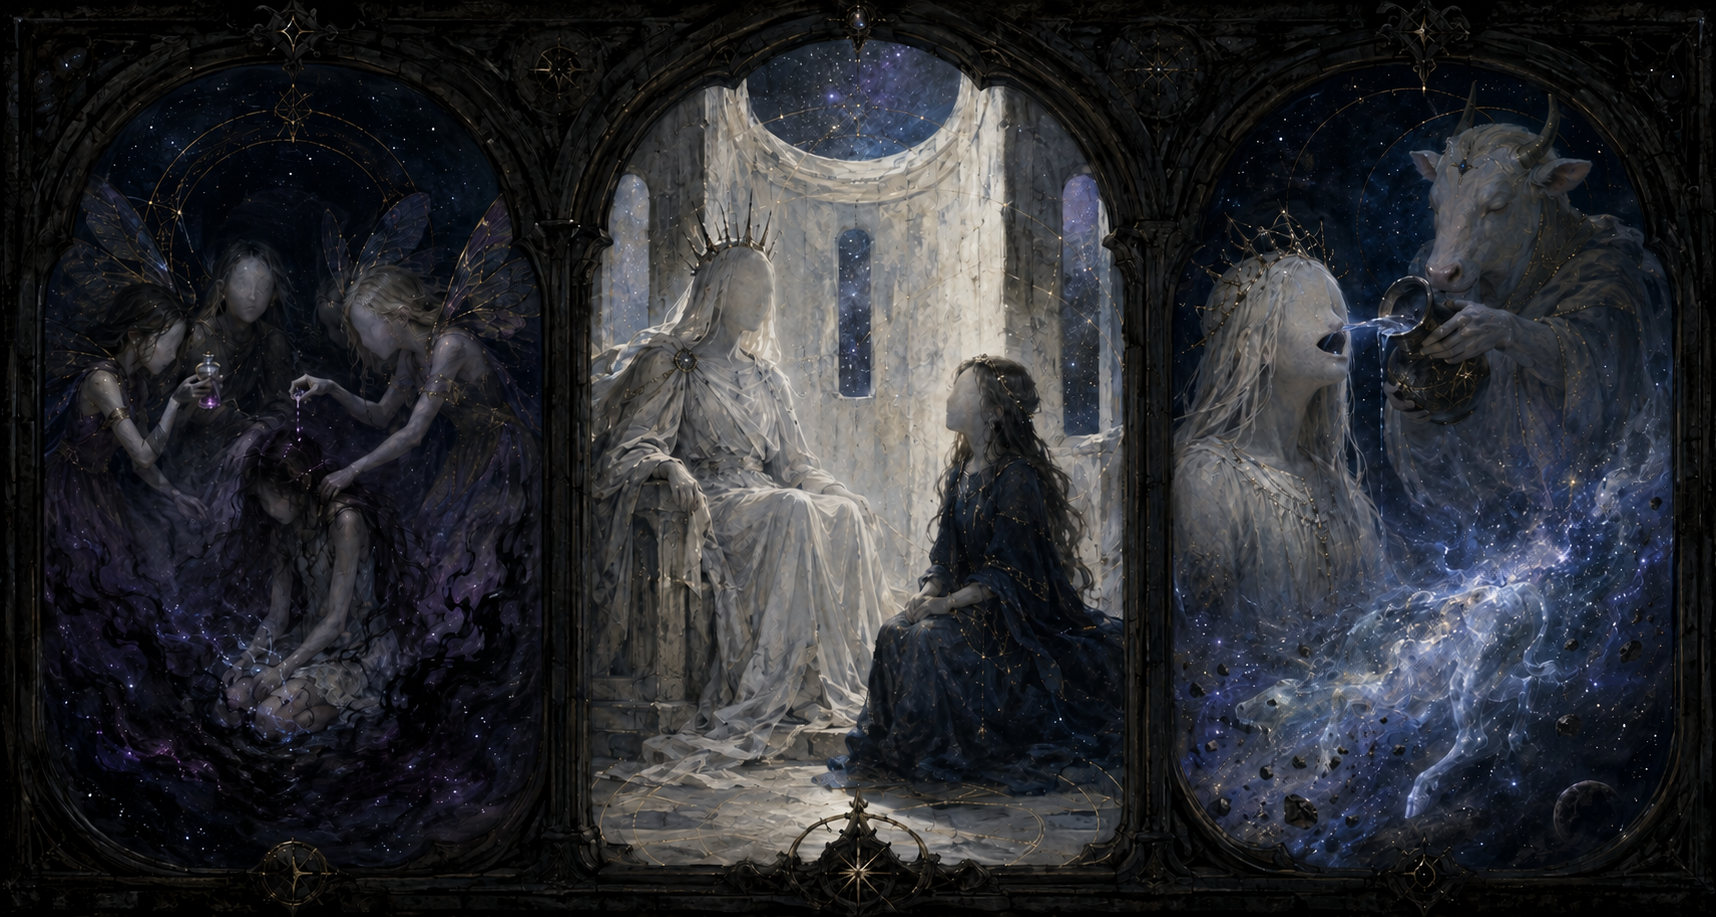
InvarDotharl in Squwal's TowerKasha's prison and the merfolk soulsThe party arguing with the giant clamBrass City Citadel Jellyfish GuardsThe party heads to the Brass CityGeldrin the Mighty Founder
Days 59–62
The Countess of Lost VeinThe party escapes LostveinColonel Bilgewater's meat-powered road adventureInvar at the Great Tunnel
Day 63
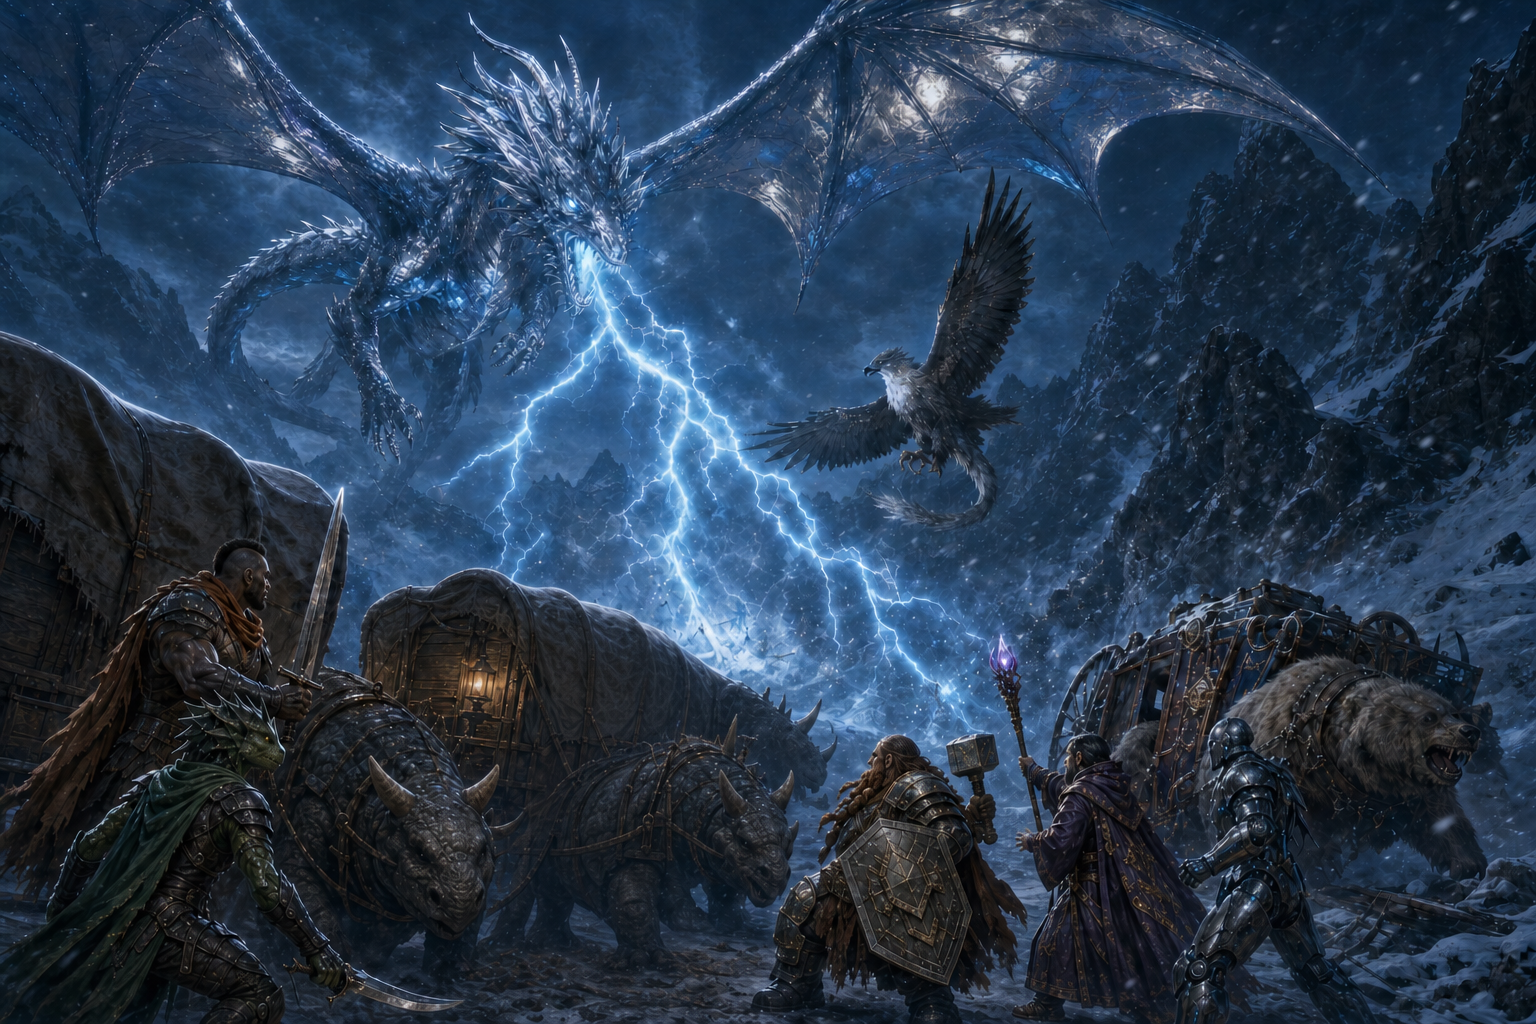
The chrome-blue dragon ambush
Day 64
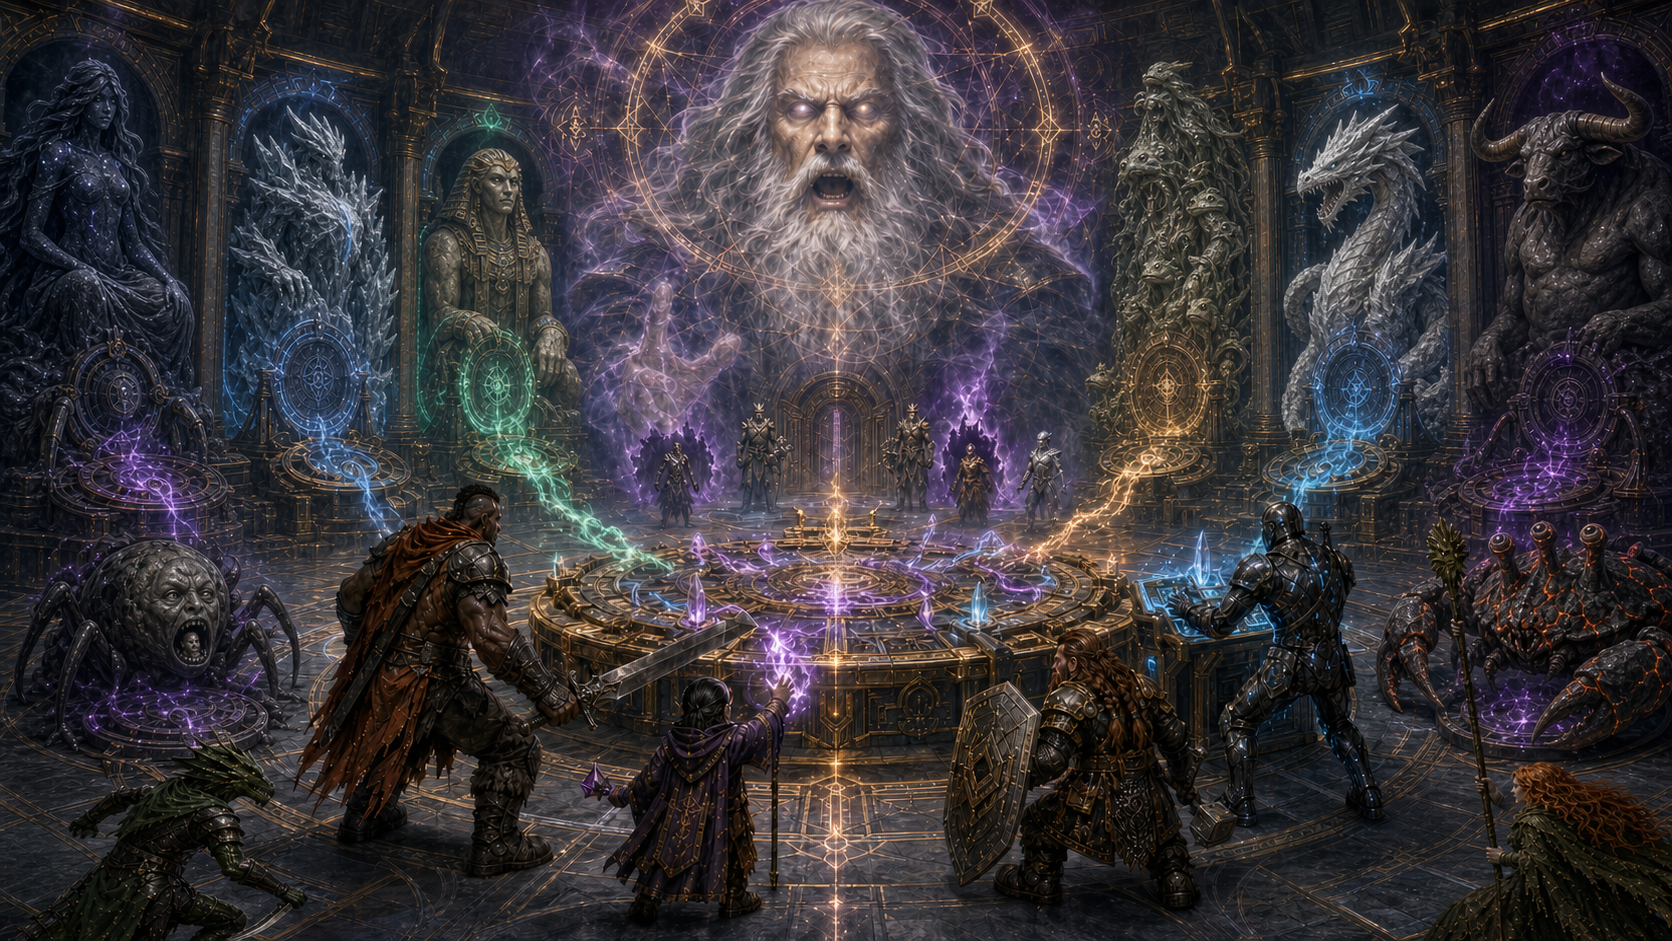
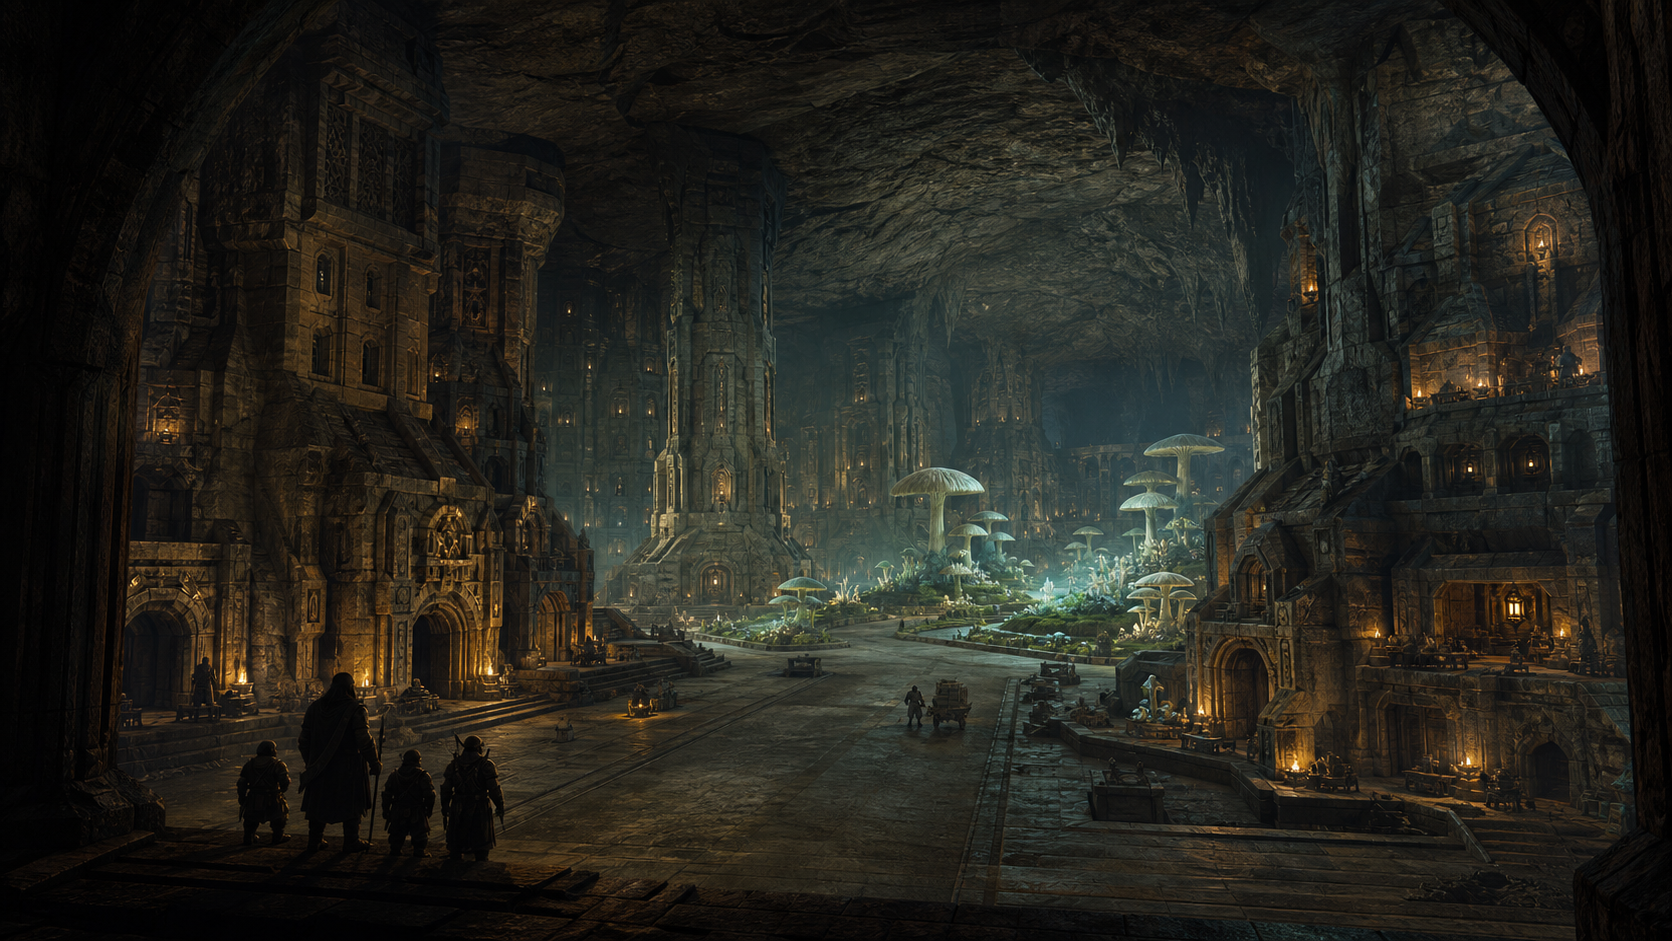
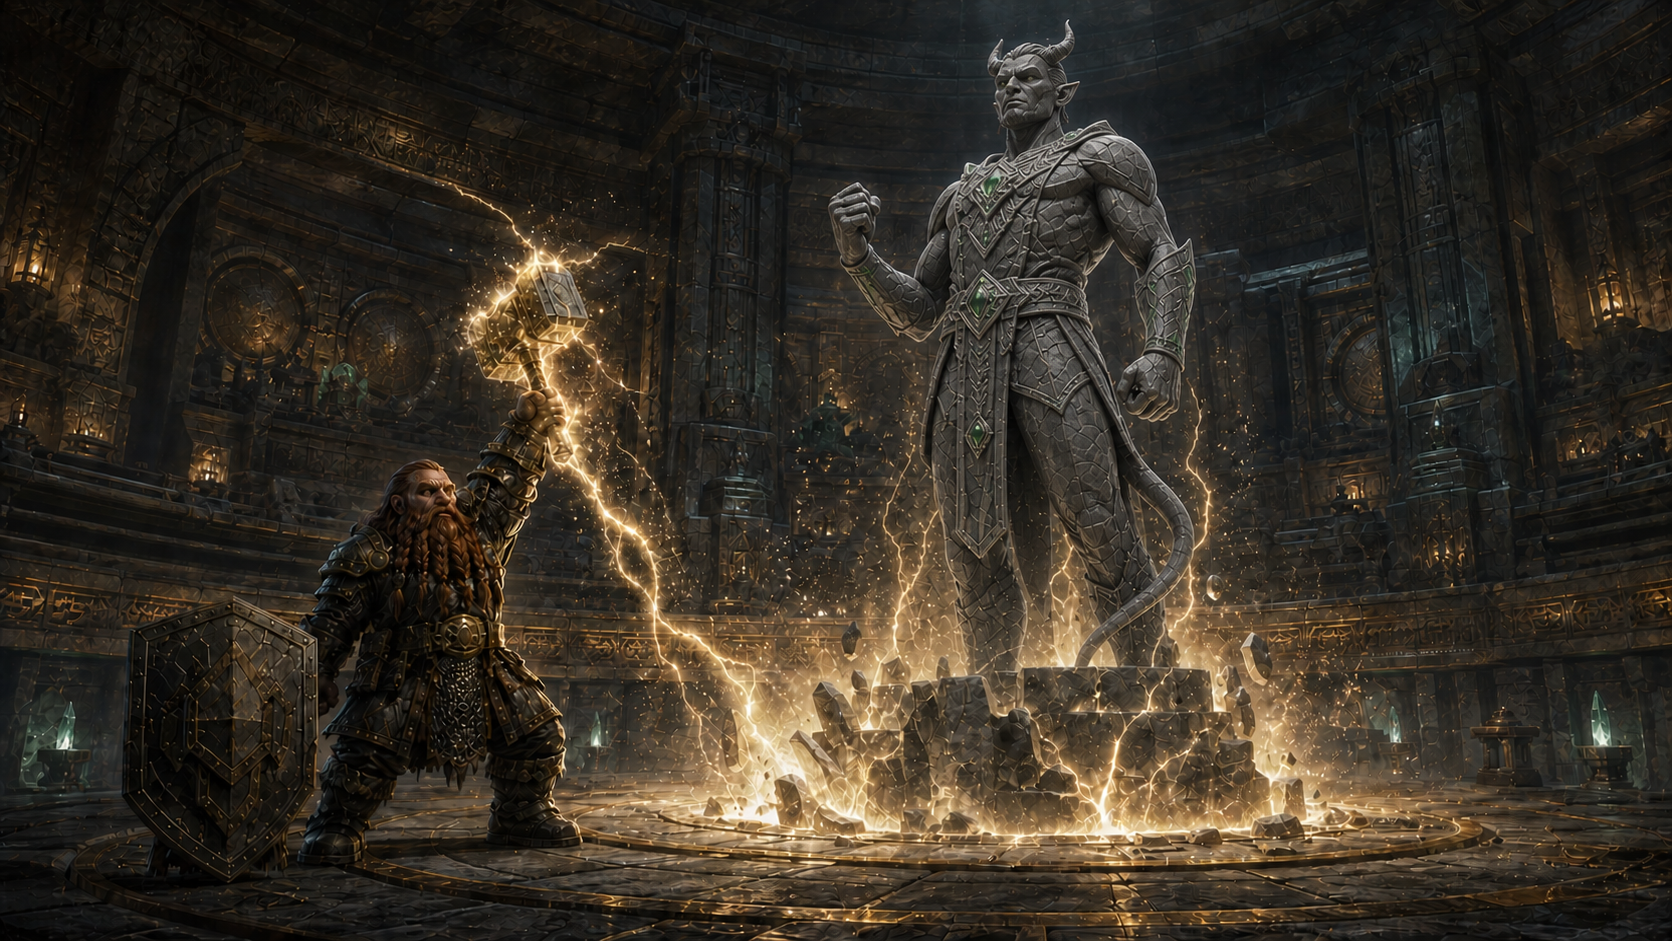
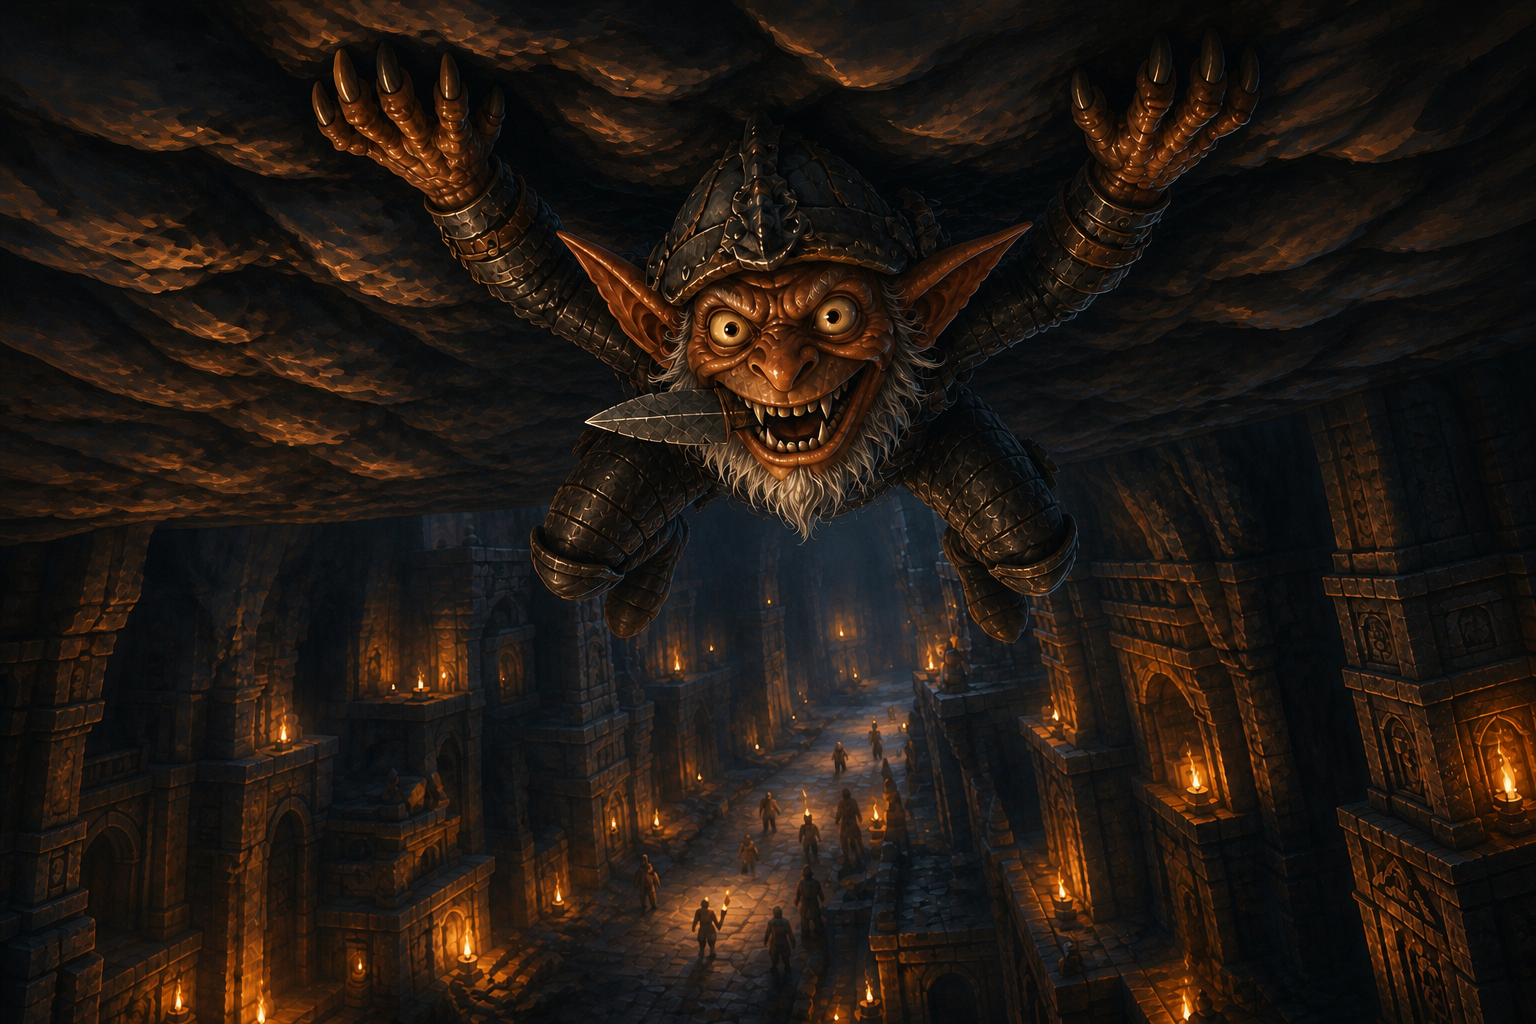
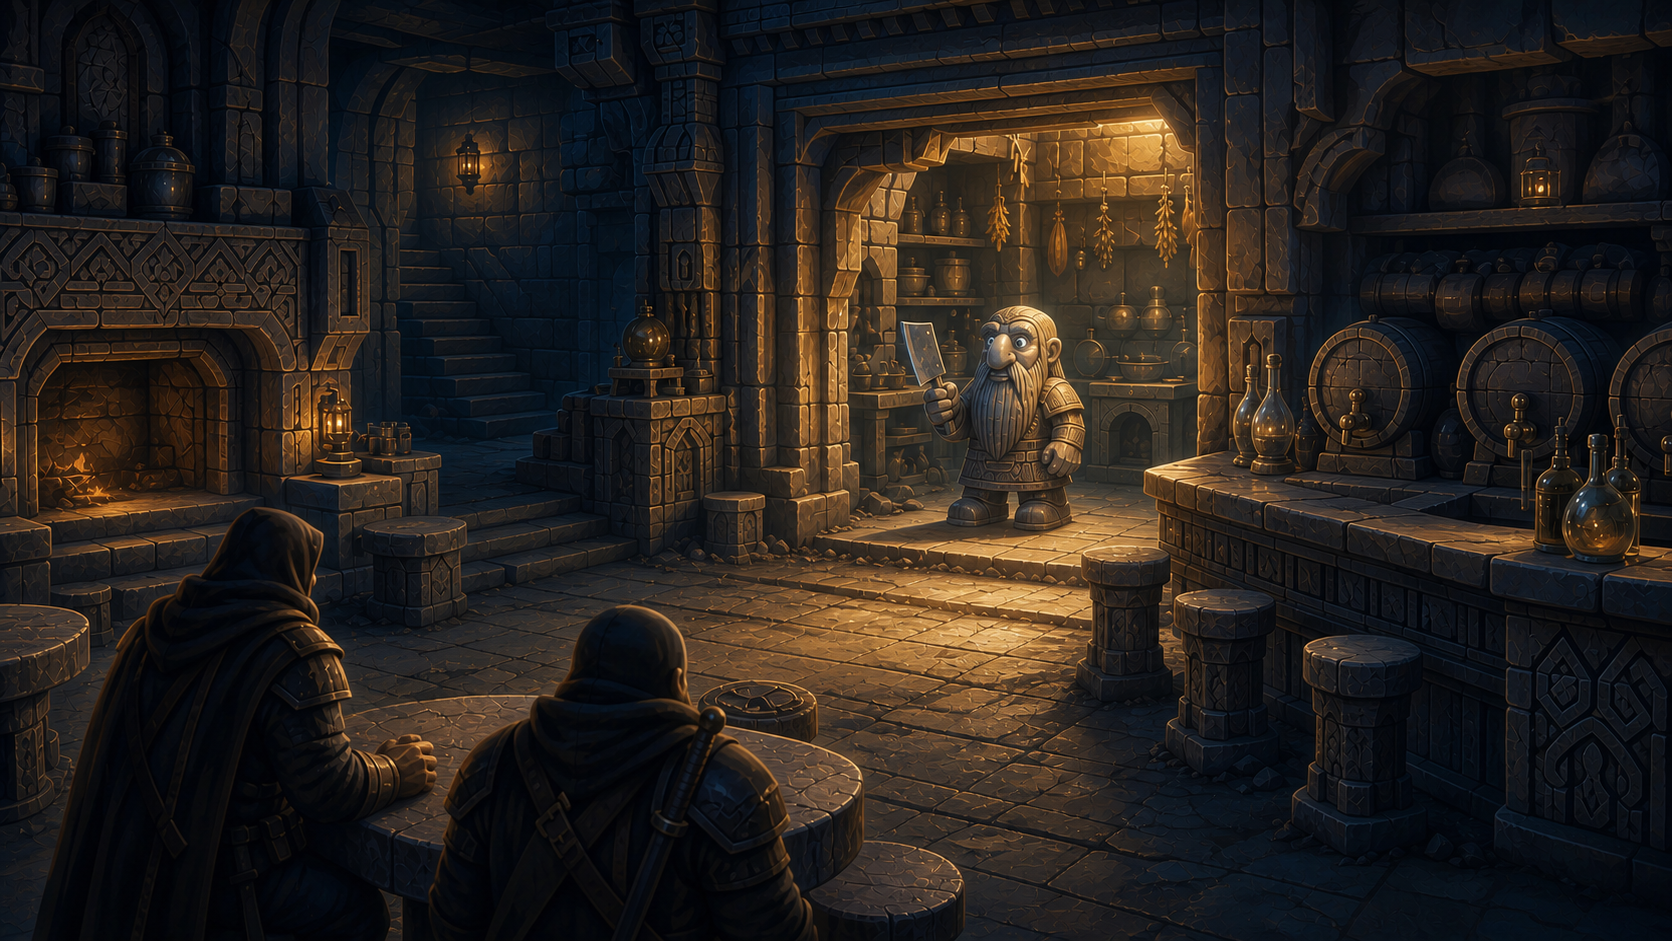
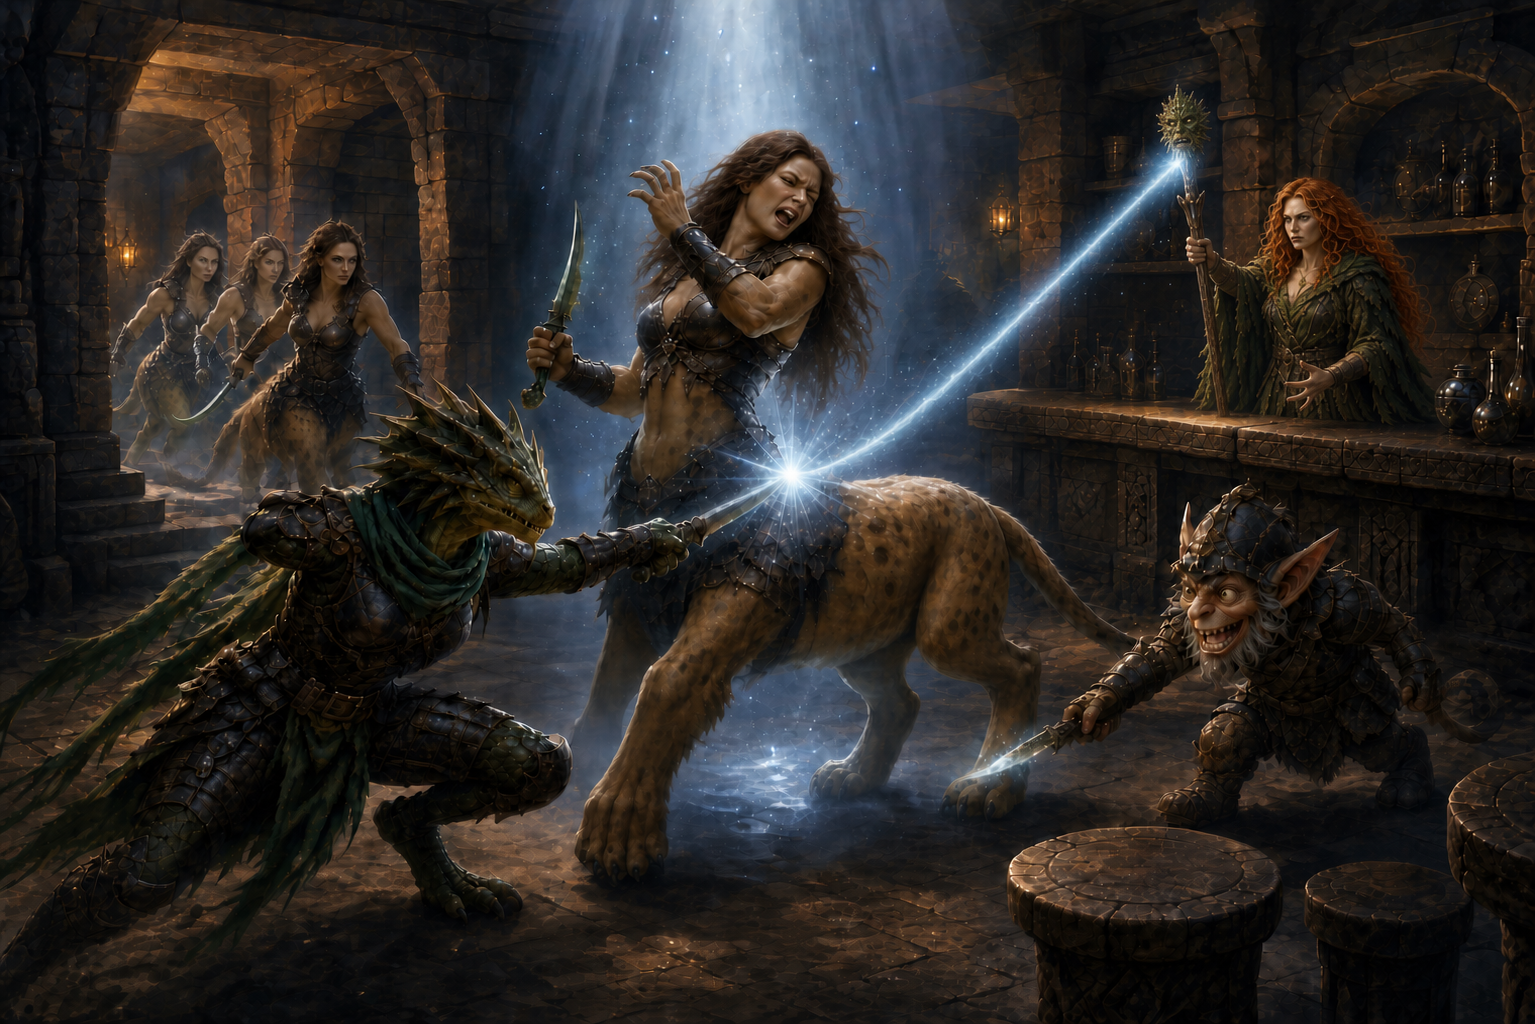
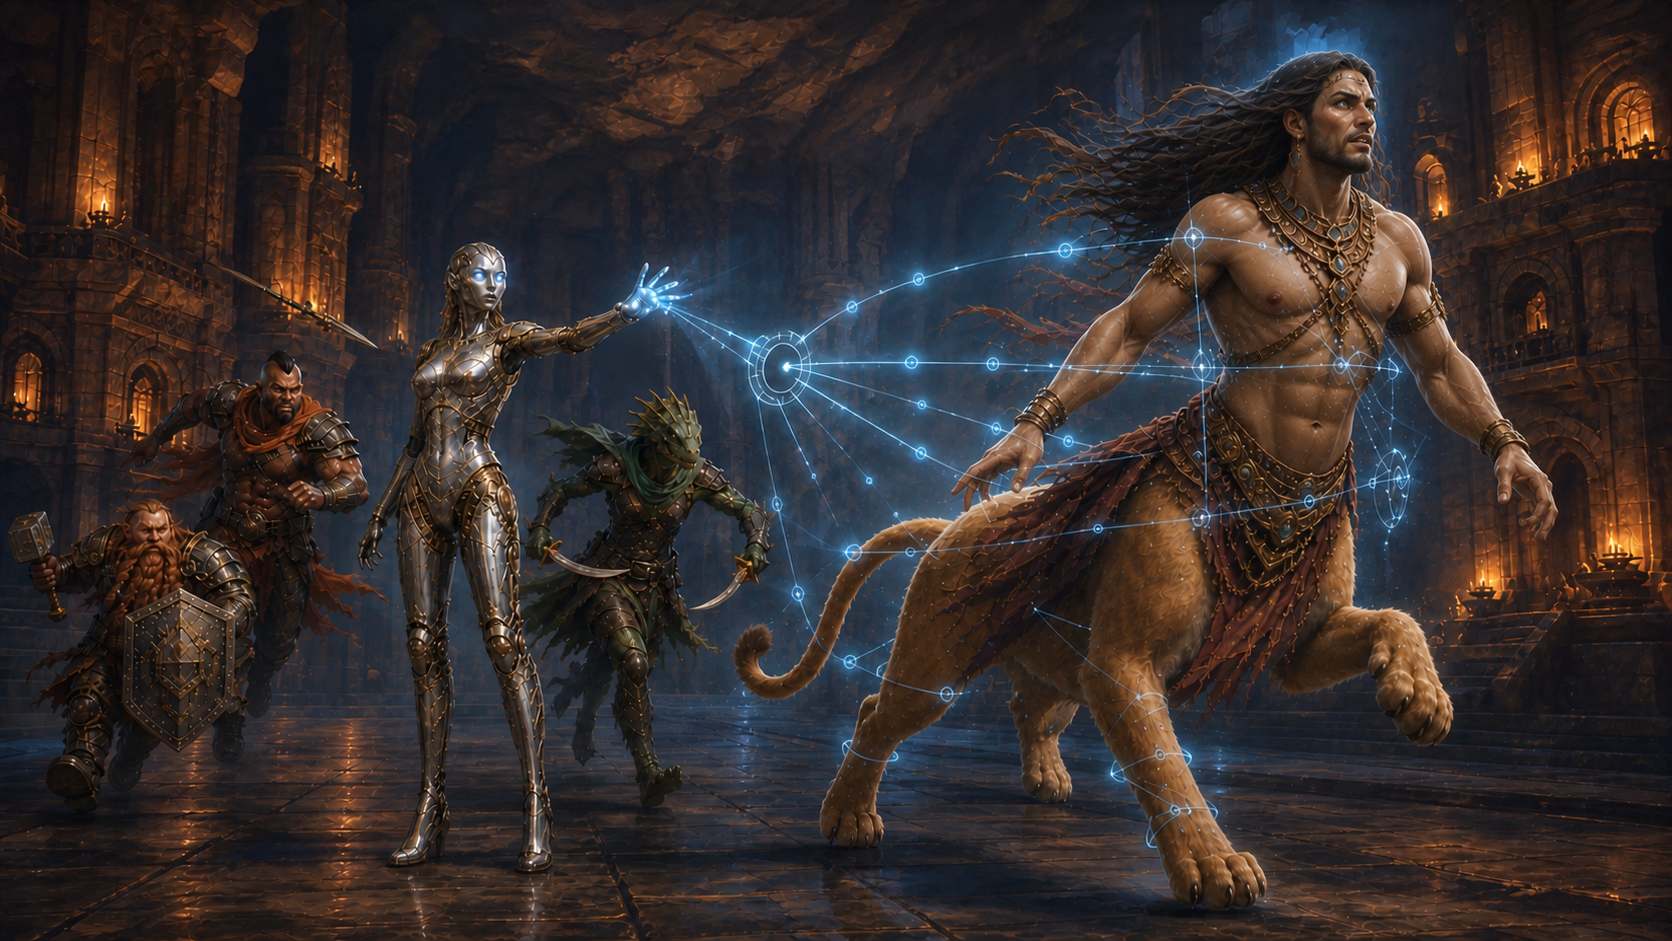
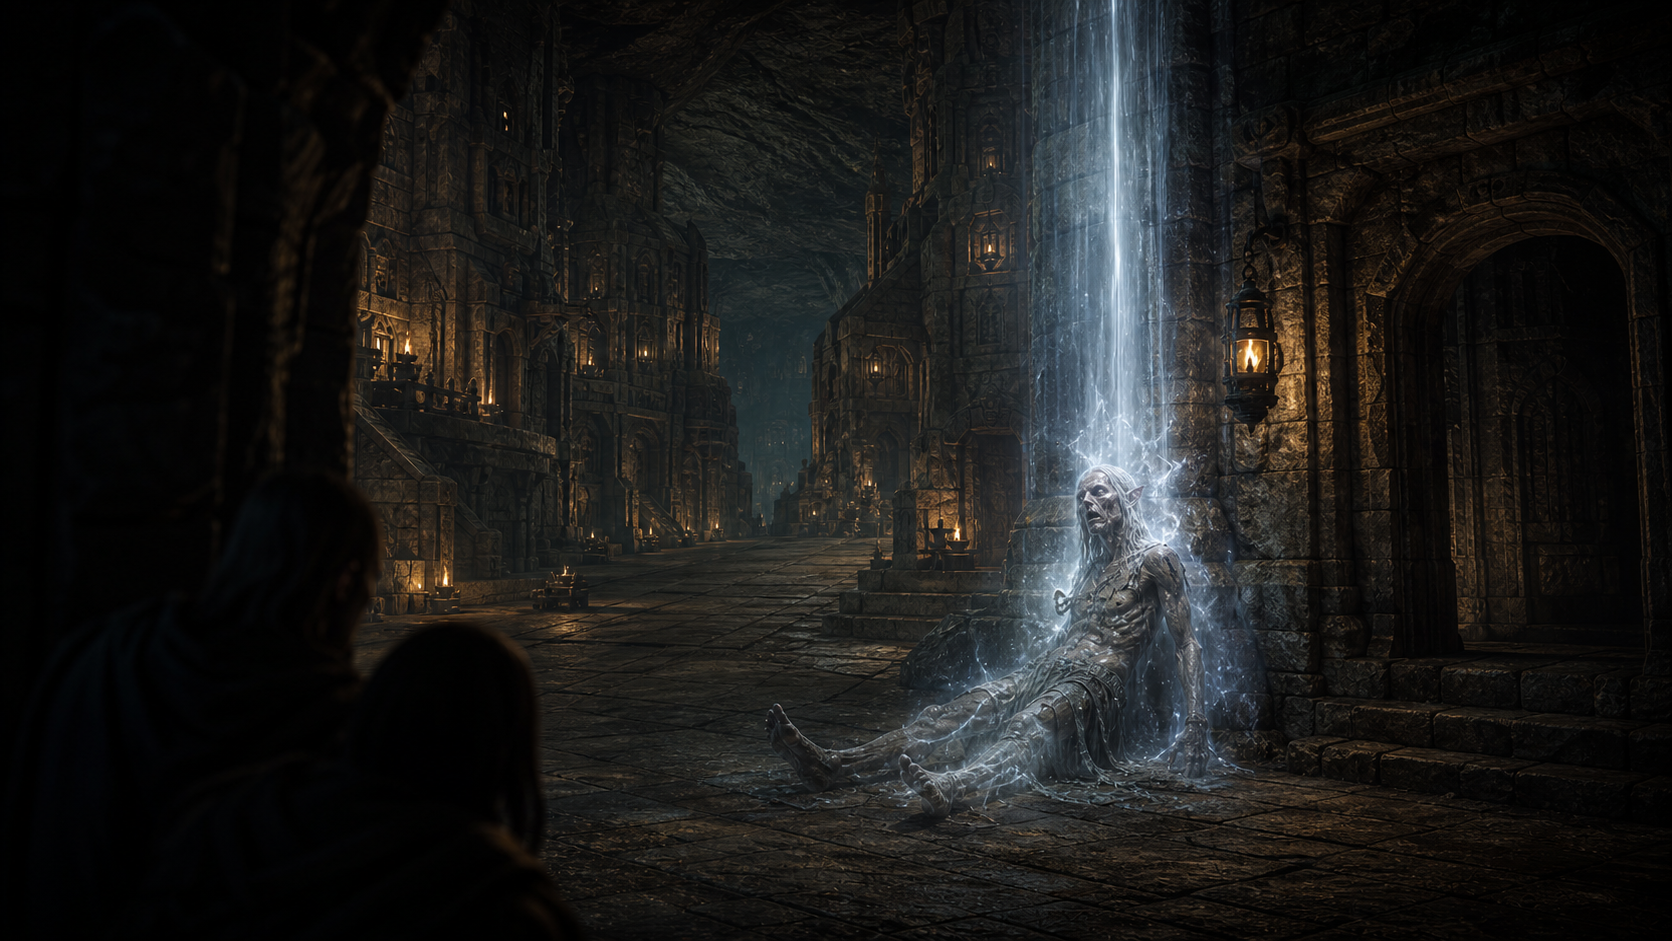
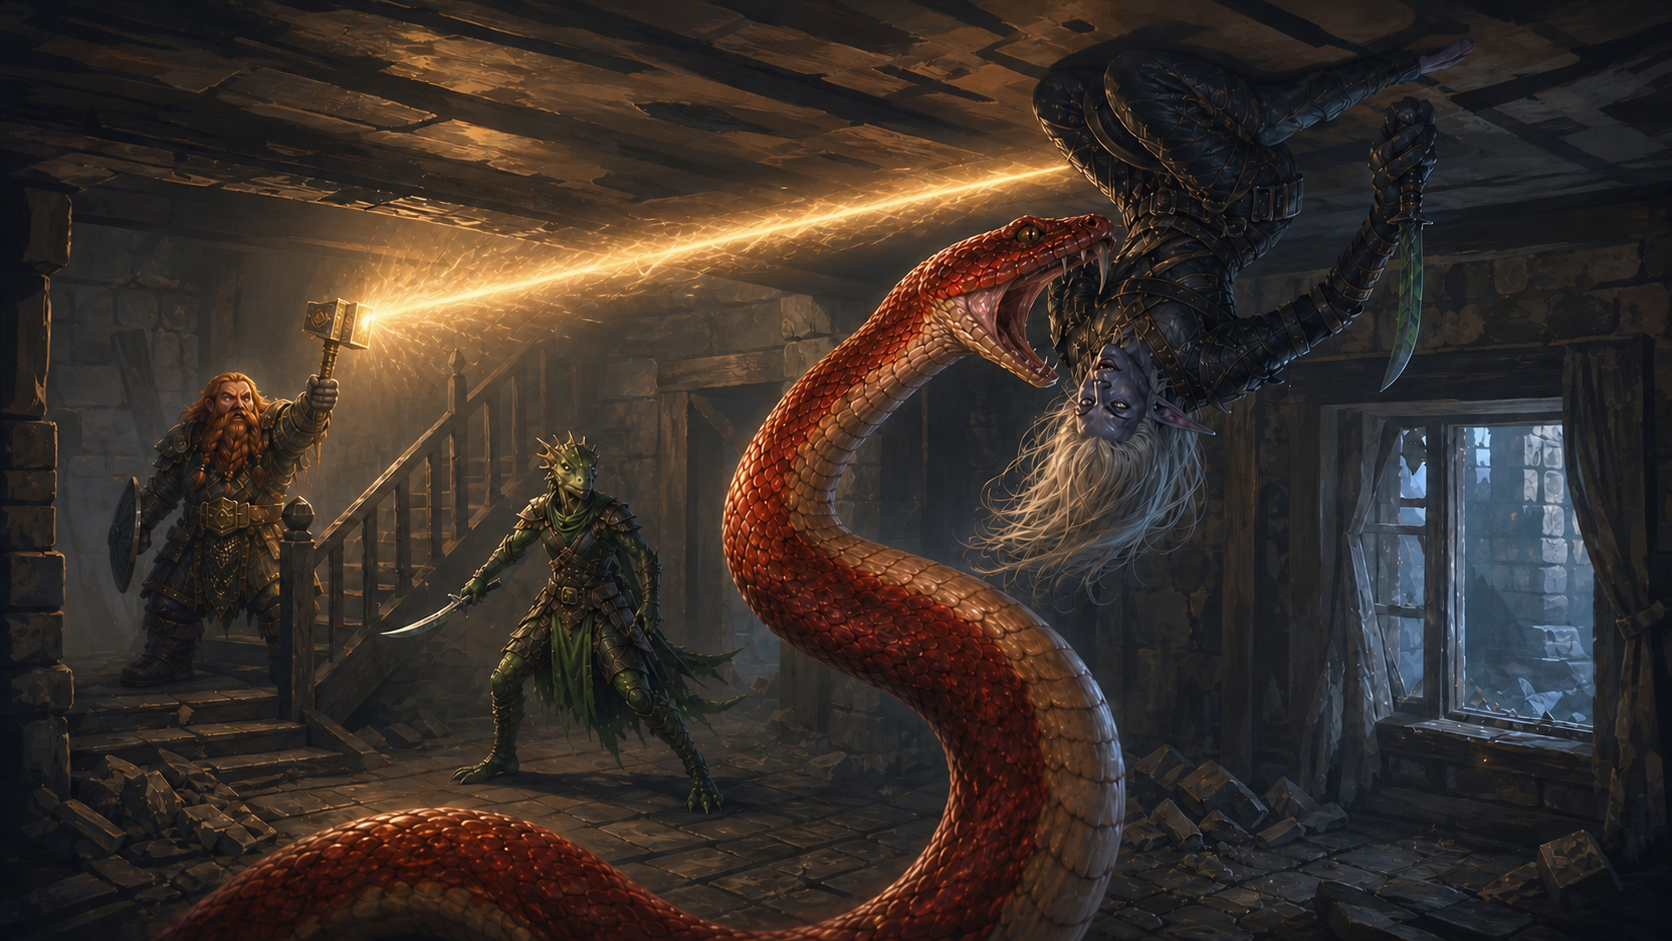
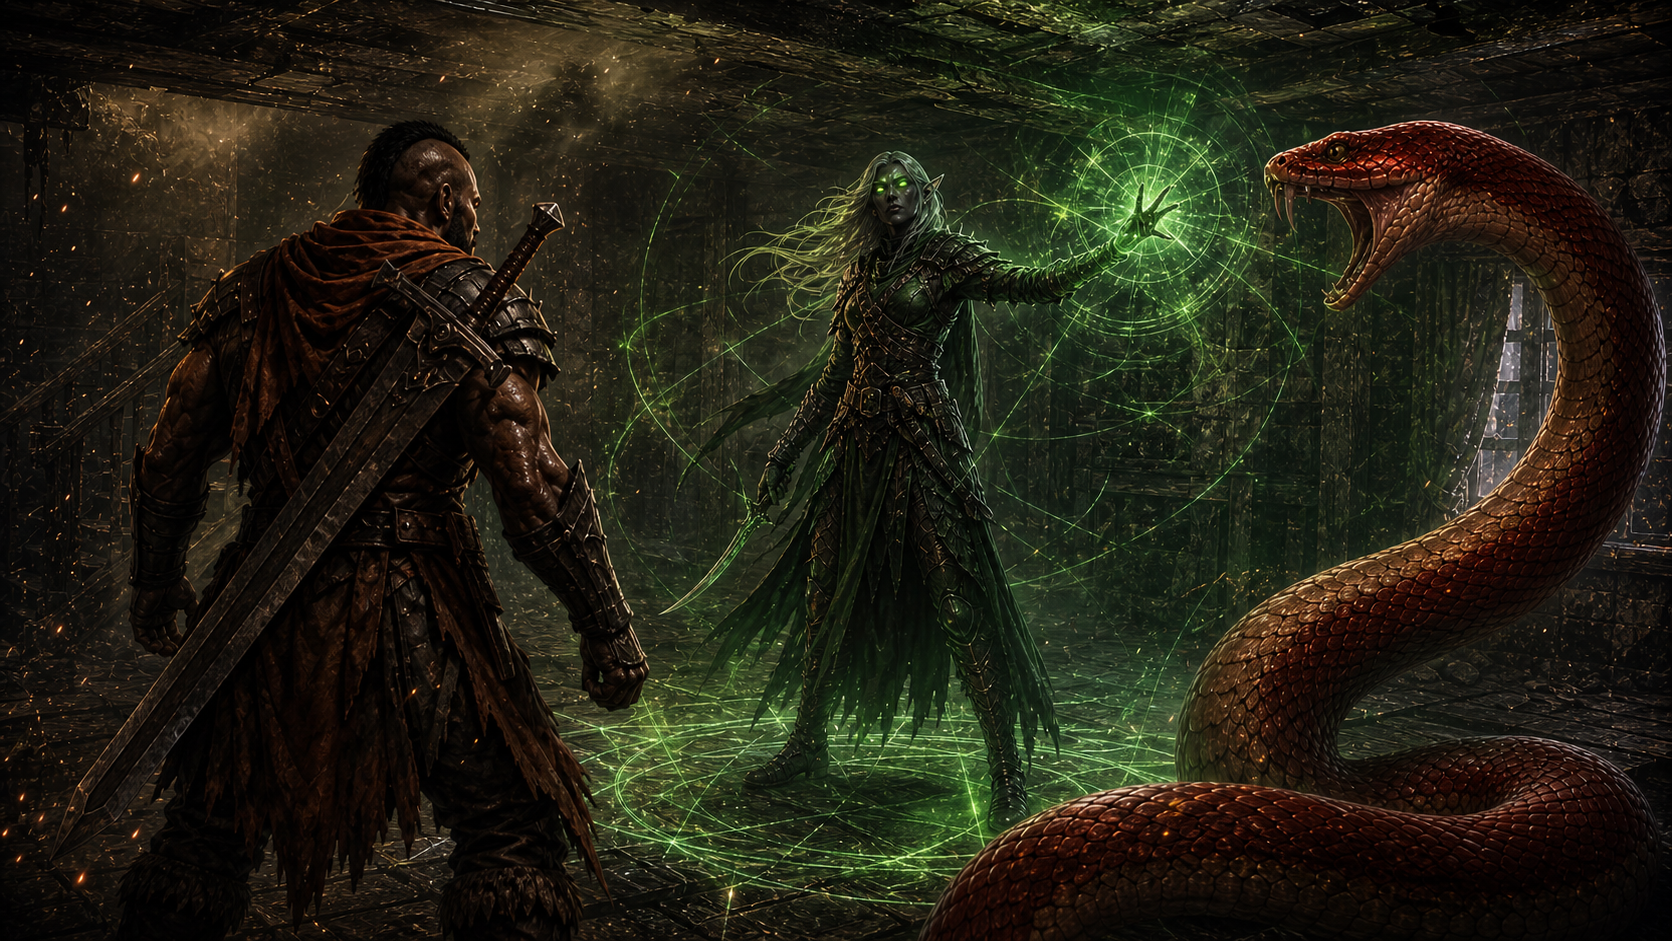
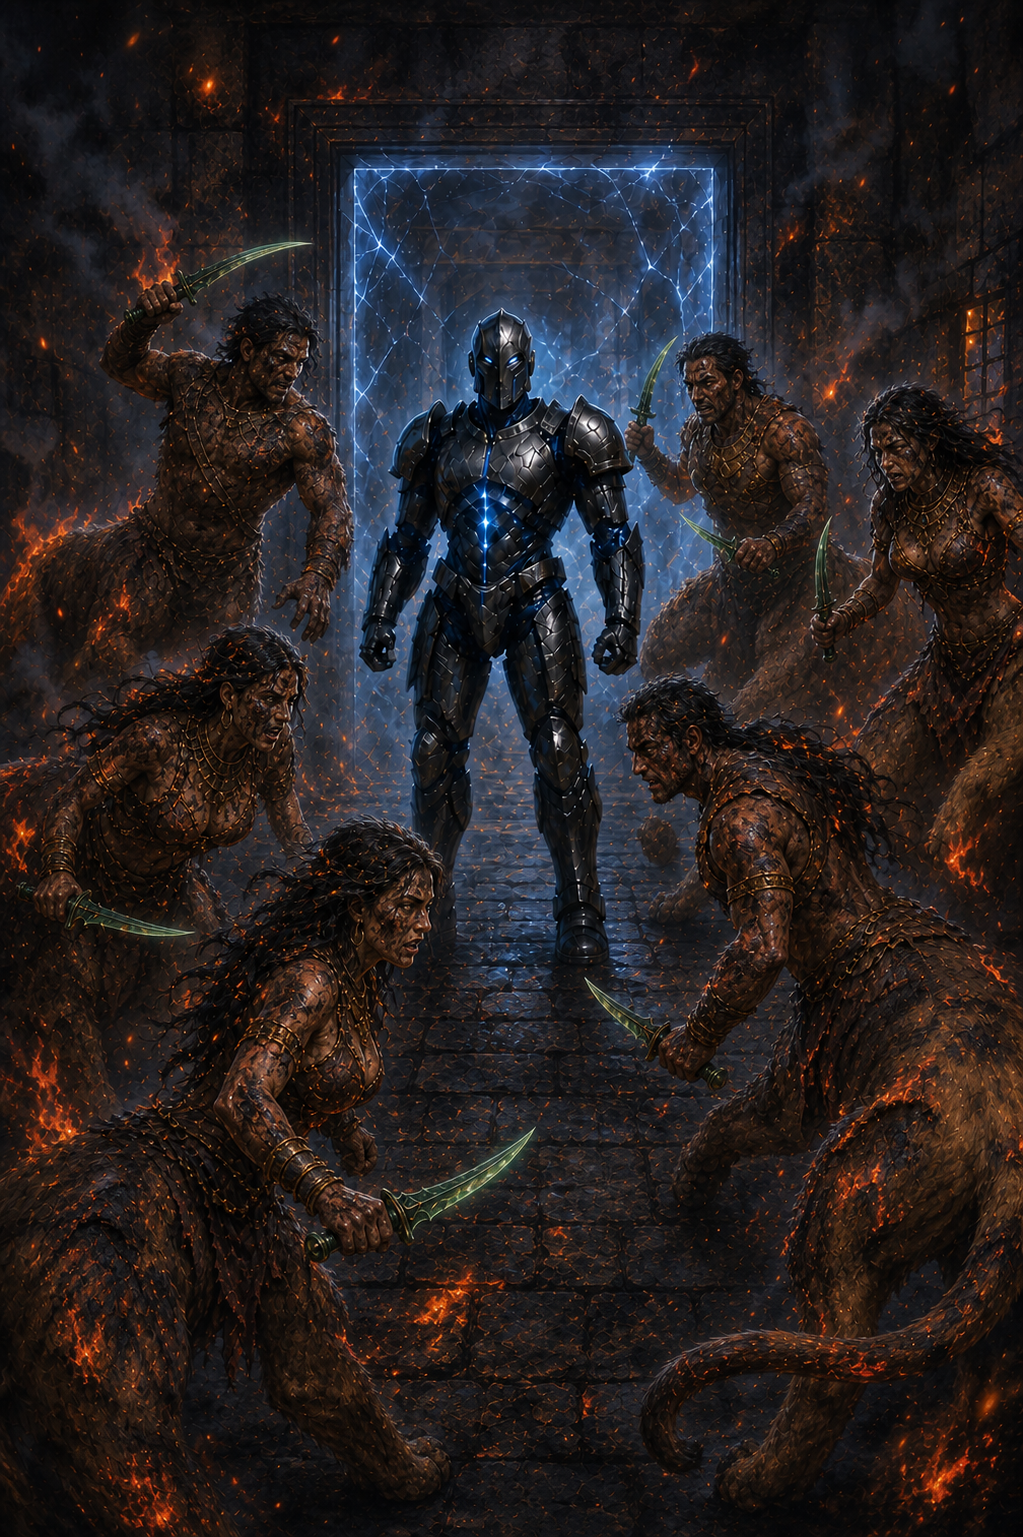
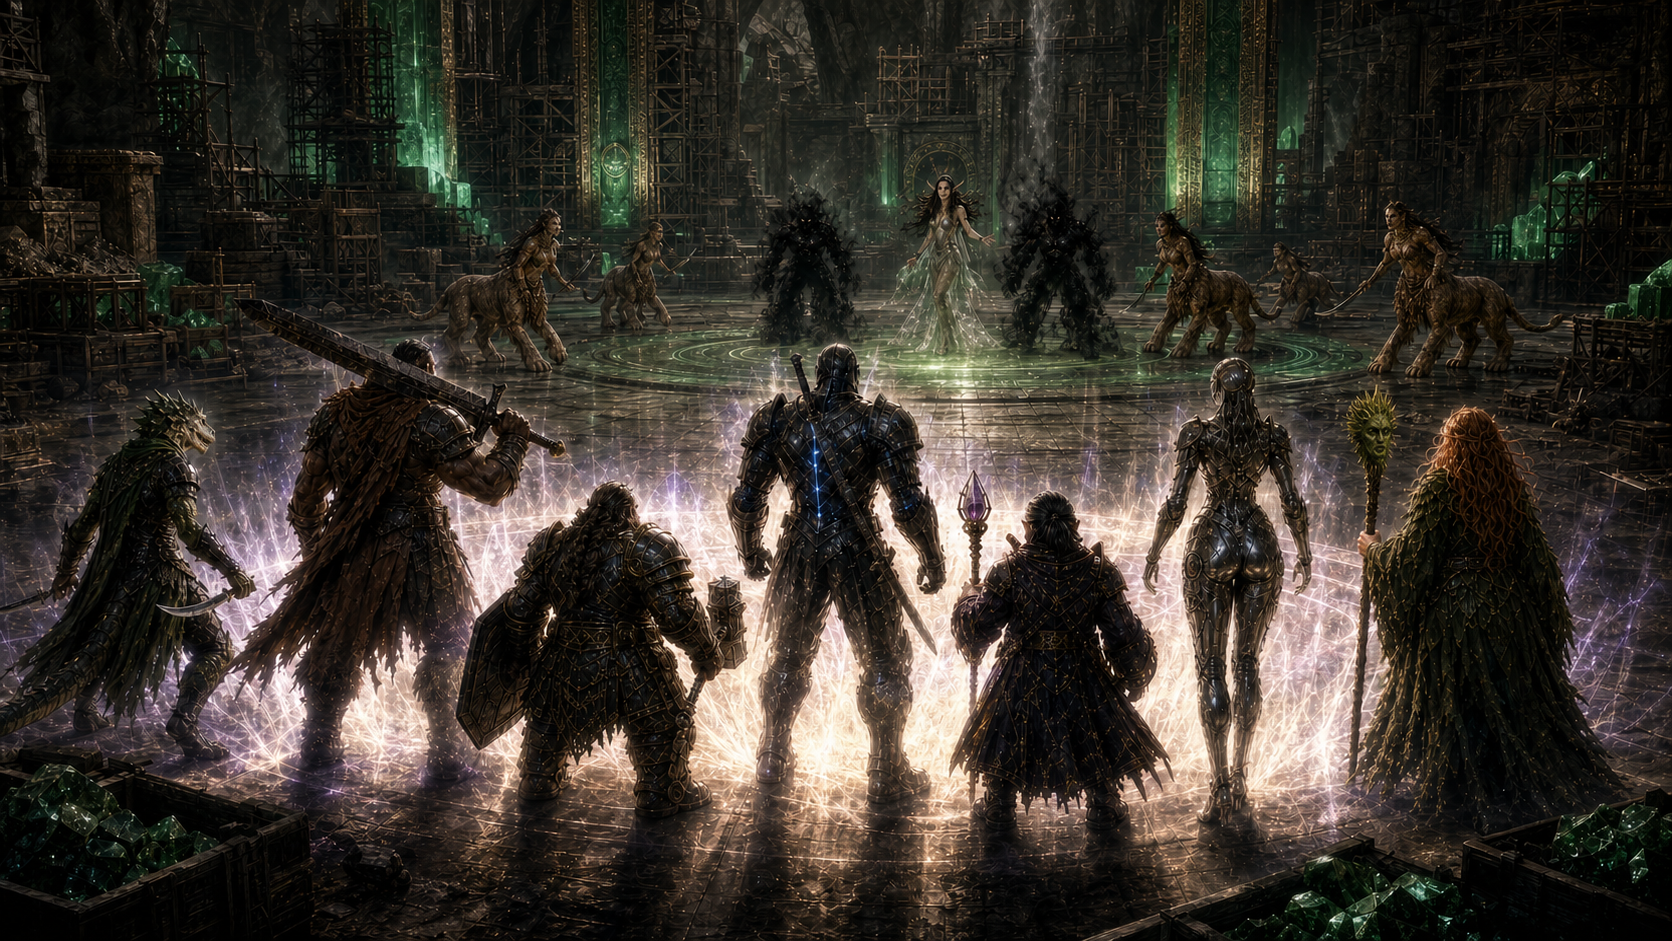
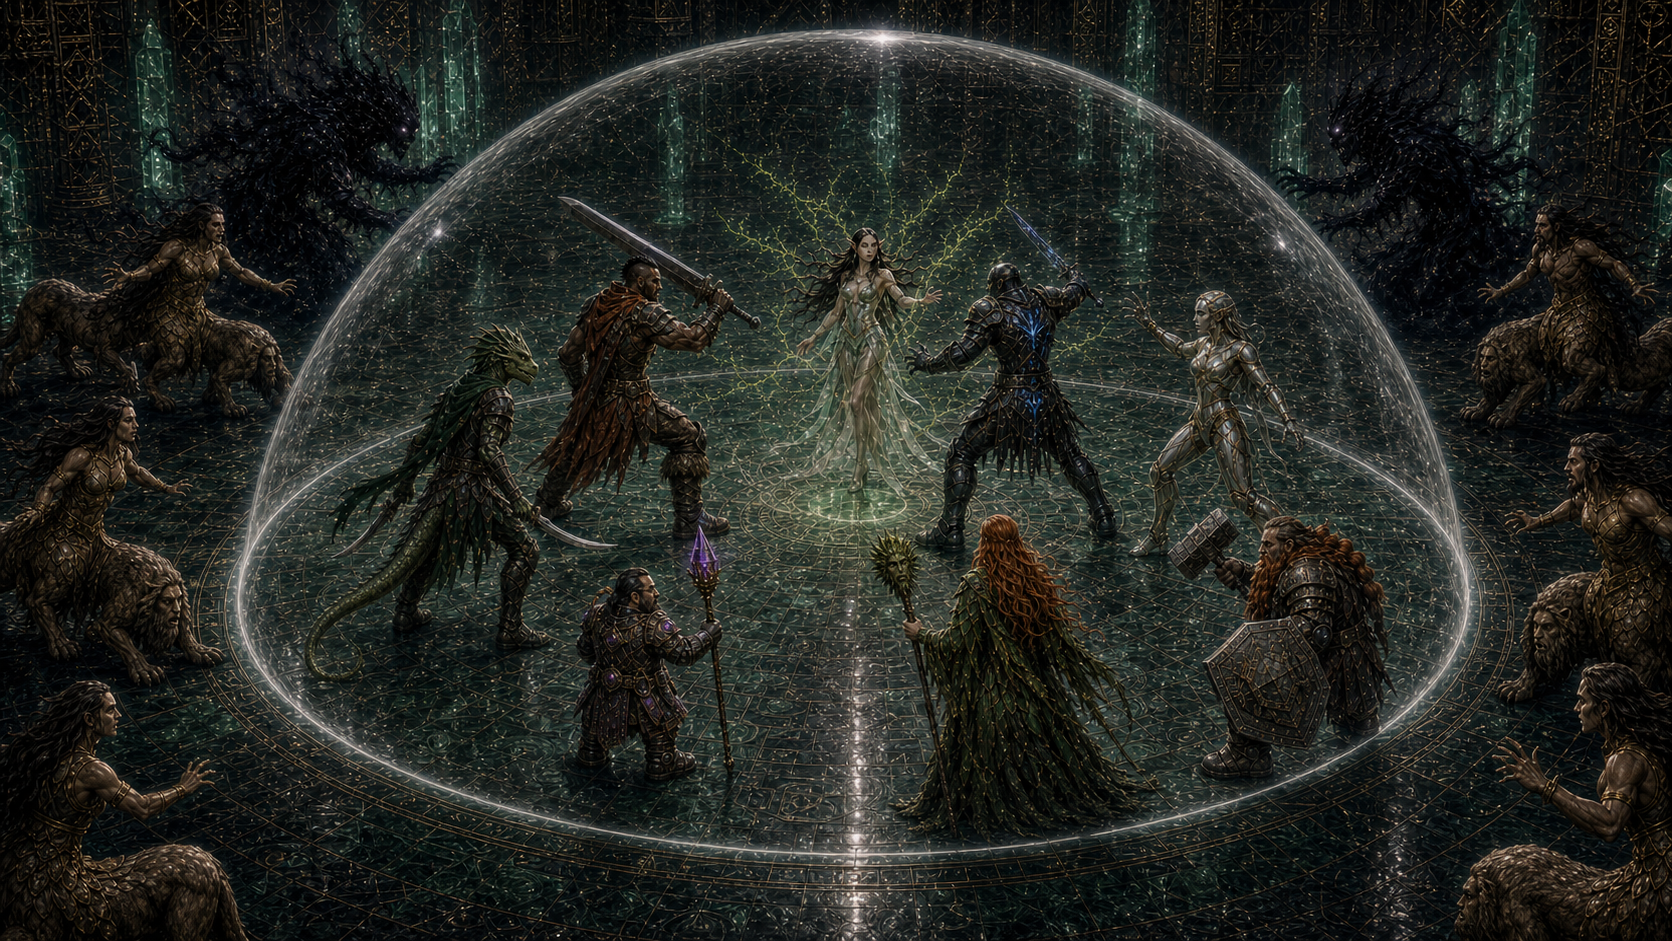
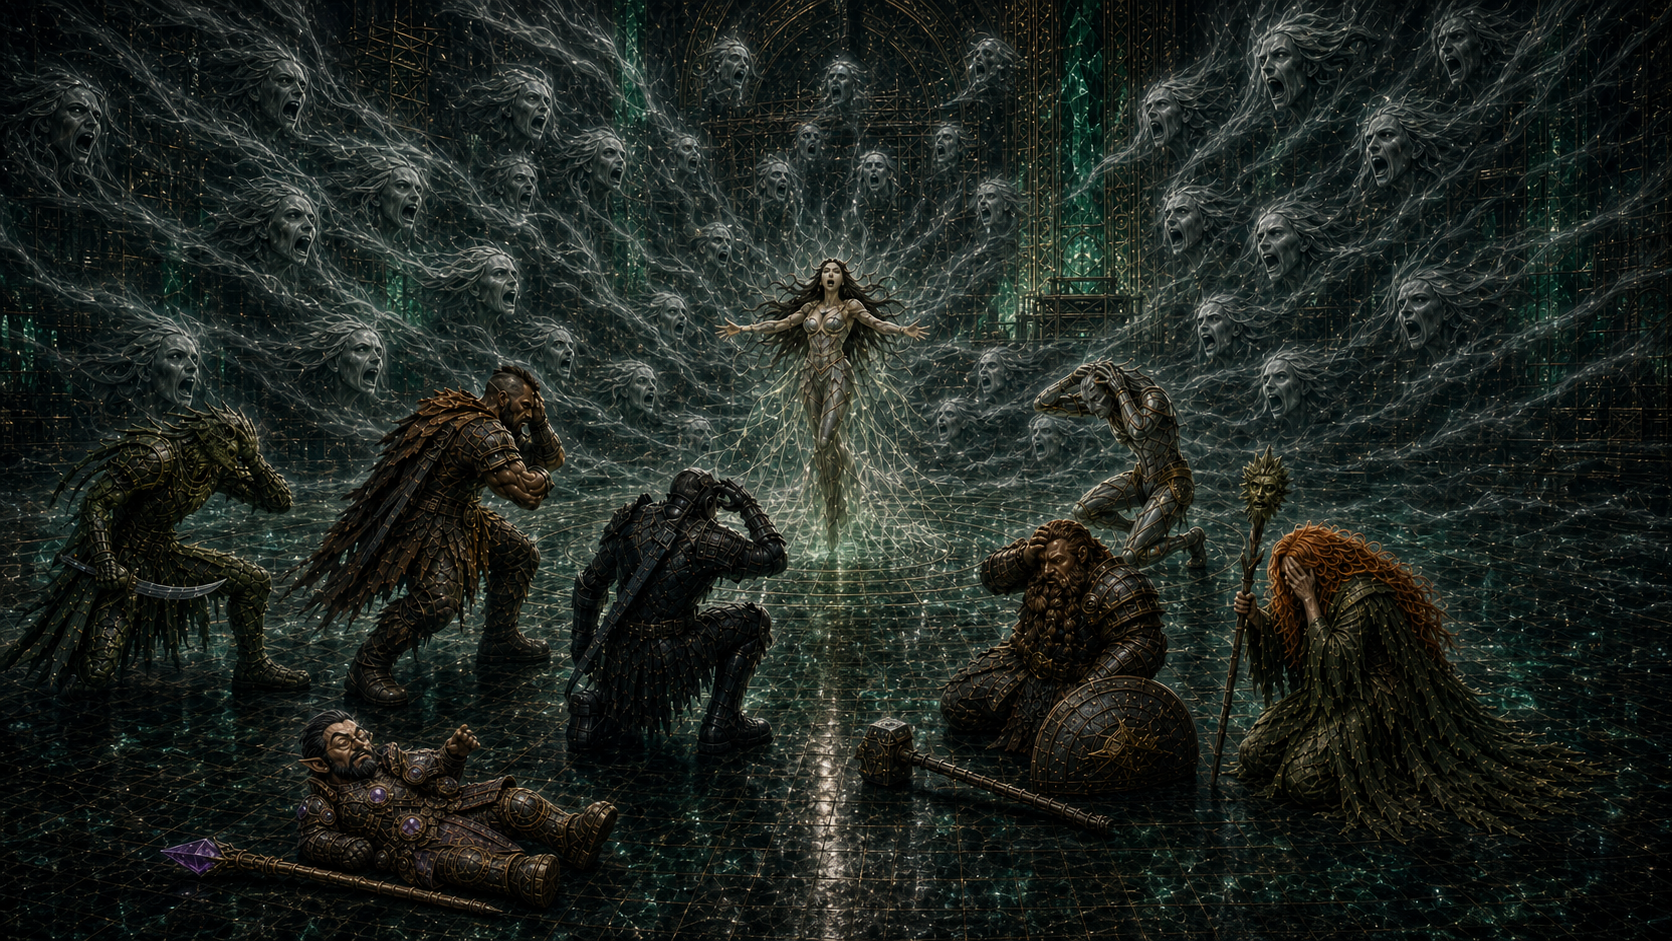
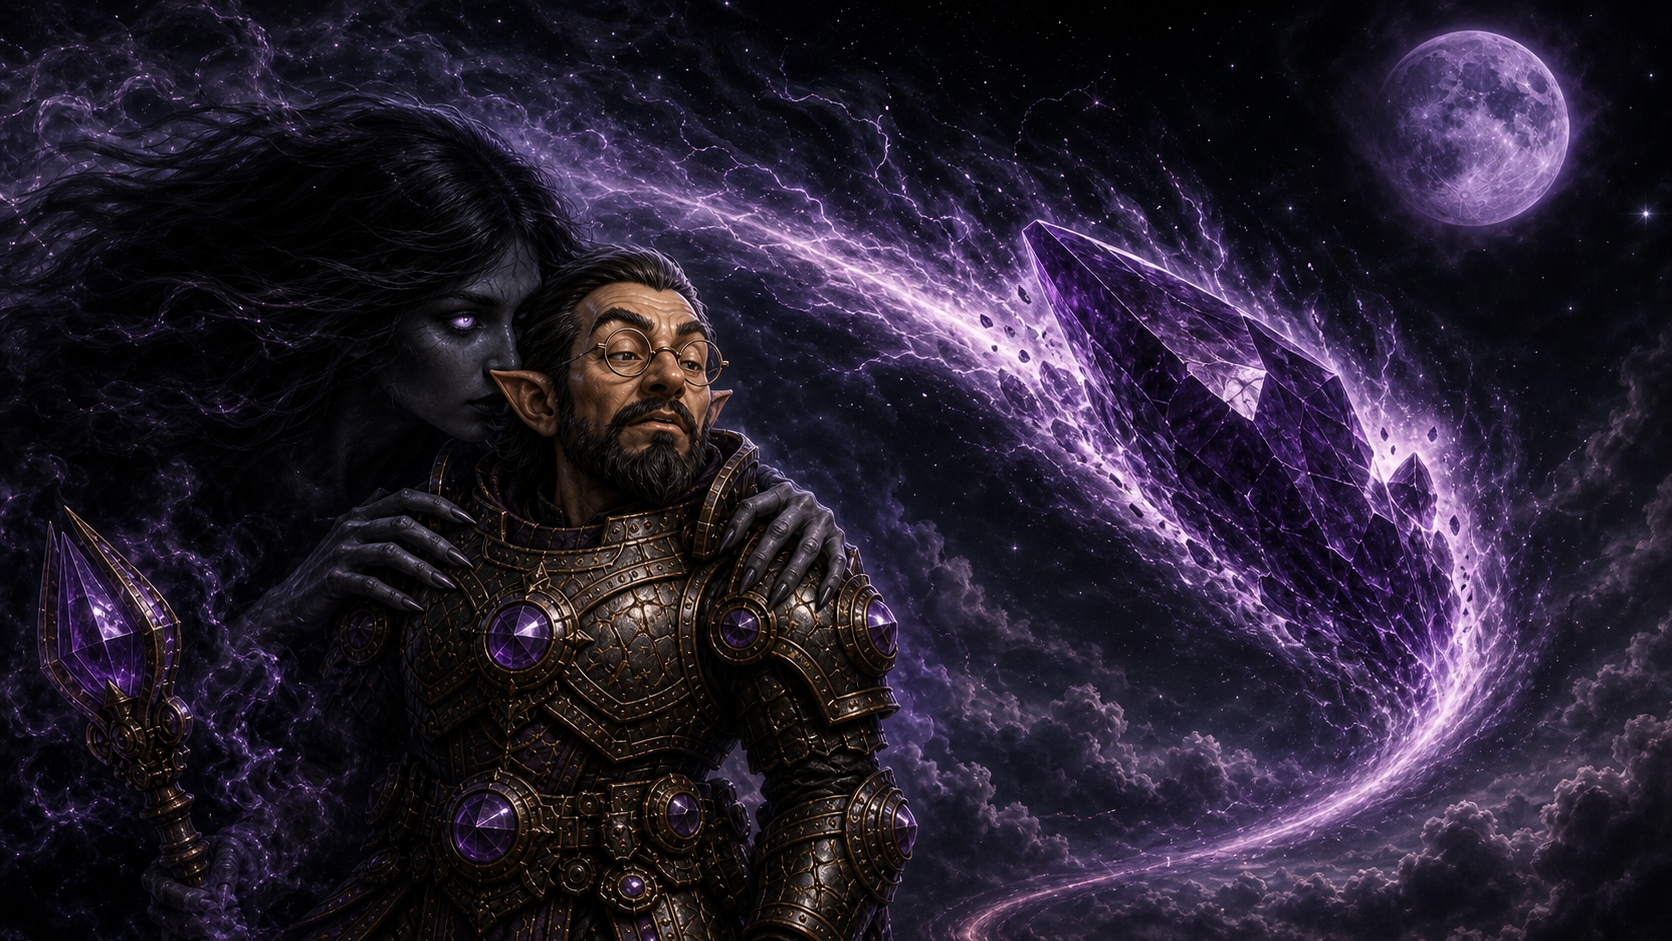
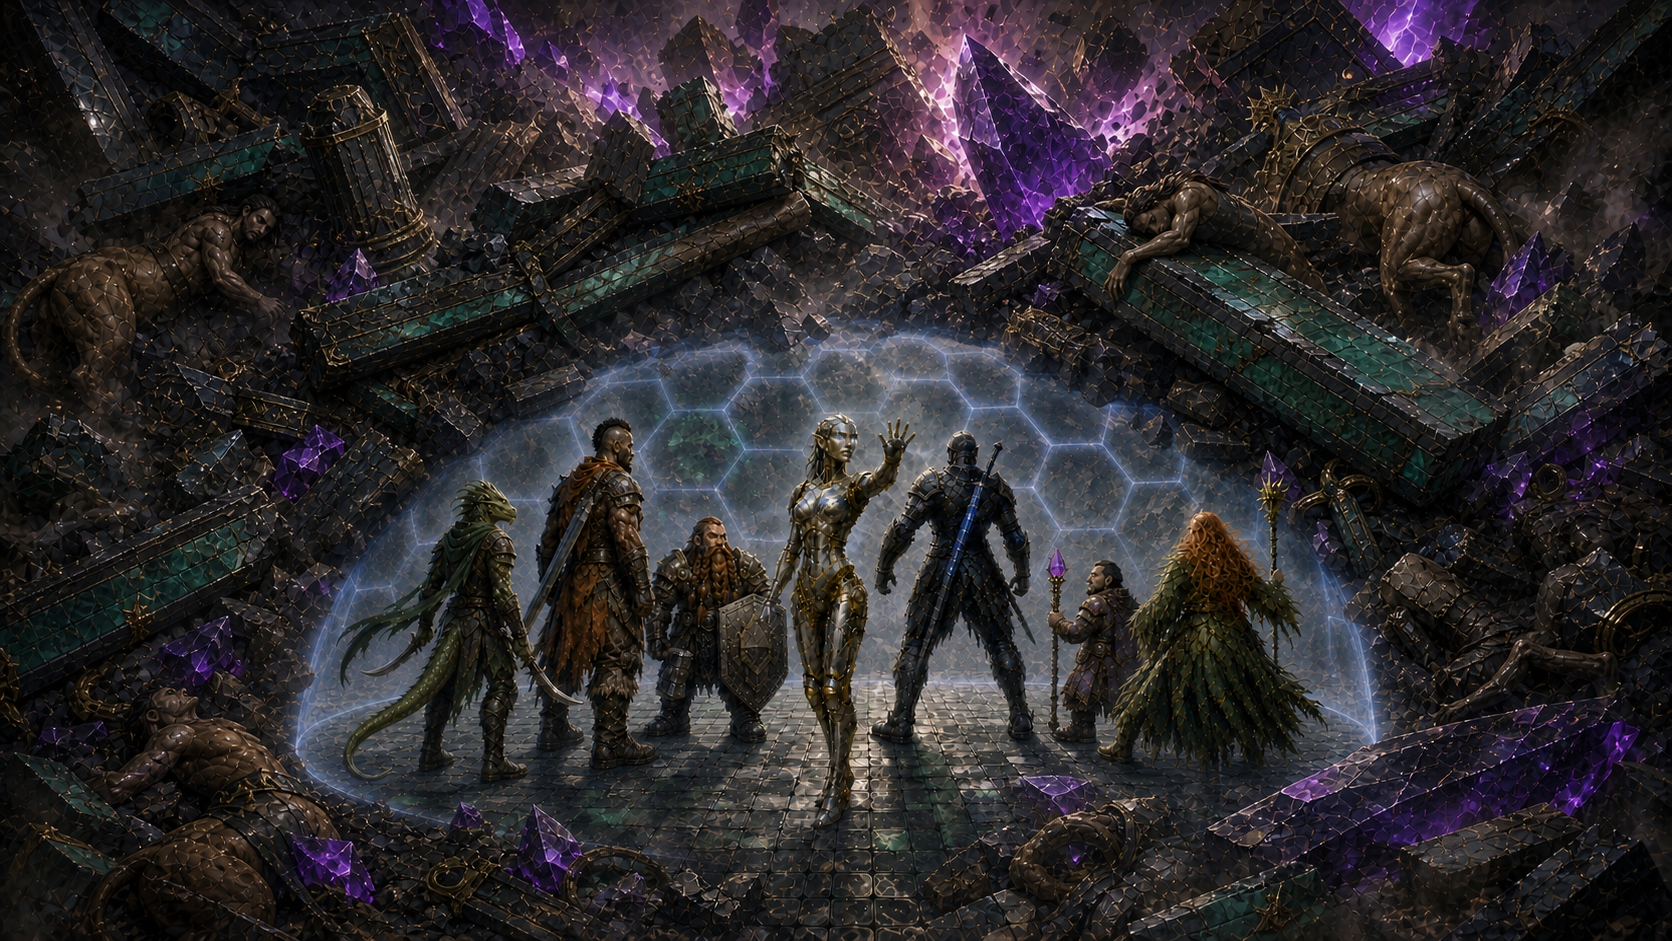
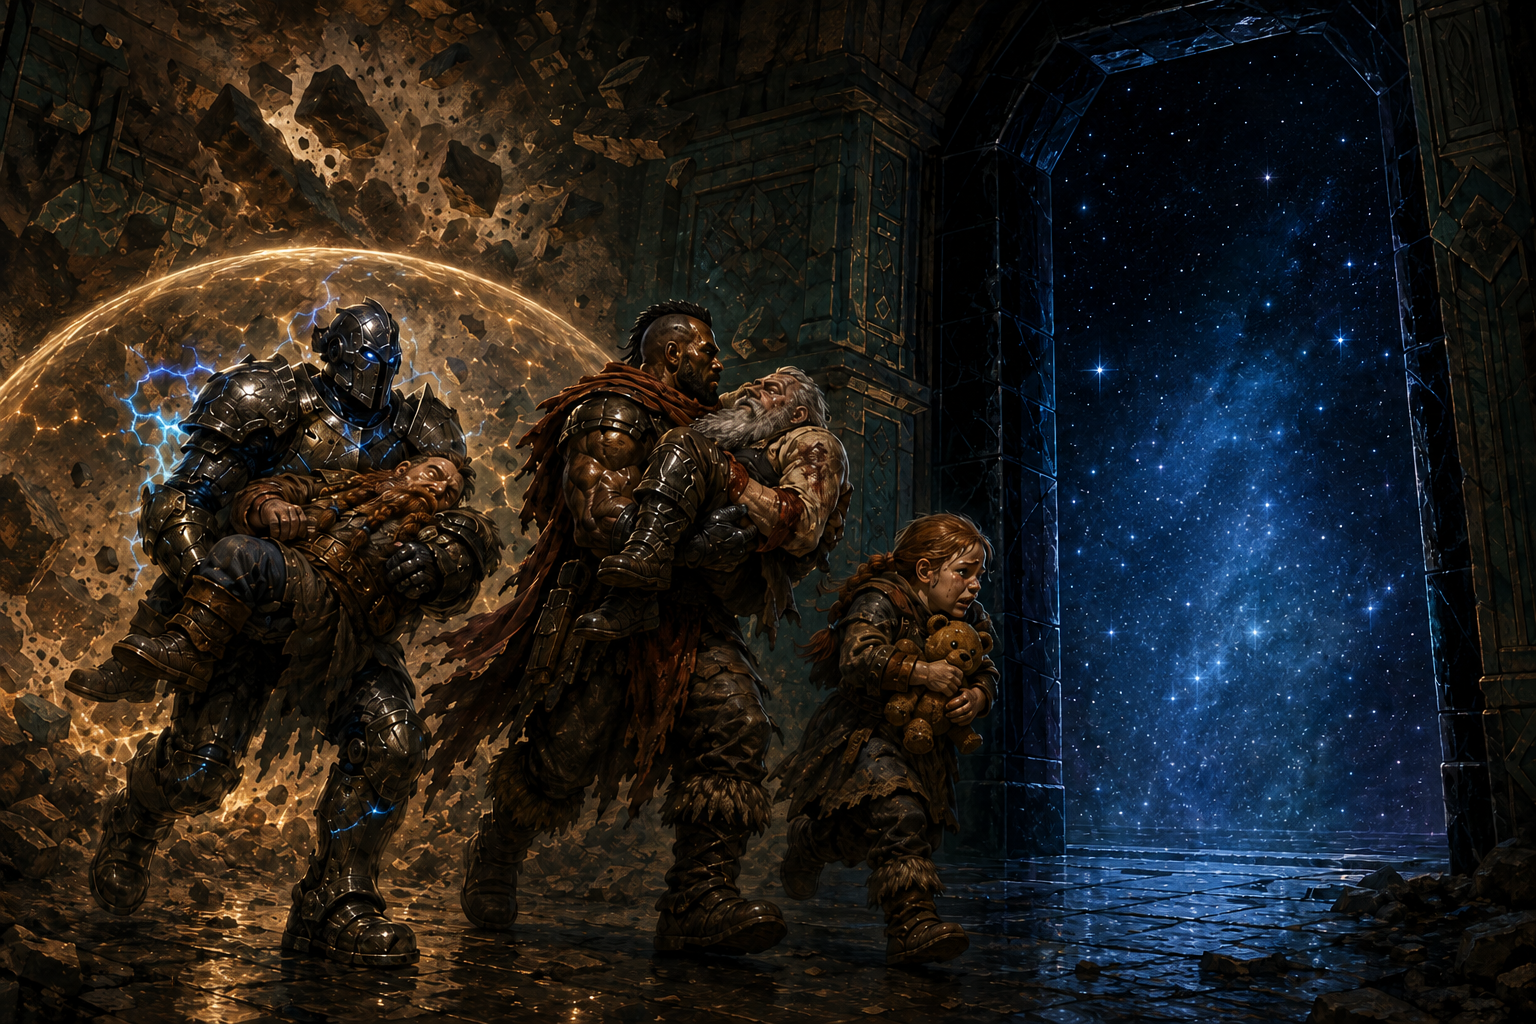
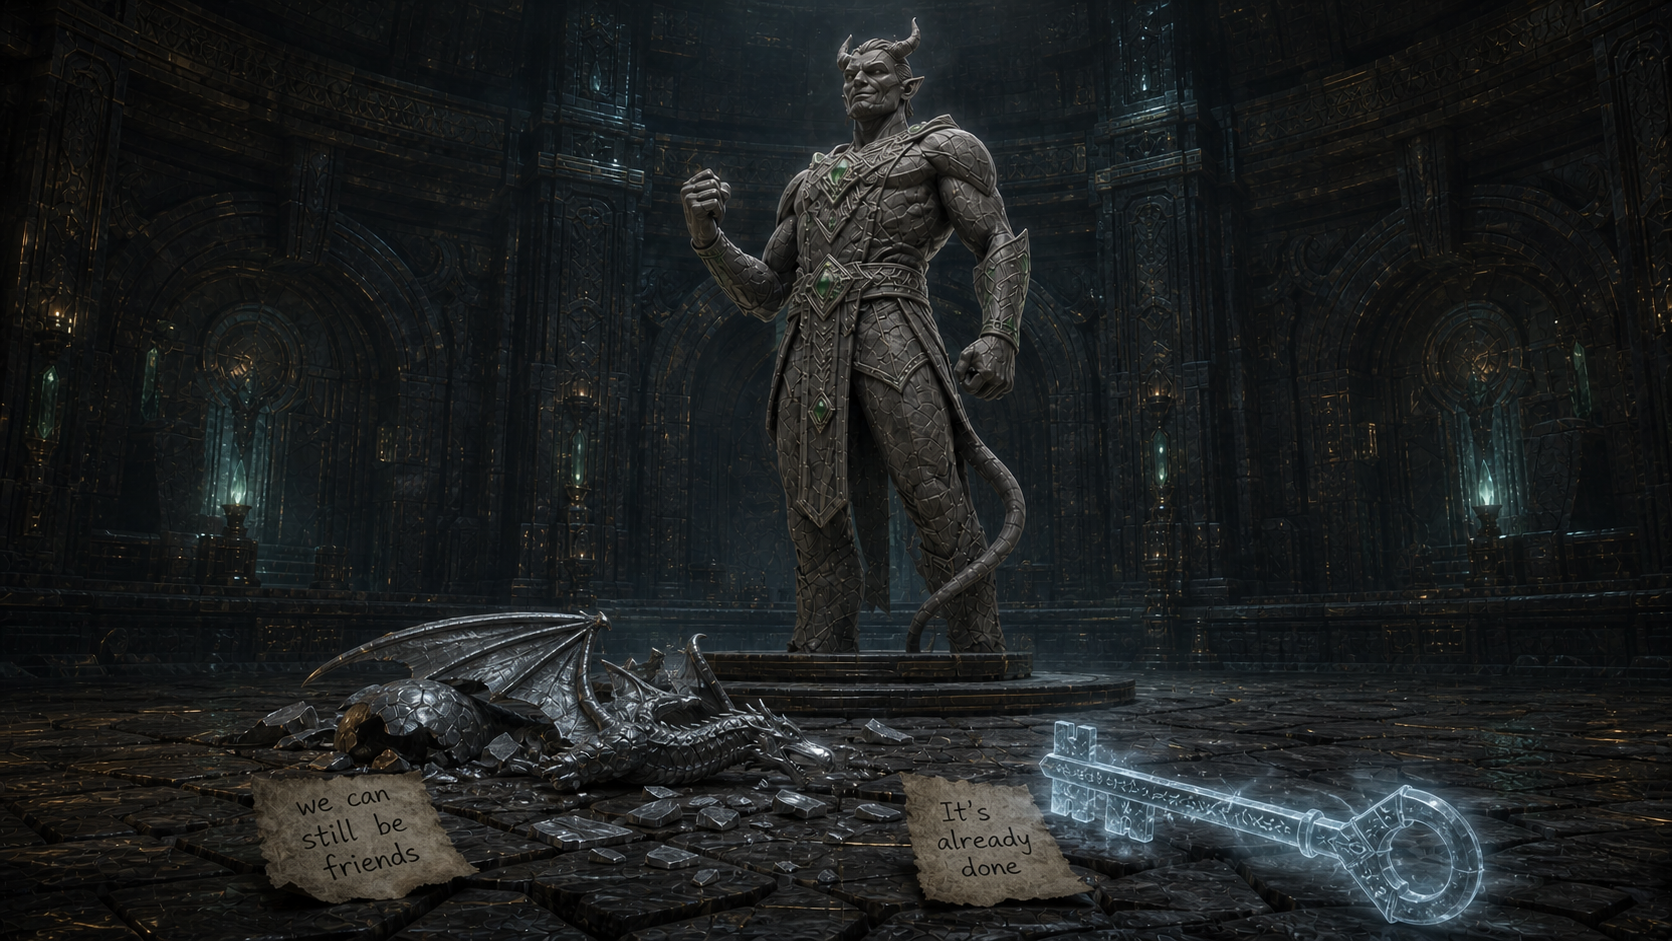
The subterranean dwarven city of HammerguardInvar creates the forbidden stone-and-jade statue of WrathColonel Bilgewater's ceiling ambush in HammerguardThe forgotten Hammerguard tavern and its stone cookThe Lamia kill-box inside the forgotten Hammerguard tavernCardonal paralyses a fleeing Lamia in HammerguardAn invisible elven husk revealed by Moonbeam outside a forgotten Hammerguard tavernMorgana reveals a ceiling-crawling dark elf in HammerguardEnvy speaks through a dark-elf agent in HammerguardDotharl surrounded by Lamias after the fireball fadesThe party teleports into Envy's unfinished jade palaceThe party traps Envy inside Geldrin's clear force domeEnvy unleashes the Anguish of the Elven NationsGeldrin's vision of Valentinhide redirecting the Tri-moon meteorCardonal shields the party from the shattered Tri-moon meteorThe party escapes Hammerguard's collapse through a star-filled passageFragmented visions in Valentinhide's star passageWrath's altered statue leaves the Frost Cells keyEliana receives Lady Evalina Hartwall's SendingGeldrin sees the scattered Justicars through Tremon's skull
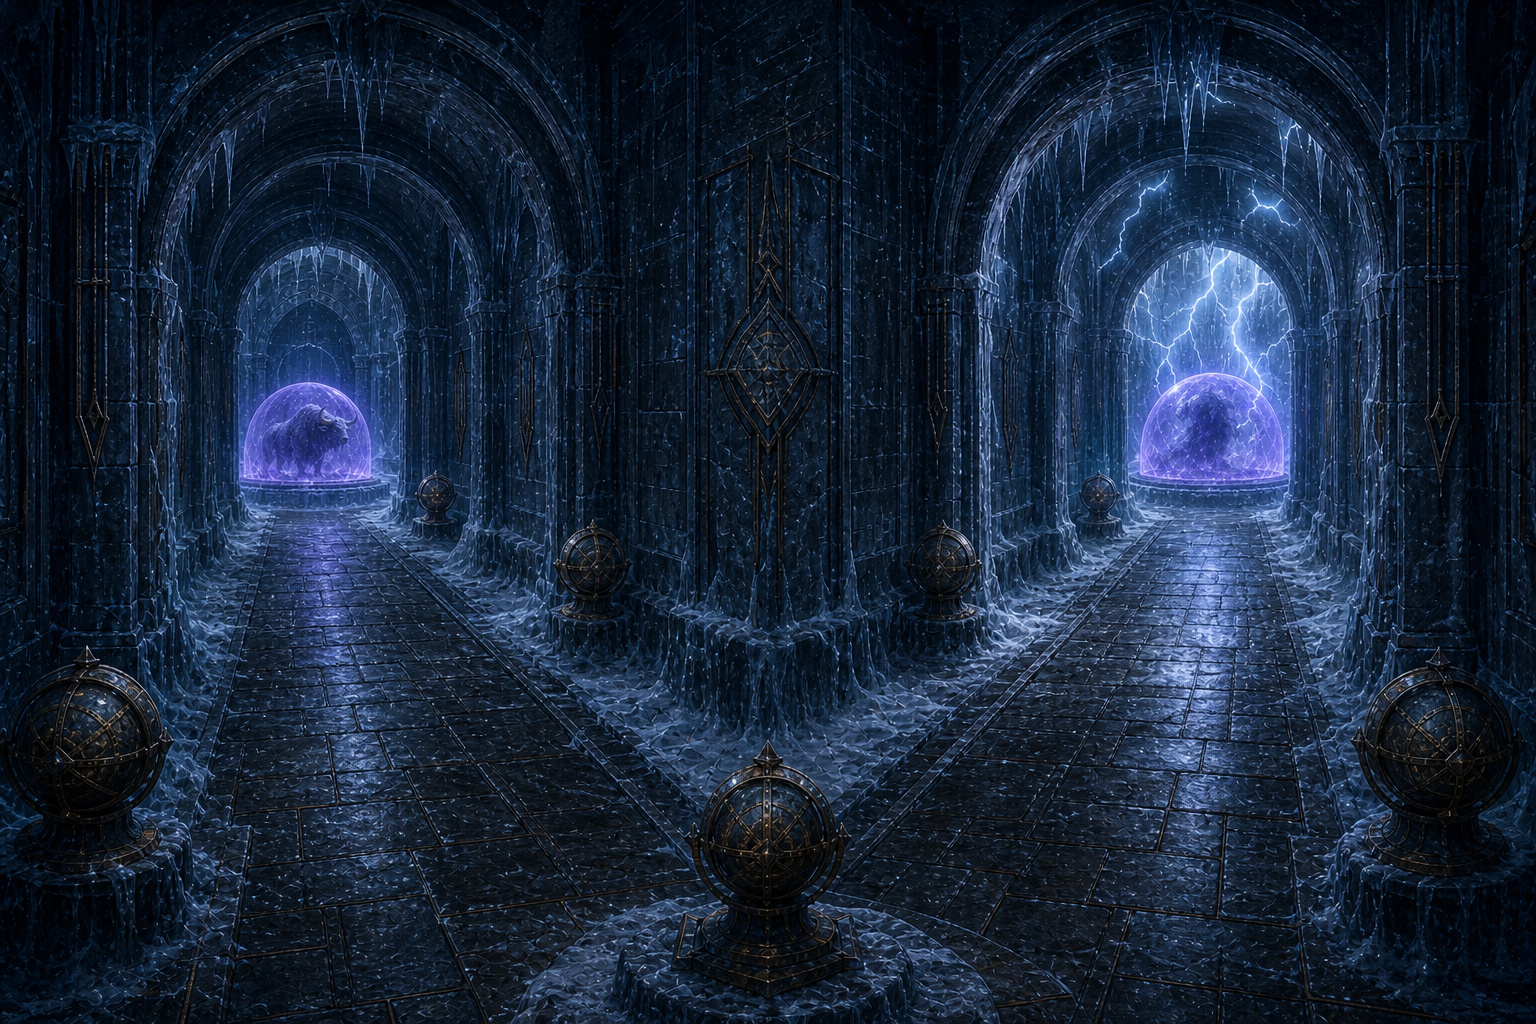
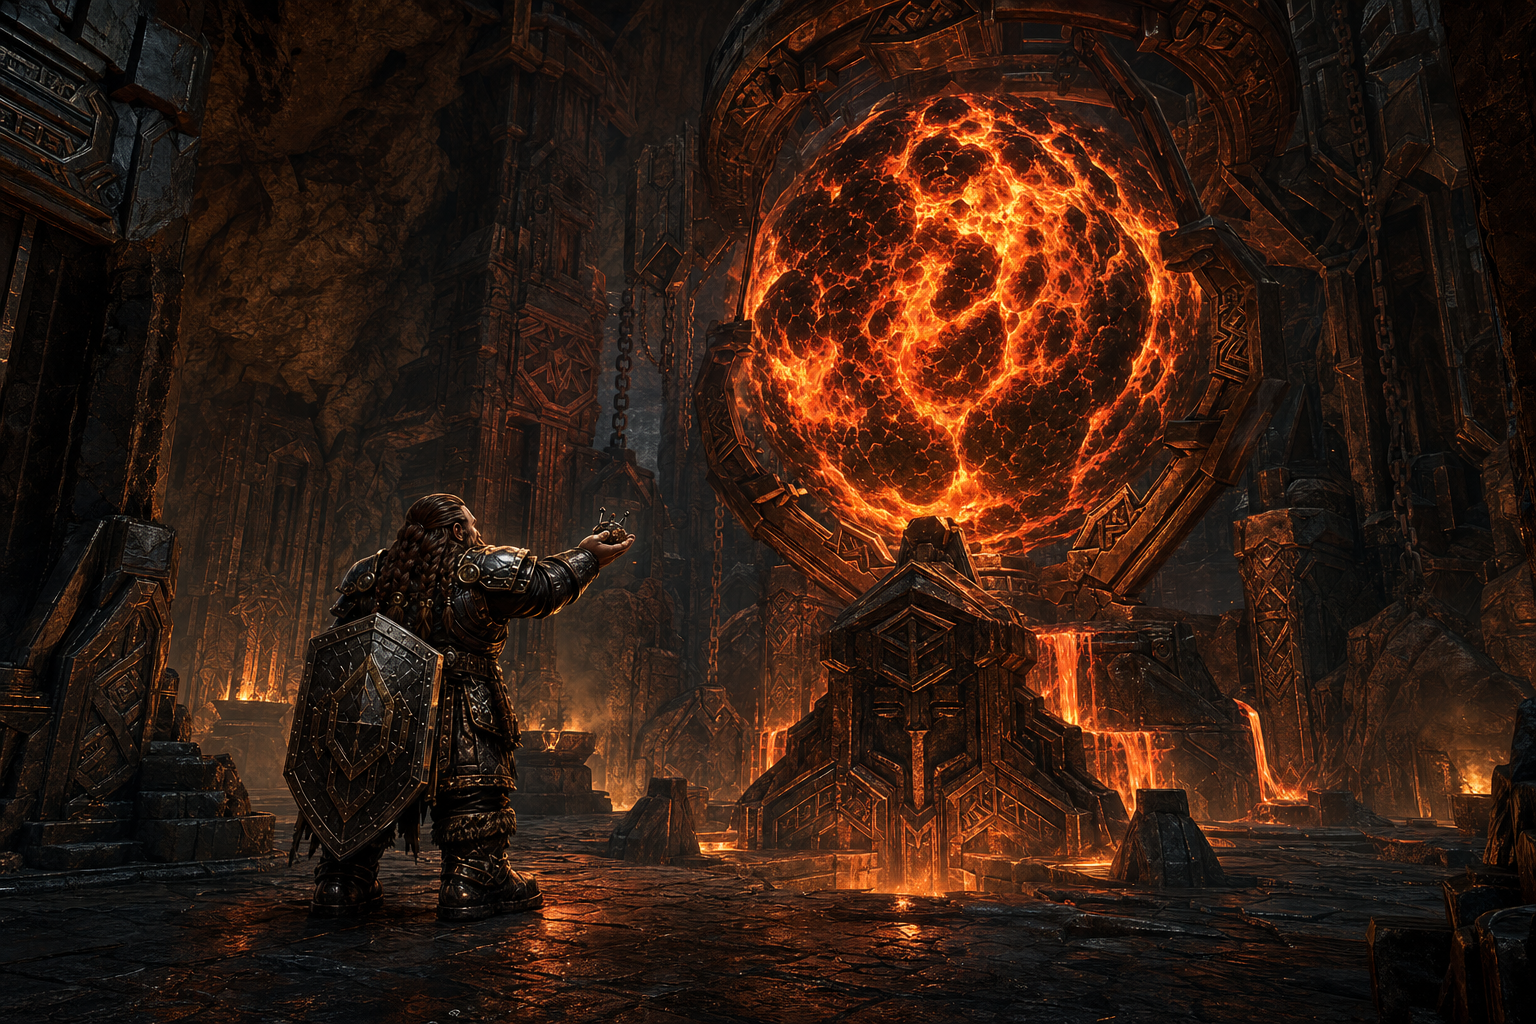
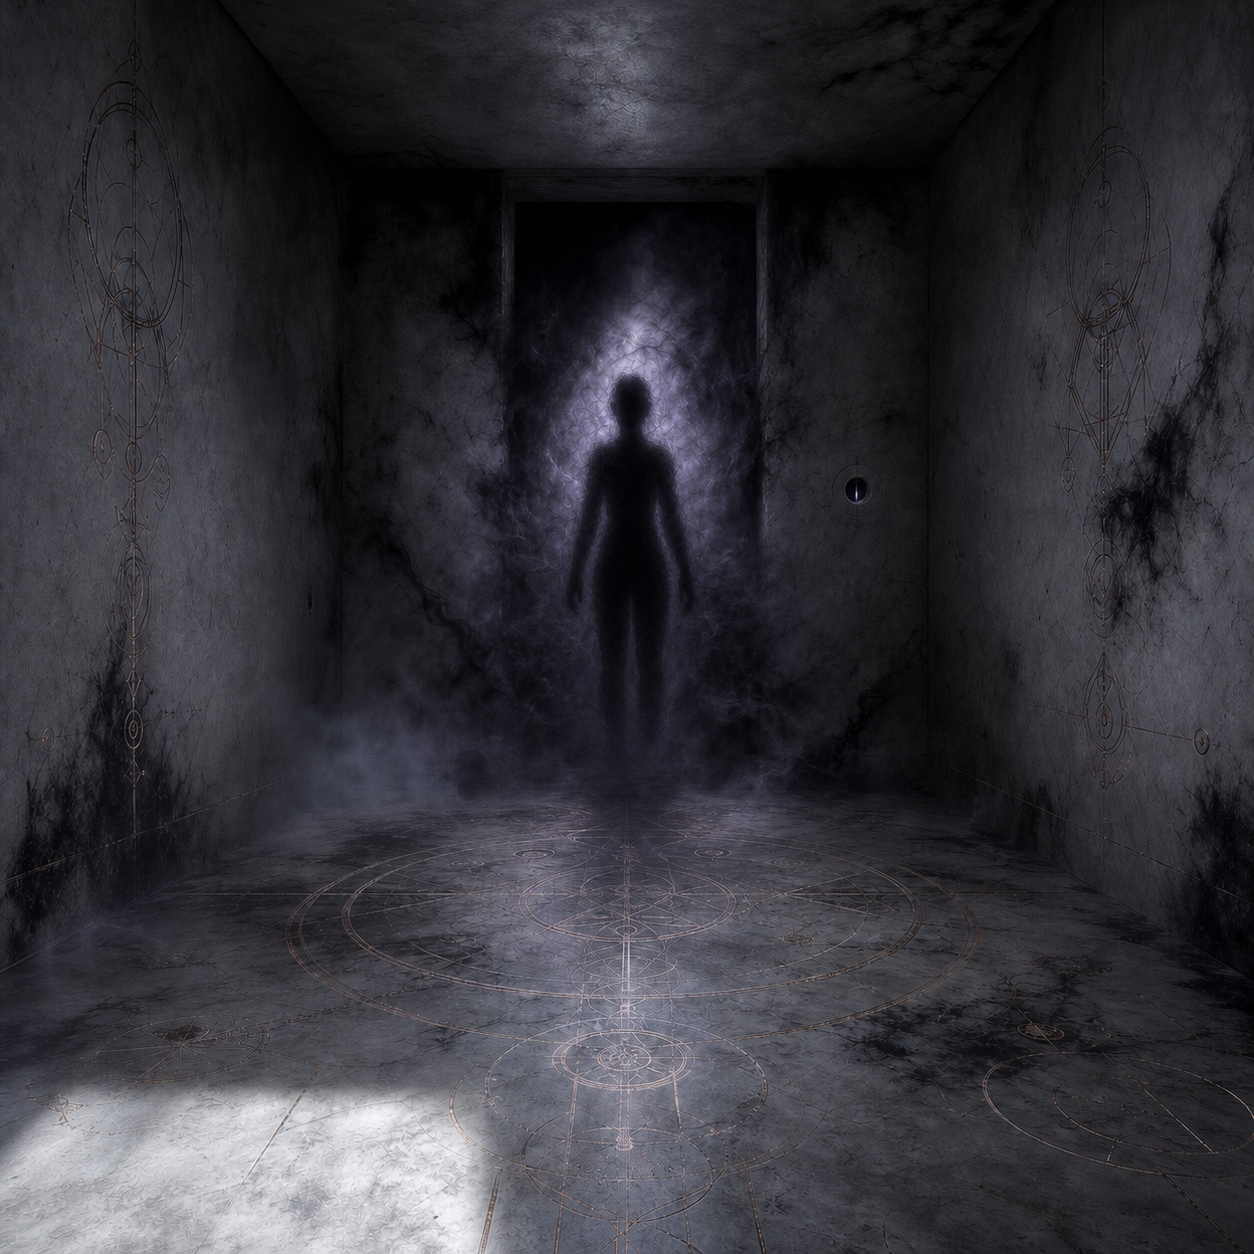
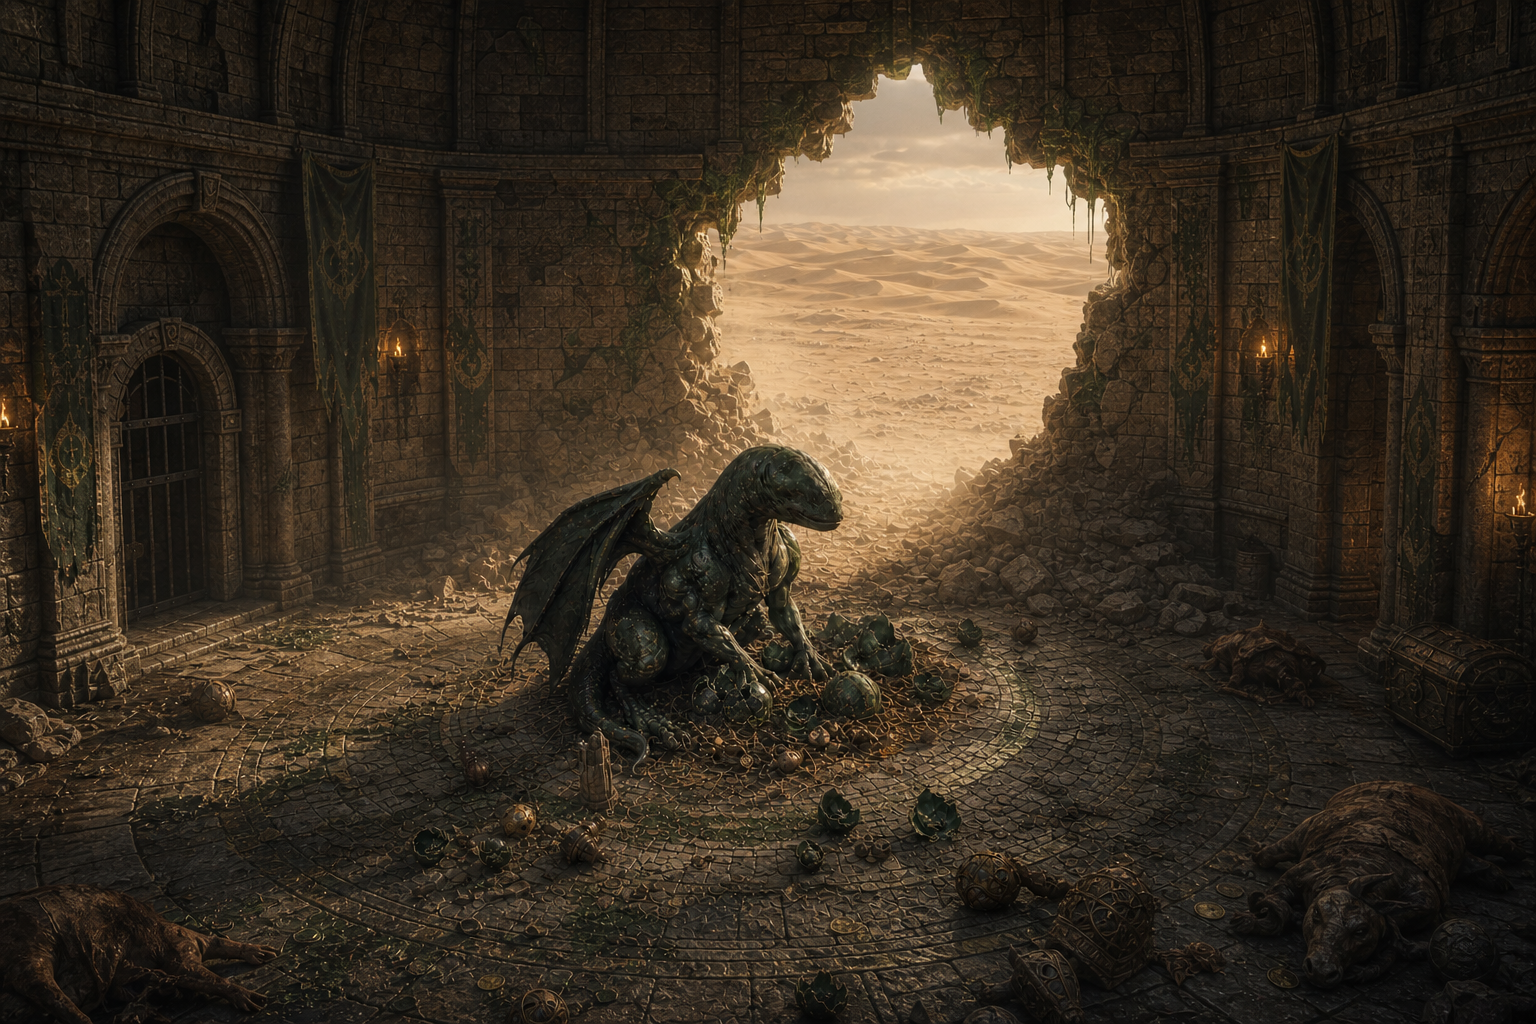
Prisons and Confinement Sites
Everchard PrisonSalinus' PrisonIce PrisonKasha's prison and the merfolk soulsPapa Marmaru's PrisonValentinhide's PrisonDesert Prison
Maps and Historical References
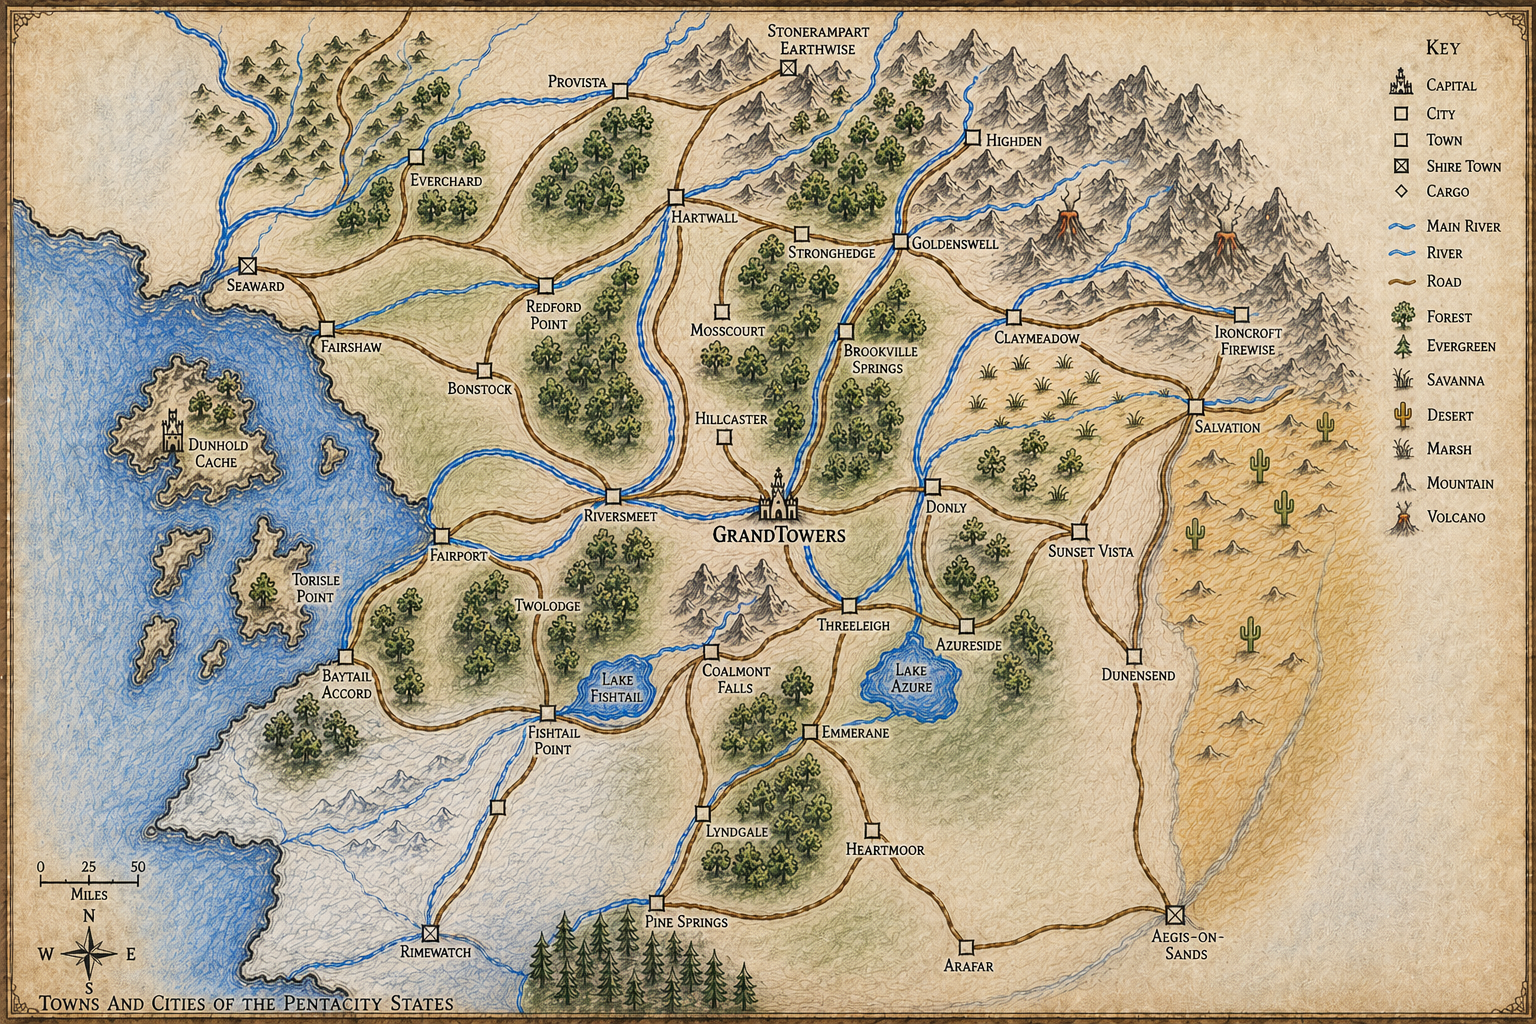
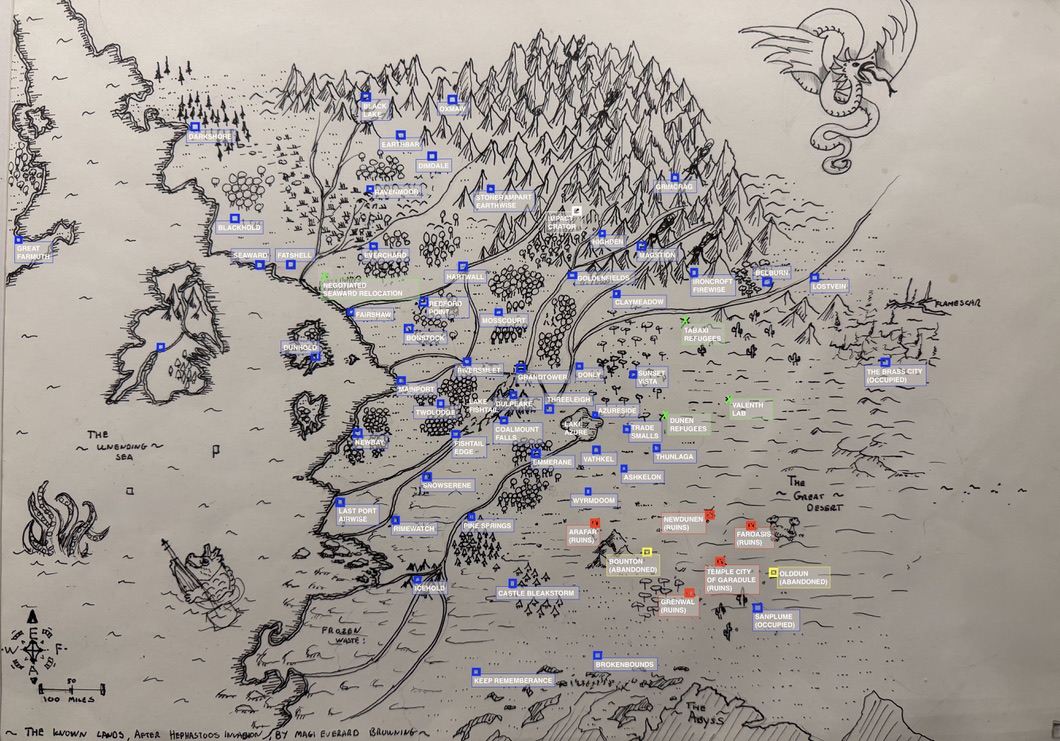
Pentacity States MapThe known lands after Hephaestoos' invasion